Homemade Reese's Peanut Butter Cups Recipe
By Emma
Certified Culinary Professional
·
Recipe tested & approved
Make homemade Reese’s peanut butter cups with heavy cream, butter, cocoa powder, and smooth peanut butter. Rich fudge sauce recipe that’s silky and indulgent.
Prep:
6 min
Cook:
6 min
Total:
12 min
Servings:
48 servings
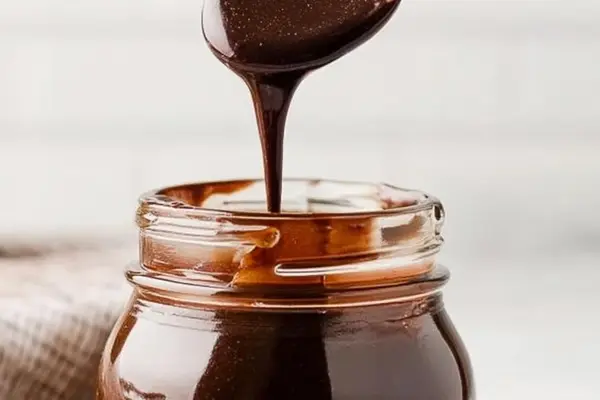
Cut the peanut butter butter cups in half and you’ll see exactly why homemade beats the store version every time. Takes 12 minutes total. Prep, six. Cook, six. One pan. No special equipment. Just cream, butter, sugar, cocoa, salt, and peanut butter melting into something that tastes like you spent way longer on it than you actually did.
Why You’ll Love This Reese’s Peanut Butter Cups Recipe
Homemade chocolate fudge that doesn’t require a candy thermometer or any of that stress. Smooth peanut butter layers in without separating — it just works. Makes enough for a small batch but tastes like professional-level candy. Cold or warm. Works both ways. The chocolate buttercream frosting effect happens on its own. You’re not doing anything fancy and it still looks like you did. Storage is simple — one jar, no special wrapping. Tastes better the next day, actually. Reese candy vibes but richer. Less waxy. Actual butter instead of whatever those things are made of.
What You Need for Homemade Reese’s Butter Cups
Heavy cream. Not half and half. The fat matters. Six tablespoons unsalted butter — salted throws off the balance. A cup of granulated sugar. Nothing fancy. Three-quarters cup unsweetened cocoa powder — the kind that tastes bitter and real, not the sweetened hot chocolate stuff. Salt. A quarter teaspoon. One-half cup smooth peanut butter. Not natural, not chunky. The regular kind. This is the one place smooth works better. The oil stays put instead of separating out and making it greasy.
How to Make Easy Fudge Recipe at Home
Grab a medium saucepan. Pour in the cream first, then break the butter into chunks and drop them in. Add the sugar and cocoa powder and salt all at once. Whisk before you even turn on the heat — get the cocoa smooth, no lumps sitting around. This takes maybe a minute if you’re not lazy about it.
Medium heat. Or medium-low if your stove runs hot. You want the butter melting slow. Sugar dissolving completely into the liquid. Not rushing. Stir constantly — not aggressively, just keep moving the whisk through it every few seconds. Watch the color deepen. The cocoa gets darker as the liquid heats. That’s right. That’s what you want.
The edges start to bubble first. You’re looking for that moment where bubbles form along the sides and linger. Not a rolling boil. Not violent. Just a quiet simmer with bubbles appearing and disappearing at the edges while the center’s still calm. Keep stirring. Two to three minutes after the bubbles start, pull it off heat. That’s it. Done.
How to Get Perfect Hot Fudge Texture Every Time
Remove from heat right away. The bottom of the pan keeps cooking if you wait. Stir in the peanut butter immediately — don’t let it cool first. It melts into the fudge and creates this glossy, nutty layer that tastes exactly like the inside of a Reese’s cup. Stir it through completely. The texture changes from thin and glossy to something thicker, richer. More body.
Let it cool for a few minutes. Not until it’s cold. Just until it’s not steaming and you can actually handle a spoon without burning yourself. You want it pourable but sticky. If you wait too long and it hardens up, reheat it gently over low heat or in a microwave in 15-second bursts.
Serve warm right out of the pan or let it cool completely and store it in a jar. Stays good for weeks. Takes five seconds to reheat. Double boiler works. Microwave works. Stovetop works. Whisk it after reheating — it’ll get glossy again.
Reese’s Peanut Butter Cups Tips and Common Mistakes
Don’t skip the pre-heat whisking. Cocoa powder clumps are the worst. They never fully dissolve once the heat gets going. Just spend 60 seconds on it before you turn on the burner. Stir constantly while it heats. This isn’t a set-it-and-ignore-it situation. Constant motion keeps the bottom from scorching and the texture even. Medium heat. Not high. High heat makes it separate and break and tastes gritty instead of smooth. The peanut butter goes in after you pull it off heat. Not before. If you add it while it’s actively bubbling, it seizes and gets weird. Let the chocolate cool for maybe 30 seconds first. The peanut butter melts in smooth that way. Store it cold. Tastes better cold. Reheats easy. Don’t leave it out at room temperature for hours unless you like it getting waxy. The butter does that.
Homemade Reese's Peanut Butter Cups Recipe
Prep:
6 min
Cook:
6 min
Total:
12 min
Servings:
48 servings
Ingredients
- 1 cup heavy cream
- 6 tablespoons unsalted butter
- 1 cup granulated sugar
- 3/4 cup unsweetened cocoa powder
- 1/4 teaspoon salt
- 1/2 cup smooth peanut butter
Method
- ===
- 1 Pour cream, butter chunks, sugar, cocoa, and salt in a medium saucepan. Butter at the bottom helps prevent scorching; no clumps here, whisk it smooth right off the bat.
- 2 Set burner medium heat—medium-low if your stove runs hot. You want butter melting slow and sugar dissolving completely. Stir constantly attending the textures, watch the cocoa darken but not dry out.
- 3 Edges start to bubble first–not a rolling boil, that’s your cue. Almost a teasing simmer on sides while center still sings quietly. Keep stirring every 5-10 seconds; fudge thickens and darkens quickly here. Stop as soon as bubbles form and linger along borders, 2-3 minutes after; focus on even cooking.
- 4 Remove from heat right away. Stir in peanut butter thoroughly, not like marshmallow fluff but fatty and nutty instead. It melts into the fudge sauce creating a rich sheen and subtle nuttiness. Texture will go from glossy to deeper body.
- 5 Let cool partially for a sticky but pourable consistency. Serve warm or store in airtight jar once cooled. Reheat gently in microwave or double boiler, whisk before use.
Nutritional information
Calories
140
Protein
2g
Carbs
17g
Fat
8g
Frequently Asked Questions About Reese’s Peanut Butter Cups
Can you use natural peanut butter instead of smooth? Not really. Natural peanut butter has all that separated oil and it makes the fudge break and get greasy. Smooth peanut butter is already stabilized. That’s the whole point. Try it once if you want to know why it matters.
What if the fudge looks broken or separated? Pull it off heat immediately. Let it cool for two minutes. Whisk it hard for 30 seconds. Sometimes a few seconds of rest fixes it. If it’s actually broken — grainy, oily, won’t come back together — start over. Happens when the heat’s too high or the pan was too hot to begin with.
How long does it keep? Weeks in a jar with a lid. Cold. Doesn’t go bad. Just gets harder. Reheat and it’s liquid again. Room temperature it gets soft and weepy. Cold it stays structured.
Can you make chocolate buttercream icing this way instead? Not really. This is fudge. Buttercream is different. Requires different ratios. Different technique. They’re not the same thing.
Do you have to serve it warm? No. Cold is actually better. Thicker. Richer. Tastes more like an actual Reese’s bar that way. Warm is good right out of the pan over ice cream. But cold straight from the fridge is where it’s at.
What if it’s too thick when it cools? Reheat it. Thin it out. Add a tablespoon of cream if you want it pourable. Stir it in while it’s warm. Works fine either way.
You’ll Love These Too
Explore all →
Grilled Cheese with Turkey, Bacon & Gruyere
Greek Yogurt Breakfast with Carrot Jam

Cucumber Gin Sparkler Cocktail Recipe
Hearty Chicken Bog with Smoked Sausage
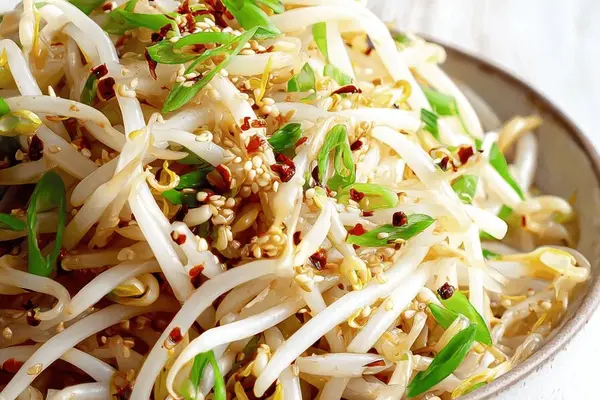
Asian Side Dishes: Marinated Bean Sprouts
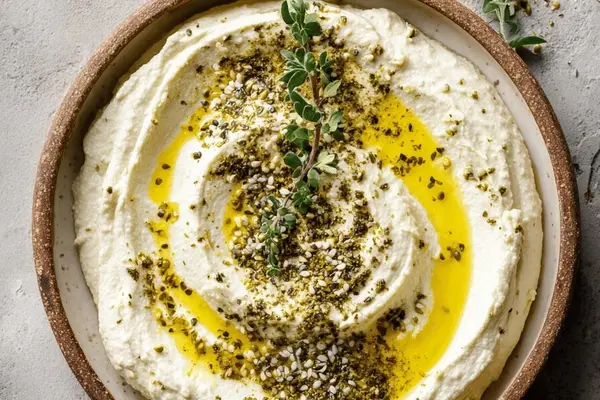
Labneh with Kefir and Za'atar: Easy Cheese
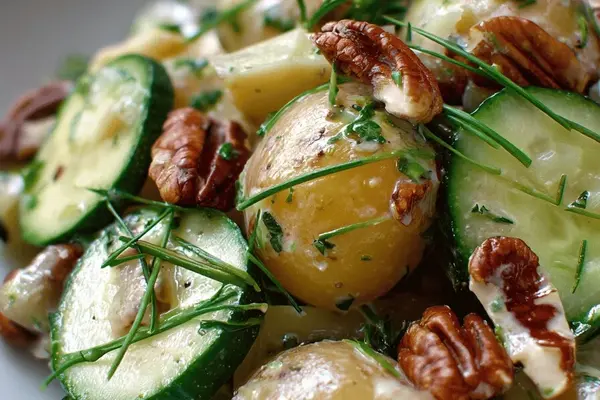
Potato Salad Recipes with Pecans & Lime
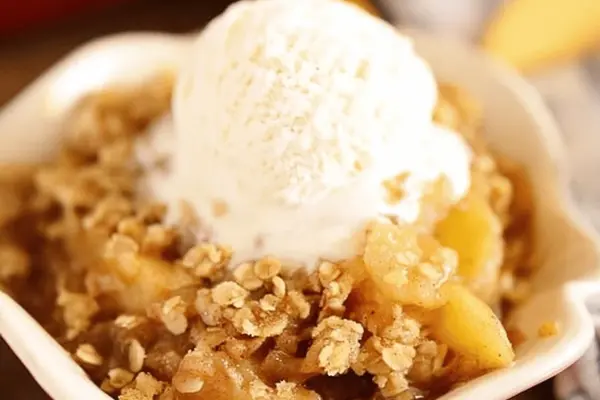
Easy Spiced Apple Crumble with Oats

Bleeding Blonde Beer Cocktail Recipe
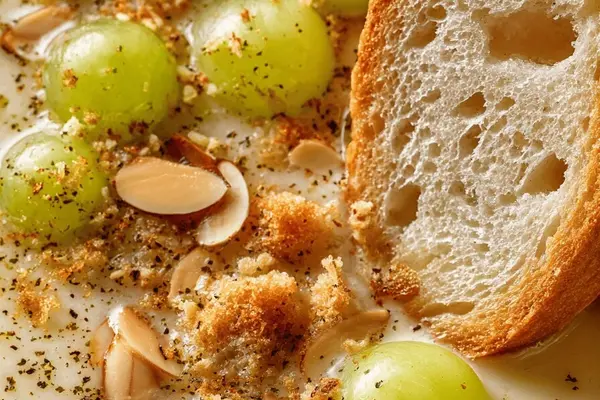
Chilled Almond Soup with Garlic & Grapes
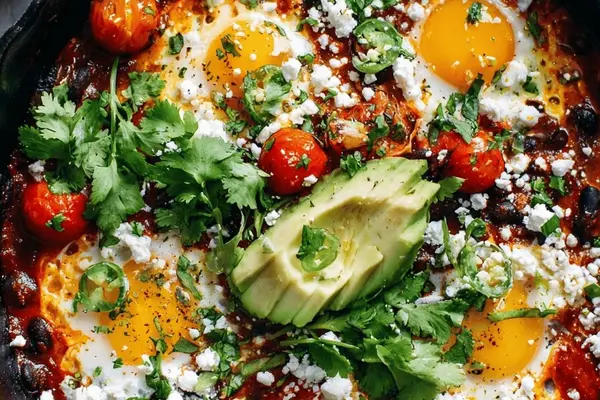
Grilled Eggs Recipe with Black Beans
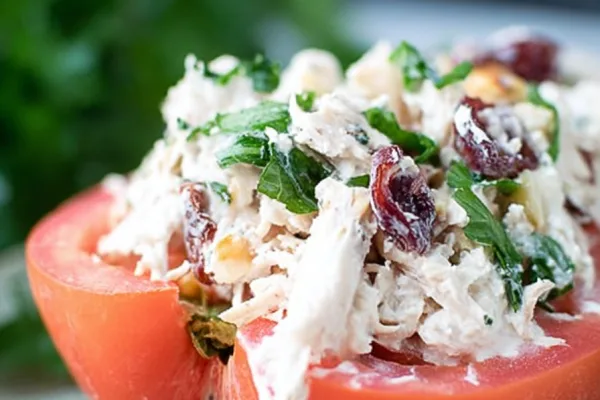
Tomato Wedge Greek Yogurt Chicken Salad
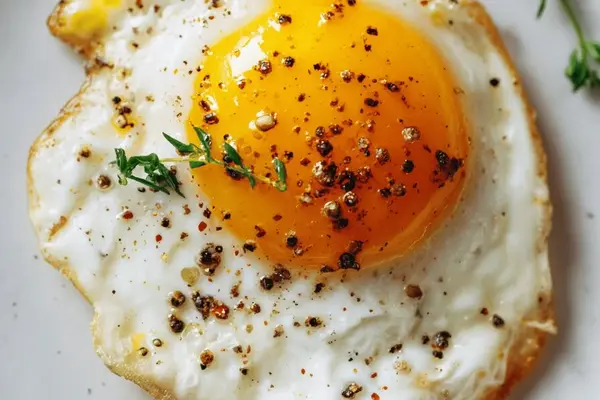
Sunny Side Up Eggs with Olive Oil
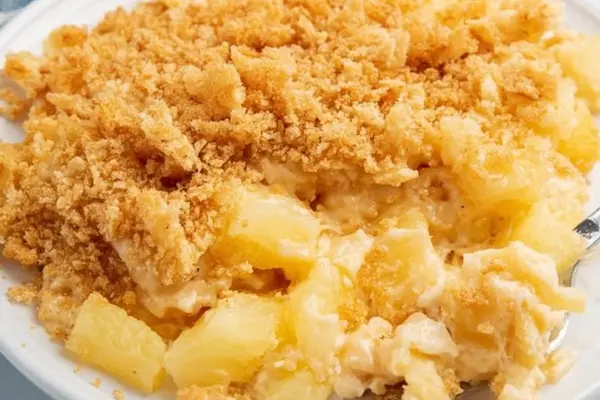
Pineapple Cheese Casserole with Crackers

Lemon Dill Salmon - Easy Oven Baked
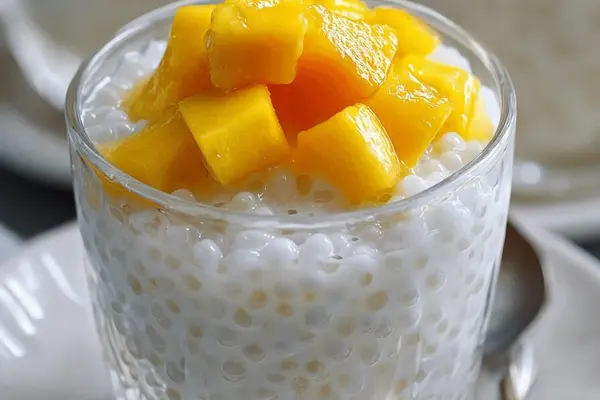
Mango Coconut Shaved Ice with Tapioca
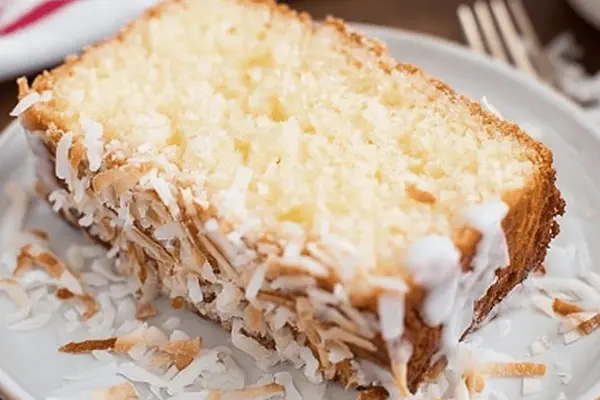
Coconut Pound Cake with Cream Cheese
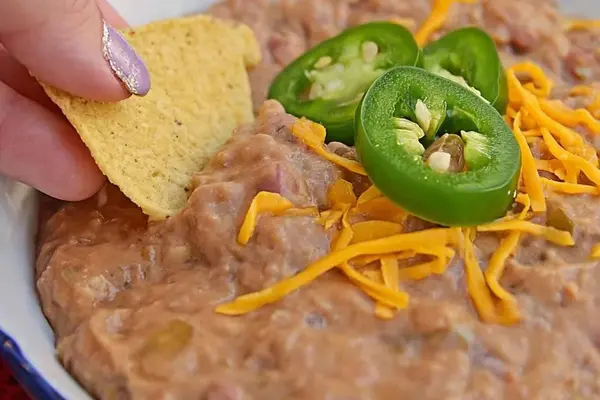
Bean Pinto with Garlic, Cumin & Cheddar
Breakfast Casserole with Sausage & Hash Browns