Homemade Marshmallows Recipe with Honey
By Emma
Certified Culinary Professional
·
Recipe tested & approved
Whip it for 13 minutes and it goes from syrup to cloud. That’s the whole thing.
Why You’ll Love This Homemade Marshmallow Recipe
No corn syrup. No weird ingredients hiding in the list. Just vanilla, honey, gelatin, sugar—stuff that actually exists in your pantry. Makes the texture you actually want. Fluffy but holds a shape. Not that dense grocery store brick. Takes 43 minutes total. Most of it’s waiting around, not doing anything. Tastes like actual food. Honey comes through. Vanilla bean seeds are visible. Looks handmade because it is. Leftover powdered sugar mixture works on literally everything else.
What You Need for Homemade Marshmallows
Powdered sugar and arrowroot starch—the coating. About a third cup each. Can swap cornstarch for arrowroot if you have it, but arrowroot doesn’t taste floury. Vanilla bean pod. Scrape the seeds out. That’s the whole point of using vanilla at all. Gelatin powder. The stuff that makes it marshmallow instead of mousse. Cold water to bloom it in first. Granulated sugar and light honey. The honey matters—dark honey tastes like molasses. Light floral honey stays quiet. Salt is optional. A tiny pinch. Doesn’t make it taste salty, just rounds out the sweetness. That’s it. Everything else is equipment.
How to Make Homemade Marshmallow Fluff
Line an 8-inch square pan with plastic wrap. Spray it lightly with oil. Nothing sticks to that. Set it next to your mixer.
Cold water plus vanilla seeds into a small pot. Sprinkle the gelatin over top—don’t stir yet. Let it sit for 7 minutes. Bloom time. It gets thick and spongy.
Turn heat to low. Stir it constantly. Watch the lumps disappear into a thick syrup. Don’t let it boil. Just dissolve.
Add the granulated sugar and honey. Keep stirring. You’re looking for no grains left. The syrup gets glossy and thick. If you have a thermometer, 110–115°C is the mark. No thermometer? The syrup moves slower, swirls take longer to disappear, and it has shine. That’s the texture.
Pour it hot into a large bowl. Attach the whisk to your mixer. Medium-high speed. Now the actual work happens.
Whip for about 13 minutes. The syrup turns into foam. Gets pale. Thickens. Forms peaks that hold shape but droop slightly when you lift the whisk. The surface gets a tiny bit dull—that’s air trapped in there. Every minute it whips, it gets fluffier.
Spoon the marshmallow into the lined pan fast. The surface will start setting immediately. Smooth the top with a spatula. Tap the pan a few times to break air bubbles. Into the fridge for 2 hours and 15 minutes. It firms up but stays springy when you press it.
How to Get Marshmallows Crispy and Cut Them Right
Mix powdered sugar and arrowroot starch. Sift it if you have a sieve—kills the lumps. Spread some on the counter. Oil your knife blade.
Flip the marshmallow slab onto the sugared surface. Peel the plastic off slow. Cut it into squares. The oil keeps the knife from dragging. Toss each cube in the sugar-starch mix. Light coating. Shake off the excess through a sieve so it’s not thick.
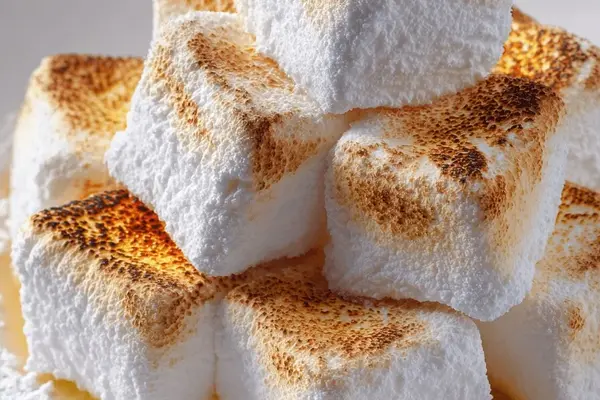
Optional—use a small kitchen torch on the tops. Quick passes. You’re aiming for light brown with a thin caramel crust, not melted marshmallow. The edges will crack slightly. It adds texture. Watch it. Torch moves fast.
Serve right away. Or store loosely covered. Don’t seal it tight or condensation turns it into a block.
Easy Marshmallow Recipe Tips and What Goes Wrong
The gelatin bloom matters. Seven minutes, not rushed. Skipping it means the gelatin doesn’t hydrate and it stays grainy.
The syrup temp is real. If it’s not hot enough, it doesn’t whip up right. If it’s too hot, the gelatin breaks down. 110–115°C is the window. Most people use a thermometer for this one.
Whipping is everything. Too short and it’s still syrupy. Too long and it dries out and gets stiff. 13 minutes is a guideline—stop when the peaks hold but gently droop.
The fridge time sets the structure. Don’t cut before it’s firm. It’s soup if you do.
Oil on the knife is important. Water doesn’t work. Sticks immediately. Just a thin coat.
If it comes out dense, the whip time was short or the syrup wasn’t hot enough. Next time, whip longer, or check the temp.
If it comes out too soft, it probably got humid or the fridge time was short. Just chill it more.
Homemade Marshmallows Recipe with Honey
Prep:
35 min
Cook:
8 min
Total:
43 min
Servings:
25 marshmallows
Ingredients
- 80 ml (about 1/3 cup) powdered sugar
- 80 ml (about 1/3 cup) arrowroot starch
- 140 ml (about 2/3 cup) cold water
- Seeds scraped from ½ vanilla bean pod
- 15 ml (3 tsp) powdered gelatin
- 200 ml (about 1 cup) granulated sugar
- 150 ml (about ⅔ cup) honey, light floral
- Optional pinch of salt
Method
- Preparation
- 1 Line an 8-inch square mold with plastic wrap, spray very lightly with neutral oil. Set aside.
- Gelatin Mix
- 2 In a small pot, combine cold water and vanilla seeds. Sprinkle gelatin powder evenly over. Let bloom 7 minutes. Heat gently over low, stirring constantly. Don't boil. Watch for gelatin dissolve into thick syrup.
- Sweet Syrup
- 3 Add granulated sugar and honey to gelatin mixture. Stir until grains vanish and syrup reaches soft ball stage between 110–115°C (230–240°F). No thermometer? Watch for syrup thickening, swirling slow down, and glossy shine.
- Whipping
- 4 Pour hot syrup into a large bowl. Using electric mixer at medium-high speed, whip for about 13 minutes until mixture is thick, forms soft peaks that hold shape but gently droop. Peaks dry out just slightly but still shiny. Longer whipping traps air, improves fluff.
- Setting
- 5 Spoon the marshmallow foam into prepared mold. Smooth top quickly; it starts to set fast. Tap mold to remove large air bubbles. Chill in fridge about 2hr 15min until firm yet springy on touch.
- Dust and Cut
- 6 Mix powdered sugar and arrowroot starch, sift to eliminate lumps. Spread some on countertop and knife blade. Turn marshmallow slab onto sugared surface. Peel off plastic carefully. Cut into 25 squares with oiled knife to prevent sticking. Toss each cube lightly in the sugar-starch mix until coated well. Use sieve to shake off excess.
- Torch Finish
- 7 If feeling adventurous, caramelize top surfaces with a small kitchen torch. Watch carefully; marshmallow should brown lightly with caramel notes, not melt entirely. Quick, gentle passes around edges bring cracked-but-chewy dimension. Serve immediately or store loosely covered to avoid moisture trap.
Nutritional information
Calories
120
Protein
1g
Carbs
30g
Fat
0g
Frequently Asked Questions About Homemade Marshmallow Recipe
Can I make this without a mixer? No. Whipping by hand for 13 minutes will destroy your arm and the marshmallow won’t fluff right. Get a mixer.
What if I don’t have a thermometer? The visual cues work—thick, glossy, slow swirl. Not perfect, but it’ll be close. Most batches turn out fine without one.
How long do they last? In an airtight container, about a week. Longer if your kitchen is dry. They get stale faster than store ones because there’s no preservatives.
Can I use agar agar instead of gelatin? Different thing. Agar sets harder and colder. Marshmallows need gelatin’s texture. Try it if you want, but it won’t be the same.
Do I have to use honey? No. Use all granulated sugar if you want. Tastes cleaner, less complex. Honey adds depth but you don’t need it.
Can I make a bigger batch? Double it. Keep the whip time the same—13 minutes. The pan needs to be bigger though. 8-inch square is sized for this amount.
What’s the deal with the arrowroot starch coating? It doesn’t taste floury like cornstarch does. Stays fine longer. Cornstarch works but it’s grittier on your teeth.
Can I torch them without the torch? You can use a broiler set to high for like 10 seconds. Watch it. They go from fine to burned in a second. The torch is easier because you control it.
You’ll Love These Too
Explore all →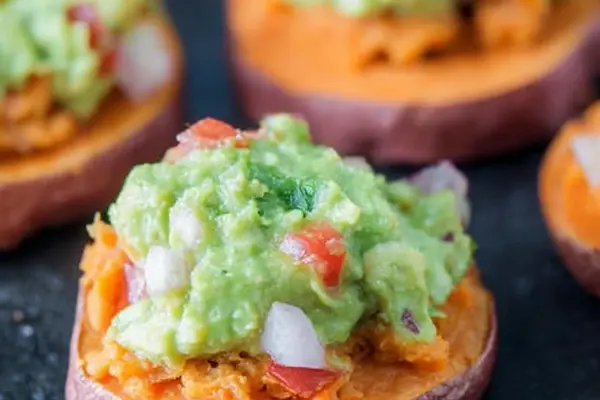
Roasted Sweet Potato with Guacamole
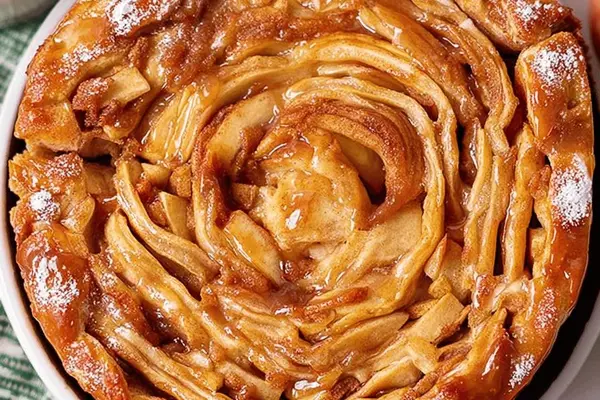
Apple Crescent Coffee Cake with Caramel
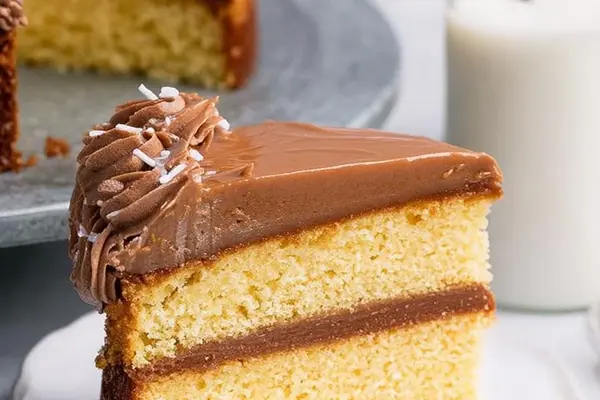
Brown Butter Layer Cake with Coffee Mousse

Air Fryer Buffalo Wings

Carbonara Dish: Homemade Pasta with Eggs
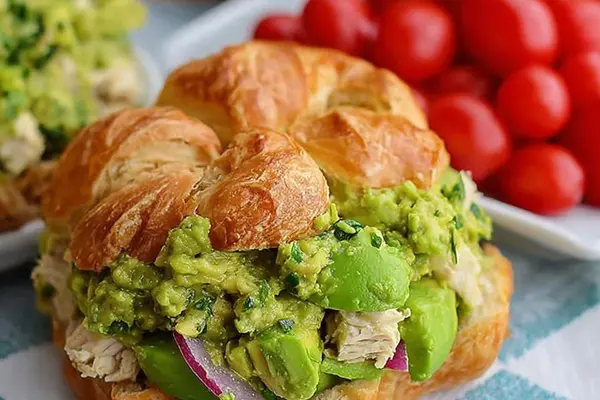
Chicken Salad with Avocado and Basil Pesto

Mini Chocolate Surprise Cupcakes Recipe
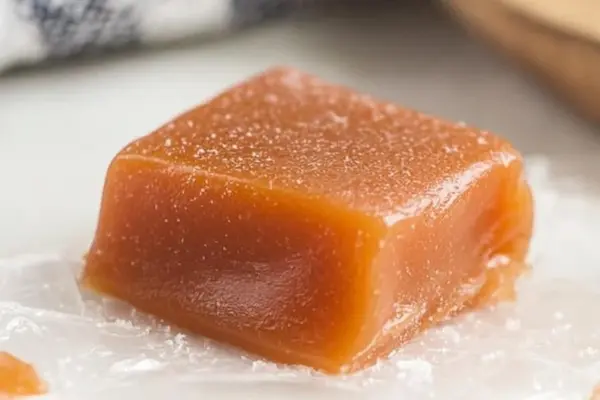
Homemade Caramel Candy Recipe with Brown Sugar
Oatmeal Peanut Butter Balls Recipe

Lemon Cookies with Mirror Glaze Recipe
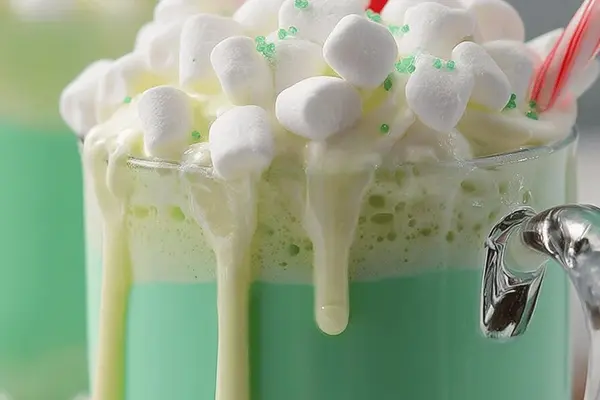
Green White Hot Cocoa Recipe with Whipped Cream
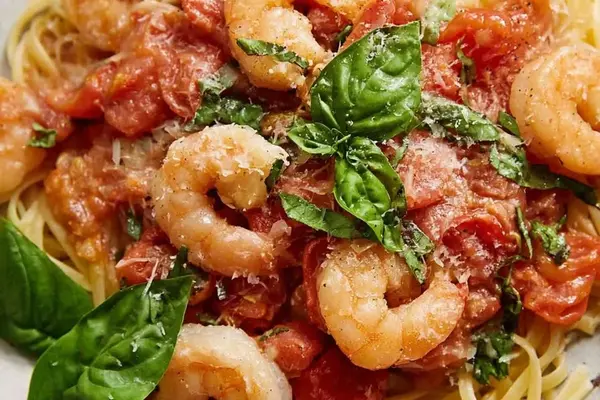
Shrimp Scampi with Garlic, Fennel & Tomatoes
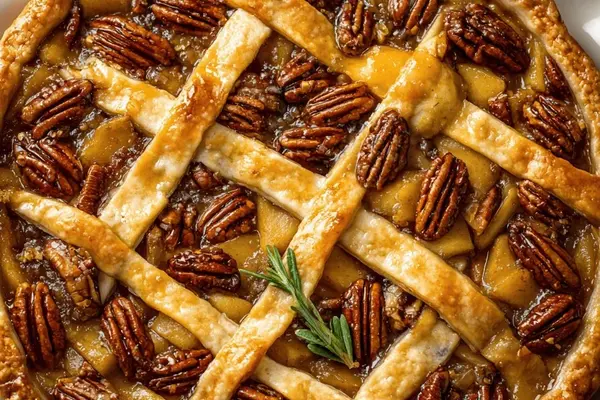
Apple Tart with Pecans and Dried Apricots
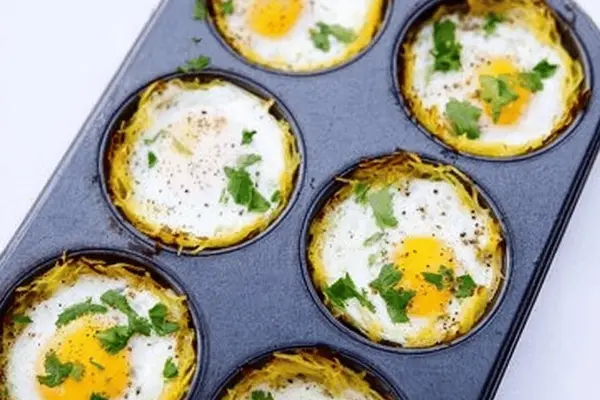
Egg Muffins with Spaghetti Squash
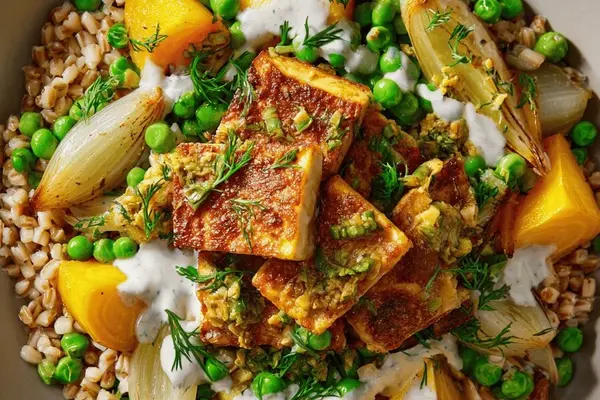
Roasted Root Vegetables with Tofu & Barley
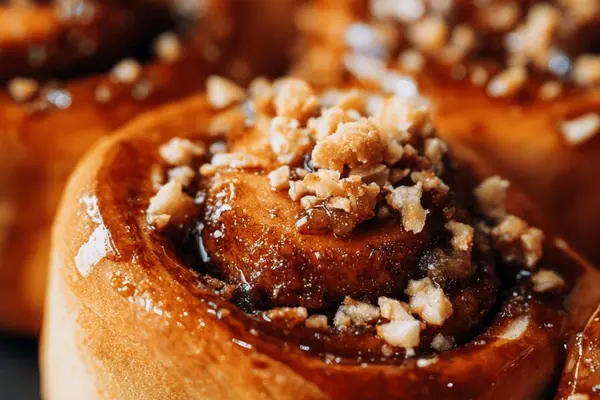
Maple Cinnamon Brioche Rolls with Butter Glaze
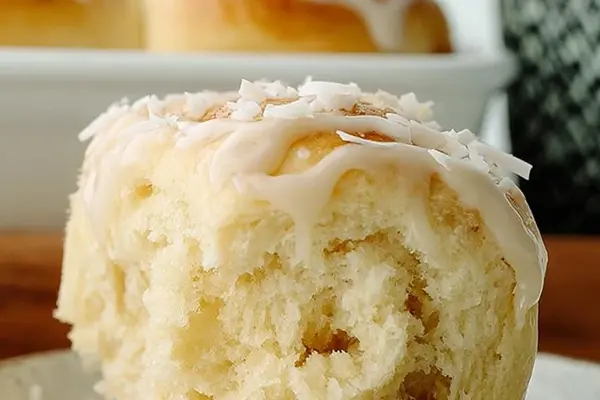
Coconut Bread Recipes: Sticky Sauce Rolls
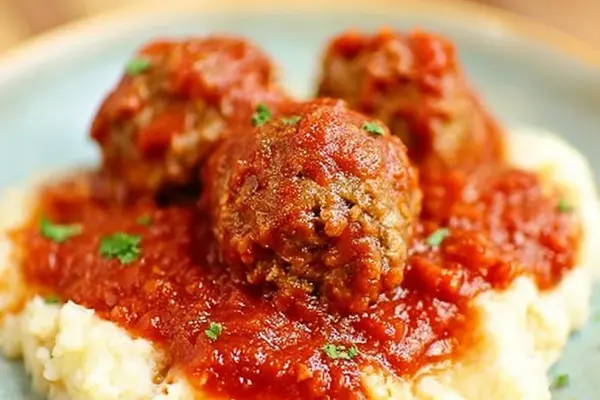
Porcupine Meat Balls with Quinoa

Baked Cheese with Mushroom Sauté & Mustard