No Bake Cookie Recipe With Peanut Butter
By Emma
Certified Culinary Professional
·
Recipe tested & approved
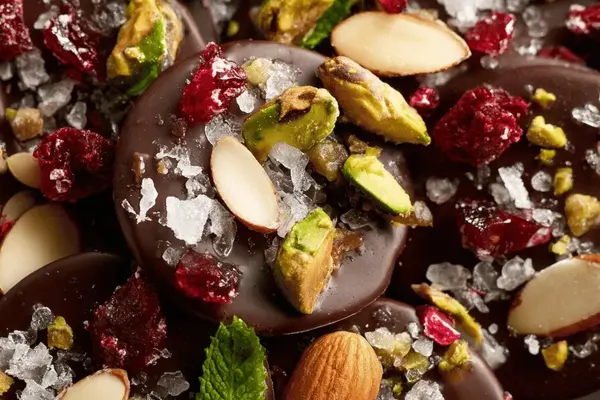
Drop a spoonful of chocolate on parchment and you’ve basically started. These aren’t cookies — they’re candy. No oven, no bake time, no stress. Just chocolate, toppings, 35 minutes and you’re done.
Why You’ll Love This No Bake Chocolate Candy
Takes 35 minutes flat. Actual time, not including staring at your fridge.
No bake means no heating the house up. Perfect for summer or when you just don’t want to deal with the oven. Literally just chocolate and whatever’s in your cupboard.
Looks fancy. Like you made them at a bakery. They’re not. They’re impossibly simple.
You can customize every single one — almonds on that, pistachios on this one, cranberries on the next. Everyone gets what they want. Actual chaos in the best way.
Keeps a week out, three weeks cold. Make them Sunday, eat them all week without thinking about it.
What You Need for No Bake Chocolate Treats
Semisweet chocolate — 235 grams, chopped up rough. Doesn’t have to be exact. Dark chocolate works. Milk chocolate works. Just pick one and commit.
Toasted almonds slivered. Buy them already toasted if you’re lazy. Honestly fine either way but toasted ones have flavor.
Pistachios. Chopped. Not finely — just a few rough chops so you see the green.
Dried figs chopped small. If you can’t find them or hate them, skip them. No drama.
Dried cranberries. Sweetness. Tartness. They do their job.
Crushed peppermint candies. The hard kind. Crush them in a bag with a wooden spoon so they stay chunky, not powder.
Flaky sea salt. A pinch. Maldon or whatever. Changes everything.
How to Make No Bake Chocolate Desserts
Line a baking sheet with parchment. Prevents sticking. Makes cleanup actually possible.
Put half the chocolate in a microwave-safe bowl. 15 seconds in the microwave. Stir it. You’ll hear little crackles at first — when those stop, you’re almost there. Another 15 seconds. Stir. Keep doing this. Never leave it for 30 seconds or longer or you’ll have a grainy disaster on your hands. It’s slower this way on purpose.
Add the rest of the chocolate. Stir fast. Some lumps are fine. The warm chocolate’ll finish melting on its own. This is called residual heat and it saves you from overcooking the whole thing. If it’s not smooth in like 30 seconds of stirring, add one more tiny blast — five seconds max.
Drop a level tablespoon of chocolate onto the parchment. Space them out. These spread a bit. Use the back of a spoon to flatten them into rounds — not thin, not thick, somewhere in the middle. You want them to hold onto the toppings without being a brick. Shape doesn’t matter. Rustic is the entire point.
How to Get No Bake Chocolate Candies Perfect
Work fast here. The chocolate sets quick and you need the toppings to stick before it does.
Scatter almonds on. Then pistachios. Figs. Cranberries. Generous. Go for it. The chocolate holds them. Then peppermint — just a little, it’s strong. Then the salt. One pinch per candy, maybe two if you like salt. The salt stops it from tasting like pure sugar, which it basically is.
Let them sit on the counter. About 50 minutes depending on how warm your kitchen is. Touch one. If it’s firm but gives a tiny bit under your finger, you’re good. If you’re impatient, stick them in the fridge for 12 to 18 minutes instead. But watch for condensation — pull them out when they’re set, not when the chocolate looks damp.
Stack them with wax paper between if you’re storing more than one layer. Room temperature lasts a week. Fridge lasts three weeks. Freezer makes the texture grainy and weird. Don’t bother.
No Bake Truffle Tips and Common Mistakes
Chocolate looks dull instead of shiny? You overheated it. Next batch, use the 15-second bursts and actually stick to them. Shiny means you nailed it. Dull means it broke.
White streaks on the chocolate? That’s bloom. Happens when chocolate gets shocked by cold or heat. Doesn’t hurt anything. Still tastes fine. Just not as pretty. If it bugs you, remelt gently in a double boiler, really slowly, and don’t jump it straight in the fridge.
Nuts tasting stale? Toast them yourself in a dry pan for two minutes, let them cool. Changes everything. Cranberries or figs feeling sticky? Pat them dry first or roast them a minute in the oven at 300. Moisture is the enemy here.
Chocolate too thick to spread? Let it sit for a minute. Or go slower with the tablespoon — less chocolate, easier to work with.
Keep everything dry. One water droplet and the whole batch gets grainy. Serious. Dry bowl. Dry spoon. Dry toppings.
Let them cool on the counter away from windows or direct heat. Sunlight will mess with them.
No Bake Cookies and Chocolate Desserts — Variations
Dark chocolate with cinnamon works. Dark chocolate with cayenne works better. Pinch of each. Unexpected heat.
White chocolate with crushed freeze-dried raspberries instead of peppermint. Pink Himalayan salt instead of flaky. You get mineral notes instead of pure salt punch.
Use tweezers or tongs if you want precise placement instead of just scattering. Looks more intentional. Takes longer. Not worth it but some people like that.
No Bake Cookie Recipe With Peanut Butter
Prep:
35 min
Cook:
0 min
Total:
35 min
Servings:
20 mendiants
Ingredients
- Chocolate Base
- 235 g (8 oz) semisweet chocolate, roughly chopped
- Toppings
- Toasted almonds slivered
- Shelled pistachios, chopped roughly
- Dried figs, diced small
- Dried cranberries
- Crushed peppermint candies
- Pinch of flaky sea salt
Method
- Preparation
- 1 Line baking sheet with parchment. Important, prevents sticking, clean up quicker. Use a rimmed sheet because accidents happen.
- Melting On Point
- 2 Put half the chocolate in microwave-safe bowl. Heat 15 seconds, stir well. Listen for little crackles stopping means it's nearly soft. Repeat heating 15-second blasts max, stirring every round, melting must be gradual. Then add rest of chocolate; stir swiftly until silky but keep some lumps if stubborn. Residual heat finishes the melt without overheating. Overheating = grainy mess; trust your eye and feel; chocolate should shine.
- Shaping Mendiants
- 3 Drop level tablespoon-sized blobs spaced well apart. Use back of spoon to spread uneven rounds; not too thin or brittle, not too thick or gums up. Medium thickness ideal to hold garnishes. Shape is rustic; imperfection adds charm.
- Garnishing — Go Quick, But Decisive
- 4 Immediately scatter almonds, pistachios, figs, dried cranberries generously over each. Sprinkle crushed peppermint sparingly—adds crunch, unexpected bite. A sneaky pinch of flaky sea salt onto each disc. Salt wakes flavors, prevents cloying.
- Setting Time and Sensory Cues
- 5 Let sit at room temp until firm, about 50 minutes, depending on kitchen humidity. If impatient or room warm, slide into fridge for 12-18 minutes—watch that condensation. Chill too long, get dull surface. Touch test: firm but springy under finger with subtle give. This means ready to store or stack.
- Storage Notes
- 6 Keep in airtight container separated by wax paper layers. Shelf is 1 week room temp, up to 3 weeks refrigerated. Avoid freezer; chocolates' textures become gritty.
- Troubleshooting
- 7 If chocolate blooms (white streaks), didn’t temper properly or temp shock from fridge. Slightly slick, safe to eat but less pretty. Remelt gently, try slow microwave bursts or double boiler with water below boil, stirring constantly.
- 8 If nuts stale or soggy, toast separately in dry pan until fragrant, cool completely before topping. Adds crunch and aroma.
- 9 Sticky or melting toppings? If dried fruit moist, pat dry or roast briefly to reduce moisture.
- 10 Too thick chocolate on spread? Next batch chill a minute on sheet before adding toppings to avoid sinking.
- 11 Big batches tempt rushing; do small rounds, steady pace.
- Tips and Variations
- 12 Try dark chocolate mixed with a pinch of cinnamon or cayenne for heat kick. Or white chocolate with freeze-dried raspberries crushed instead of peppermint.
- 13 Experiment with sea salt types—pink Himalayan gives subtle mineral notes.
- 14 Use tongs or tweezers to place garnishes if quick precision desired.
- 15 Visual is key. Shiny glossy chocolate indicates proper melting. Dull means overheat or moisture.
- 16 Always keep equipment 100% dry; small water droplets wreck temper.
- 17 Let cool fully on counter away from direct sunlight or heat sources.
- 18 Clean parchment up quickly; chocolate sticks less once cooled.
Nutritional information
Calories
150
Protein
2g
Carbs
14g
Fat
10g
Frequently Asked Questions About No Bake Chocolate Candies
Can you use milk chocolate instead of semisweet? Yeah. It’s sweeter. Might get cloying. Balanced out by salt and the toppings. Try it.
What if you don’t have peppermint? Use anything crunchy. Crushed wafer cookies. Chopped toasted coconut. Actually, don’t — coconut gets stale quick. Sprinkles work. Broken-up pretzels. Just don’t use anything chewy or it’ll soften up and get gross.
How do you know when the chocolate’s done melting? Smooth and glossy. Stir it and it coats the spoon without lumps sitting there. If you’re still seeing chunks that don’t blend in after a couple stirs, give it five more seconds in the microwave. One more blast. That’s it.
Can these sit in the heat? Not really. 70 degrees and below is fine. Warmer than that and the chocolate gets soft. Summer kitchen, keep them in the fridge. Not the freezer. Fridge.
What’s the deal with the flaky salt? It cuts the sweetness. Makes the chocolate taste more like chocolate and less like candy. A pinch is honestly enough. Two if you really like salt. More than that and it tastes like the ocean.
Can you double the batch? Easy. Scale everything up. Still takes 35 minutes. Just more of them sitting on the counter. Still takes 50 minutes to set or 12 to 18 in the fridge.
What happens if you skip the parchment? Sticks. A lot. Then you’re scraping chocolate off the sheet with a metal spatula and ruining them. Don’t do this. Use parchment.
Can you make these ahead? Three weeks in the fridge easily. One week on the counter. After that they’re fine but the chocolate gets a dull film and the nuts aren’t as crispy. Fridge is your friend here.
You’ll Love These Too
Explore all →
Chermoula Sauce with Parsley and Mint

Chorizo Pasta with Spinach and Tomato
Menchie Frozen Yogurt Popsicles Recipe
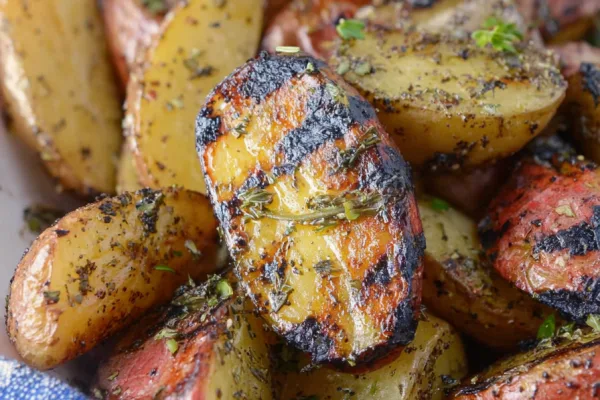
Grilled Marinated Potatoes

Crispy Sesame Chicken Drumsticks Recipe
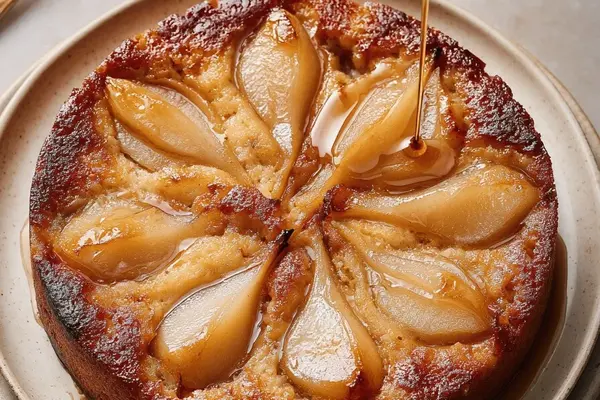
Maple Pear Pudding Upside-Down Cake

Vegetarian Lasagna with Ricotta and Zucchini
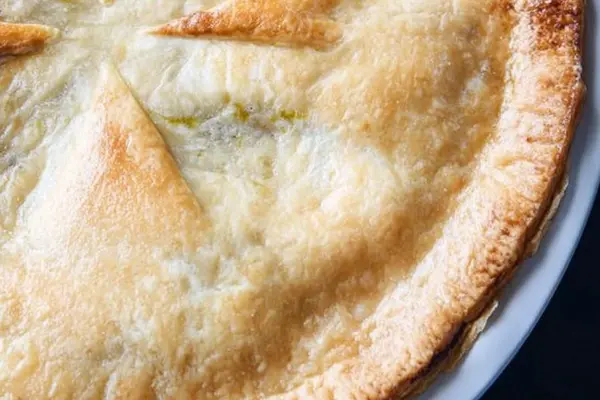
Rustic Chicken Pot Pie with Buttermilk Crust

Citrus Syrup with Ginger and Lemon Peel
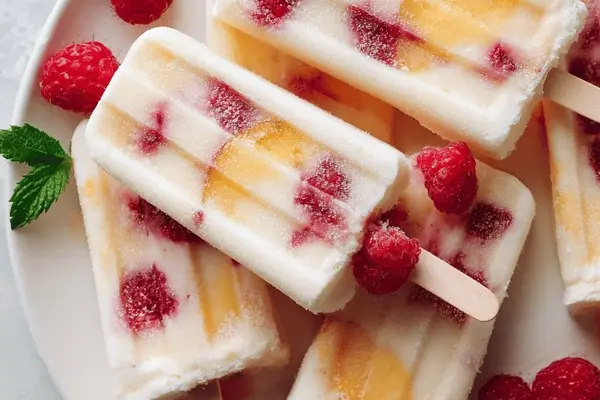
Frozen Popsicles with Raspberries and Peaches
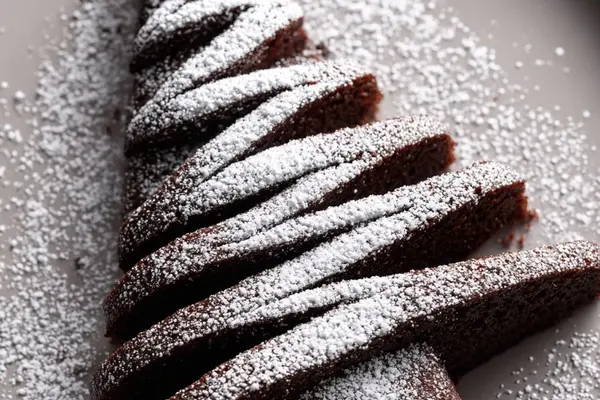
Chocolate Pine Tree Cake with Buttermilk

Recipe For Making Tartar Sauce
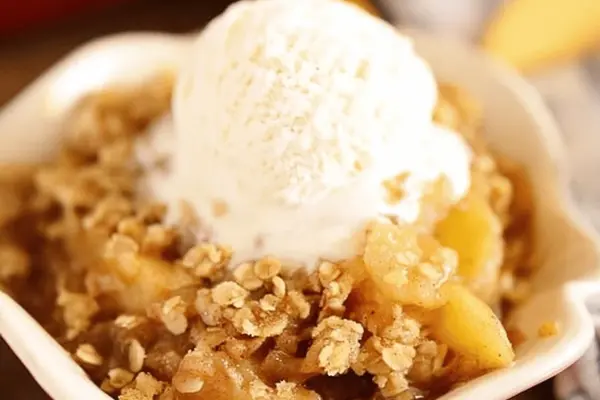
Easy Spiced Apple Crumble with Oats

Pasta Jar Mix with Sun-Dried Tomatoes
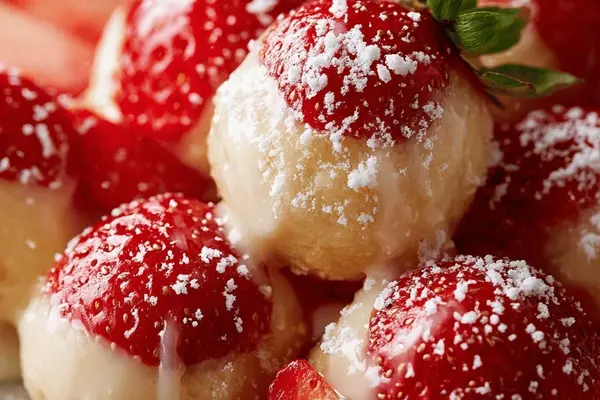
Strawberry Short Cake with White Chocolate

Sirloin Steak with Mushrooms and Tomato
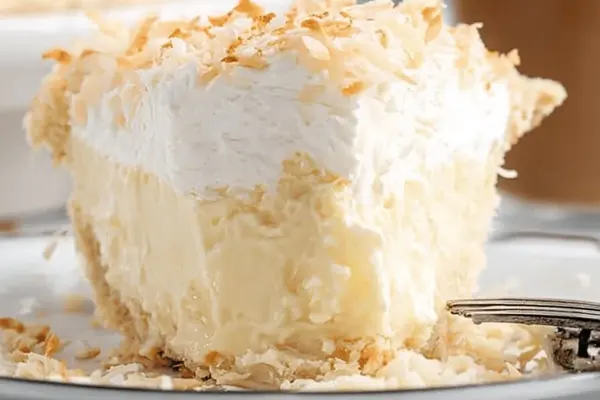
Coconut Cream Pie with Toasted Coconut Flakes

Creamy Onion Soup with Gruyère & Sourdough

Sprinkle Cup Cakes with Orange Frosting