Making Sugar Cookies with Royal Icing

By Emma
Certified Culinary Professional
·
Recipe tested & approved
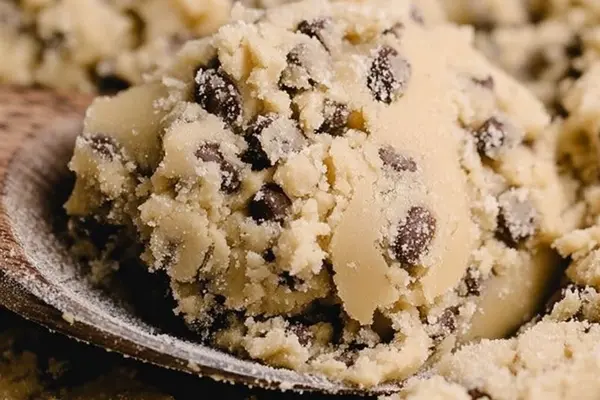
Softened butter. Not melted. There’s a difference and it matters. Three quarters cup of it gets creamed with sugar until it’s pale and kind of fluffy—that’s where the air comes in, the thing that makes these cookies tender instead of dense. Had a batch once where I melted the butter by accident. Flat. Crispy. Tasted fine but they weren’t the same. These are the cookies you decorate. The ones that go on plates at Christmas. The ones people actually eat instead of leaving on the counter.
Why You’ll Love These Holiday Christmas Cookies
Takes two and a half hours start to finish but most of that’s chilling and drying time. You’re maybe 20 minutes of actual work if you move.
Dough stays in the fridge for days. Freeze it for months. Means you can make these whenever without planning a whole afternoon around it.
They hold their shape. Not those cookies that spread into puddles. You cut them clean, they stay that way. The edges get firm and crisp. Centers stay soft. Both at the same time.
Decorating is the fun part. Kids can do it. Adults do it stressed at 11 p.m. the night before Christmas. Either way it works. The icing is simple—powdered sugar and water, nothing fancy. Gel colors stay bright. No weird vanilla taste from liquid dyes.
Actually homemade. Like actually. Not a box mix, not pre-portioned dough you slice. You make it from flour and butter and that counts for something.
What You Need for Frosted Sugar Cookies
All-purpose flour—two and a third cups. Not two and a half. This amount works. Sometimes baking powder. Sometimes baking soda if you want a slight tang to it. Half a teaspoon salt either way.
Softened butter, three quarters cup. Sit it out. Don’t nuke it. Room temperature means it creams right. Granulated sugar, three quarters cup. One egg. Two teaspoons vanilla extract. Vanilla bean paste is richer if you have it. Worth mentioning.
For the icing: three cups powdered sugar, maybe more. Quarter cup warm water. One tablespoon corn syrup. One more teaspoon vanilla. Pinch of salt. Gel food colors. Nothing else needed.
How to Make Christmas Cookie Recipes
Combine your flour and baking powder and salt in a bowl first. Just mix them together. Set it aside.
Cream the butter and sugar. This takes a few minutes. You want it pale. You want it fluffy. This is the part where air gets trapped in there. Don’t overbeat or the butter warms and melts and then you’ve lost the whole thing.
Add the egg and vanilla. Mix until it’s combined. Don’t keep going after that. Overmixing toughens it up. You’ll regret it when you’re biting into the cookie.
Add the dry mix now. Low speed. You don’t want flour clouds everywhere—not dramatic but it happens. Gradually. Let it incorporate. The dough should feel soft. Not sticky. Soft.
Divide it in half. Wrap each piece. Chill for at least an hour and a half. Overnight is fine too. Cold dough doesn’t spread all over the pan when it bakes. That’s the whole point.
How to Get Iced Sugar Cookies and Frosted Sugar Cookies Perfect
Flour your surface lightly. Roll one half out to about half an inch thick. Thickness matters here. Thicker means softer cookie. Thinner means it snaps when you bite it. You pick what you want.
Cut shapes with whatever cutters you have. Press firmly so the edges come out clean. Don’t wiggle the cutter. That tears things.
Space them an inch and a half to two inches apart on parchment paper. They expand slightly when they bake. Merge if you crowd them. It happens fast.
Scraps go back together. Re-roll once. Chill those in the freezer for 15 minutes before cutting again. Avoid overworking the dough—it warms up and gets tacky and then you’re fighting with it.
Heat the oven to 350°F. Every oven bakes different so watch these closely the first time. Seven to twelve minutes is the range. Look for edges just barely golden. Centers should be puffed but not cracked. They firm up more as they cool. Overbaked means dry. Doesn’t happen often but it’s terrible when it does.
Five minutes on the baking sheet. Then move them to a wire rack so steam doesn’t make the bottoms soggy. Let them cool completely before icing.
For the icing, whisk powdered sugar in a bowl. In another bowl, warm water and corn syrup and vanilla. Get it smooth.
Pour the liquid into the sugar slowly. Stir gently. Lumps happen if you’re not careful. Thickness matters—too thin runs everywhere. Too thick cracks when it dries.
Pinch of salt. Tastes better. Cuts the sweetness that can be overwhelming. Taste it. Adjust with tiny drops of water or more sugar until it’s right.
Divide into smaller bowls if you want colors. Gel colors work best—add them drop by drop. They get darker as they dry so go lighter than you think you want.
Pipe the icing into bags with a small round tip. Or use squeeze bottles. Outline the cookie first to create a dam so the filling doesn’t run everywhere. Let that set a minute.
Fill the center with thinner icing. Flood it carefully but quickly before the outline hardens completely. A toothpick fixes bubbles. Works every time.
Sprinkles go on right after. Dip edges if you want. Immediate application. Once the icing starts to set, sprinkles won’t stick.
Let them dry at room temperature. One to three hours depending on humidity and how thick the icing is. Don’t refrigerate. Icing sweats in the cold and it’s a mess.
Pack them only when the icing is fully hard. Otherwise decorations smear and stick to each other.
Leftover dough wraps tight in the fridge for three days or freezes for months. The icing keeps airtight but might need a quick whisk before using it again.
Baking for Christmas Sugar Cookie Tips and Mistakes
Don’t overbeat the butter and sugar. Seems fine at the time. Then the cookies spread too much and they taste greasy. Takes experience to feel when it’s enough.
Cold dough prevents spread. This is non-negotiable for these. Room temperature dough bakes into pancakes. Chill it the full time.
Icing thickness changes everything. Too thin and it slides off the cookie. Too thick and cracks appear when it dries and the cookies look broken. Somewhere in the middle. You’ll learn it by doing it.
Gel colors. Not liquid. Liquid adds too much moisture. Gel colors stay bright and don’t mess with the icing viscosity.
Humidity kills drying time. High humidity means drying takes forever. Low humidity means it’s fast. Sometimes the same icing takes two hours, sometimes four. It’s fine. Don’t rush it.
Re-rolling scraps too much toughens them. Once is fine. Twice and you’re overworking the dough. Some scraps should probably just disappear into the trash if they’re a mess.
Every oven is different. First batch watch them like a hawk. Some ovens run hot. Some run cold. Temperature matters more than time.
Making Sugar Cookies with Royal Icing
Prep:
2h 15min
Cook:
0h 15min
Total:
2h 30min
Servings:
24-26 cookies
Ingredients
- For dough: 2 1/2 cups all-purpose flour, slightly reduced to 2 1/3 cups
- 1 teaspoon baking powder (swap baking soda for slight tang twist)
- 1/2 teaspoon salt
- 3/4 cup unsalted butter, softened but not melted
- 3/4 cup granulated sugar
- 1 large egg
- 2 teaspoons vanilla extract (vanilla bean paste works too, richer aroma)
- For icing: 3 cups powdered sugar (plus extra to adjust)
- 1/4 cup warm water
- 1 tablespoon light corn syrup
- 1 teaspoon vanilla extract
- Pinch salt
- Gel food colors
Method
- For the dough
- 1 Measure dry ingredients exactly but sift flour for volume accuracy. Combine flour, baking powder, salt in bowl. Set aside.
- 2 Cream softened butter and sugar until pale and fluffy; this traps air for tender crumb. Do not overbeat or it melts the butter.
- 3 Add egg and vanilla. Mix just until combined; overmix toughens dough later.
- 4 Gradually add dry mix, blend lowest speed to avoid flour clouds and dry tough spots. Dough should feel soft, not sticky.
- 5 Divide dough in half. Wrap each and chill minimum 1 1/2 hours; can chill overnight. Cold dough prevents spread and keeps shape crisp edges with soft centers.
- 6 On lightly floured surface, roll one half out to about 1/2 inch thick. Thicker dough yields softer cookie; thinner means crisp snap. Trust touch here.
- 7 Cut shapes with cookie cutters. Press firmly to get clean edges; wiggle bad — cuts tear.
- 8 Place cookies 1 1/2-2 inches apart on parchment-lined baking sheets. Space matters; cookies expand slightly and merge if too close.
- 9 Collect scraps, re-roll once. Chill scraps 15 minutes in freezer before cutting again for less spreading. Avoid overworking dough; it warms too fast.
- 10 Heat oven to 345-355°F— mid-range 350°F is fine but watch closely as every oven bakes differently.
- 11 Bake cookies 7-12 minutes— look for edges just tinted golden and firm, centers puffed but not cracked. They firm further cooling. Too brown? Overbaked, dry.
- 12 Cool on baking sheet 5 minutes to set structure, then shift to wire racks to stop steam from soggy bottoms. Let cool completely before icing.
- For the icing
- 13 Place powdered sugar in medium bowl. In small bowl, whisk warm water, corn syrup, vanilla thoroughly.
- 14 Pour liquid slowly into sugar, stirring gently to avoid lumps. Icing thickness matters: too thin runs off; too thick cracks when drying.
- 15 Add pinch of salt to cut sweetness; taste test essential. Adjust with tiny water drops or a sprinkle more sugar until viscous and creamy.
- 16 Divide icing into smaller bowls for colors. Add gel colors dropwise; colors darken as they dry, so err on lighter side.
- 17 Transfer to piping bags fitted with round tip #4 Wilton or to squeeze bottles for easier control. Outline cookies first to create dam.
- 18 Fill center with thinned icing, flood carefully but quickly before outlining sets hard. Toothpick handy for spreading or fixing bubbles.
- 19 Add sprinkles immediately or dip cookie edges for festive texture. Work on parchment or trays to avoid mess.
- 20 Let decorated cookies dry at room temperature. Usually 1 to 3 hours depending on humidity and icing layer thickness. Do not refrigerate or icing may sweat.
- 21 Package only once icing is fully hard or the decorations smear or stick.
- 22 Keep leftover dough tightly wrapped in fridge up to 3 days or freeze for months. Icing can be stored airtight but may need stiffening whisk before use.
Nutritional information
Calories
150
Protein
1g
Carbs
22g
Fat
7g
Frequently Asked Questions About Iced Sugar Cookies
How long does the dough keep? Three days in the fridge. Months in the freezer. Actually works both ways. I’ve pulled dough from the freezer and rolled it and it baked fine.
Can I use vanilla bean paste instead? Yeah. Two teaspoons becomes one teaspoon paste. The flavor is richer. Worth it if you have it.
What if my icing is too thin? Add more powdered sugar. Sprinkle some in and stir it. Keep going until it’s thick enough to stay on the cookie. Takes a few tries to dial in.
Too thick? Warm water. One drop at a time. Stir it in. Change happens fast so go slow.
Can I make these ahead? Dough, yes. Cookies, sure. Not with icing though. Ice them the same day you serve them or they get hard. They don’t go bad but the texture changes. Not good.
Why does the icing crack when it dries? Too thick. Or humidity. Or both. Thin icing dries smooth. Thick icing shrinks and cracks appear. Thin is better.
Should I refrigerate decorated cookies? No. Room temperature. The icing sweats in the cold and sticks to everything. Ruins the look.
How do I get clean edges when cutting? Press down hard with the cutter. Don’t wiggle it. Wiggling tears the dough. One firm press works.
You’ll Love These Too
Explore all →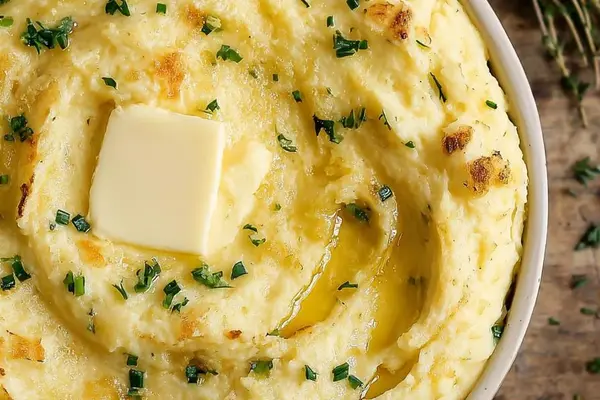
Cheesy Mashed Potatoes with Smoked Gouda
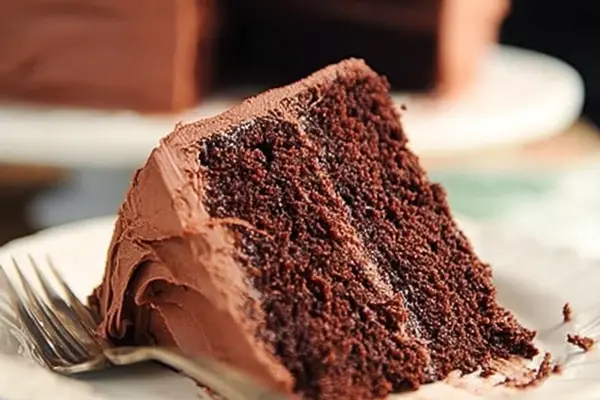
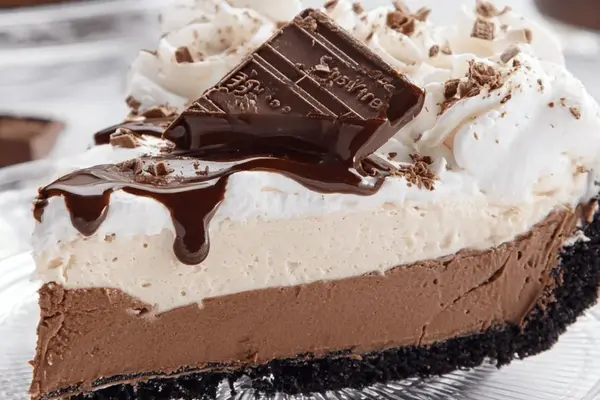
Chocolate Cake Recipe with Espresso

Recipe For Bean Salad With Sweet Potato
King Cake Recipe with Crescent Rolls
Smoked Trout Salad with Asparagus & Eggs
Crispy Corn Fritters with Smoked Paprika

Buttered Tofu Recipe with Tomato Cream Sauce
Caramel Apple Cookies with Oat Flour
Chermoula Sauce with Parsley and Mint

White Wine Cocktail with Vodka & Citrus
Beef Pasta With Mushrooms & Hoisin
Candied Almond Nuts with Cinnamon
Green Minestrone Soup with Kale & Zucchini

Pan Seared Chicken Breast with Chorizo

Roasted Sweet Potato with Guacamole
Blueberry Muffins with Yogurt and Honey

Apple Turnover With Puff Pastry

Sheet Pan Pork Chops with Parmesan Potatoes
Oven-Baked Steak Hash Omelet with Cheddar