
Red Velvet White Chip Cookies Recipe

By Emma
Certified Culinary Professional
·
Recipe tested & approved
Red velvet white chip cookies made with cake mix, butter, eggs, and white chocolate chunks. Soft-baked with arrowroot powder for perfect texture.
Prep:
40 min
Cook:
12 min
Total:
1h
Servings:
20
Scoop them cold. The dough’s thick enough that it won’t spread all over the sheet before the edges set. That’s the whole thing working right there — you skip the chill, you get flat discs instead of actual cookies with structure.
Why You’ll Love This Red Velvet White Chip Cookie Recipe
Takes 40 minutes total if you don’t overthink it. Most of that’s sitting in the fridge anyway. Tastes like comfort food — that red velvet flavor from the cake mix, but it’s not fake or too sweet because the white chocolate chunks pull it back. They melt different than chips do. Uses arrowroot powder instead of cornstarch so the texture is actually chewy through the middle. Not cakey. Not dense. Just gives when you bite it. No weird ingredient list. You probably have half of this already. Works for any occasion. Bake them Tuesday night, serve them Friday. They don’t go stale fast.
What You Need for Red Velvet White Chip Cookies
Red velvet cake mix. The 14 oz box. Don’t grab the sugar-free or organic version unless you like experimenting with failures.
Arrowroot powder. Sounds weird but it replaces the cornstarch in the mix. Creates actual chew. The difference is real — one batch with it, one without, and you’ll never go back.
Unsalted butter. Half a cup, softened but not melting on the counter. Cold butter takes forever to cream, warm butter makes everything greasy. Room temperature. That’s it.
Granulated sugar. Three quarters cup. Not powdered. The granules matter for texture.
Two eggs. Large. Cold from the fridge is fine.
Vanilla extract. A teaspoon. The real stuff. Not the imitation — tastes like chemicals in this.
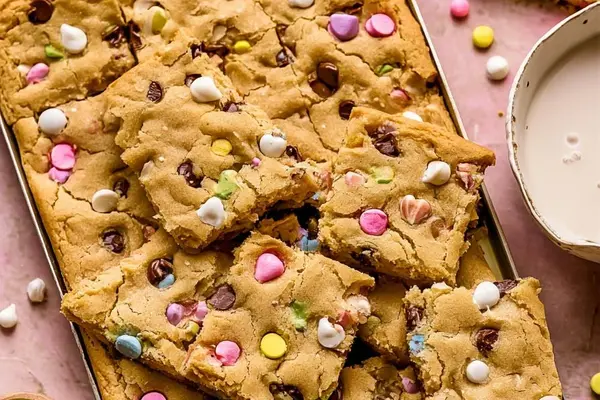
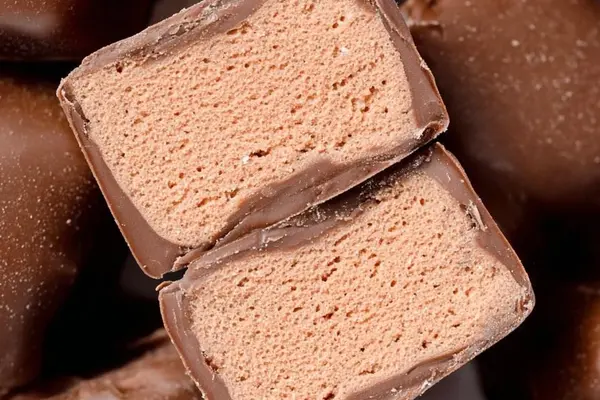
White chocolate chunks. A full cup. Not chips. Chunks melt slower, distribute better, don’t disappear into the dough. If you can only find chips, break them up a bit or just use them — cookies still work, just slightly different texture.
Optional: one tablespoon of brewed espresso if you want the red velvet flavor to hit harder instead of fade. Makes it taste less like cake, more like an actual dessert. Also a pinch of baking soda if you think the red velvet mix is too acidic for your taste. Honestly, skip it unless you’ve made these before and noticed something off.
How to Make Red Velvet White Chip Cookies
Get the dry ingredients ready first. Dump the cake mix into a big bowl — 14 ounces — then measure out 3 tablespoons of arrowroot powder and add it in. Half a teaspoon of fine sea salt. Stir it all together until the color’s even and there’s no clumping. This takes maybe a minute. If you’re using the baking soda, add a pinch now.
Put the butter in your mixer bowl. Softened. Half a cup. Paddle attachment. Medium speed. Add the sugar — three quarters cup — and let it go for about 3 minutes. You’re waiting for it to go pale and fluffy, kind of like wet sand that’s light and bouncy. This part matters because it’s where the cookies get their structure. Don’t skip it by just mixing for 30 seconds. Actually cream it.
Crack one egg in. Mix it until it disappears, maybe 20 seconds. Crack the second egg in. Mix again. Scrape down the sides with a rubber spatula — there’s always dry pockets hiding. Pour in the vanilla extract. If you’re doing the espresso, add that now too. Mix for 10 seconds.
Start folding in the dry ingredients. Use the spatula. Not the mixer. Fold it in gradually — like you’re folding a blanket, not stirring soup. The dough’s going to be sticky. That’s correct. If it’s not sticky, you either skipped creaming or you’re using too much arrowroot. Don’t overmix or the cookies get tough. You want clumps of dry stuff gone but the dough still loose.
Fold the white chocolate chunks in gently. Same spatula. Don’t crush them. Just fold.
Cover the dough with plastic wrap and stick it in the fridge. Minimum 45 minutes. Longer is better — overnight is fine if you want to bake tomorrow. Cold dough scoops clean and doesn’t spread all over the sheet before it sets.
How to Get Soft Chew Red Velvet White Chocolate Chunk Cookies
Heat the oven to 380°F. That’s hotter than the typical 375 most cookie recipes use. Hotter oven means the edges set and brown before the centers bake dry. You get crispy edges and a soft chew in the middle instead of a cake-like cookie all the way through.
Line your baking trays with parchment or silicone mats. Keeps the bottoms from browning too fast. Keeps them from sticking. Less cleanup.
Scoop the cold dough with a 2 tablespoon measure — that’s roughly the size of a walnut. Put 6 cookies per sheet. Space them. They’ll puff up a bit and spread a little, not like crazy, but they need room to breathe. Crowded cookies turn greasy and flat.
Bake for 9 to 13 minutes. Watch the edges. When they start turning a shade darker red — not brown, just deeper — and the centers are still puffed and pale, that’s when you pull them out. The centers look barely done. Undercooked, almost. They’ll firm up as they cool on the sheet.
Leave them on the hot baking sheet for 20 minutes minimum. This is critical. The residual heat finishes cooking the bottoms so they’re set but not hard. The tops get that slight crust. If you move them to the rack too fast, they break apart.
After 20 minutes, transfer to a wire rack and let them cool all the way. Takes another 10 or so.
Red Velvet Cookie Tips and Common Mistakes
The arrowroot thing isn’t random. Cornstarch makes cookies more cake-like. Arrowroot creates chew. It’s the single biggest difference between using the box mix straight and actually getting good cookies. Don’t skip this step.
Cream the butter and sugar longer than you think you need to. Most people underbake this part. Pale and fluffy takes time.
The dough sticks. That’s not wrong. Cold dough is less sticky but room-temperature dough is easier to fold. Cold dough scoops cleaner. Choose your battle.
Don’t skip the chill. It takes 45 minutes minimum. The structure depends on it. The white chocolate doesn’t separate from the dough. The cookies don’t spread into wafers.
The oven temperature matters. 375 is too low for these. You get soft cookies everywhere instead of that contrast between edges and center. 380 is the sweet spot. Your oven might run hot — if your cookies brown too fast, lower it to 375 next time.
Baking time varies wildly depending on your oven, the size of your scoops, how cold the dough is. The range is 9 to 13 minutes. Don’t just set it for 12 and walk away. Watch them. Look for edges, not centers. Centers should look slightly underdone when you pull them out.
Room temperature white chocolate chunks sometimes get dark spots after a few days. Totally fine to eat. Just happens with white chocolate — it’s sensitive to temperature shifts.
Red Velvet White Chip Cookies Recipe
Prep:
40 min
Cook:
12 min
Total:
1h
Servings:
20
Ingredients
- 1 box red velvet cake mix (14 oz), replaced cornstarch with 3 tbsp arrowroot powder
- 1/2 tsp fine sea salt
- 1/2 cup unsalted butter, softened
- 3/4 cup granulated sugar
- 2 large eggs
- 1 tsp vanilla extract
- 1 tbsp brewed espresso (optional twist)
- 1 cup white chocolate chunks (sub white chocolate chips)
- Optional: pinch baking soda to balance acidity
Method
- 1 Mix cake mix, arrowroot powder, salt (and baking soda if using) in a large bowl. The arrowroot helps with chew and structure where cornstarch would.
- 2 Use paddle attachment on stand mixer, cream butter and sugar medium speed until pale and fluffy. About 3 minutes. Don’t skimp here — texture depends on aeration.
- 3 Add eggs one at a time, mixing briefly between. Stir in vanilla extract and espresso if you want richer notes. Use rubber spatula to scrape sides periodically to stop dry pockets.
- 4 Gradually fold in dry ingredients. Don’t rush. The dough is sticky — that’s normal. Overmixing ruins tenderness but under-mixing leaves clumps.
- 5 Fold white chocolate chunks gently — tired of chocolate chips? Chunks melt better but watch for clumps that can cause collapsing cookies.
- 6 Cover dough with plastic wrap. Chill at least 45 minutes for firmness and ease of scooping. Longer chill = thicker cookies.
- 7 Preheat oven to 380°F. Reason: slightly hotter than usual for crisper edges without overbaking middles.
- 8 Line two baking trays with parchment or silicone mats. Keeps bottoms even browned, no sticking, less clean-up.
- 9 Scoop out cookies with 2 tbsp measure roughly, placing 6 per sheet, spaced apart so they don’t run. My experience: crowding equals flat, greasy mess.
- 10 Bake 9-13 minutes. Look for edges turning slightly darker red, centers puffed but not browned. Remove when edges look set but middles still soft-looking. Cookies firm as they cool.
- 11 Leave cookies on sheet 20 minutes minimum before moving to wire racks to complete cooling. Critical for texture setting. Don’t rush or they break.
- 12 Store any extra dough chill tight, up to 3 days, or freeze up to 3 months. Thaw overnight in fridge before using.
Nutritional information
Calories
150
Protein
2g
Carbs
21g
Fat
7g
Frequently Asked Questions About Red Velvet White Chip Cookies
Can I use white chocolate chips instead of chunks? Yeah. They melt faster and disappear more into the dough, but the cookies still work. The texture’s slightly different — less distinct white chocolate flavor — but they’re not ruined. Chunks are better though.
How long do these last? About 4 days in an airtight container before they start going stale. The arrowroot helps them stay chewier longer than normal cookies. You can freeze the dough up to 3 months, thaw it overnight in the fridge, scoop and bake. Frozen baked cookies work too — thaw them at room temperature.
What if I don’t have arrowroot powder? You’re making a different cookie. Cornstarch makes them denser and more cake-like. Not worse, just different. You could probably use tapioca starch as a swap — similar texture to arrowroot. Just don’t skip it entirely or the dough spreads too much and the cookies flatten.
Do I have to use the espresso? No. It’s optional. The red velvet flavor is still there without it. The espresso just makes it taste less like cake-mix cookies and more like an actual dessert. Adds depth. Try it once, see if you like it.
Why 380°F instead of 375? Hotter oven sets the edges faster so they crisp up while the middles stay soft. 375 works but you get a more uniform texture all the way through — softer, more cake-like. 380 gives you that contrast. If your oven runs hot, adjust down.
Can I use salted butter instead of unsalted? You can but don’t add the half teaspoon of sea salt then. Salted butter already has salt in it. You’ll oversalt. Better to just use unsalted and control the salt yourself.
How do I know when they’re actually done? Edges look set and darker. Centers still look soft and puffed. That’s done. They look undercooked but they’re not. The sheet’s hot and they keep cooking as they cool.
You’ll Love These Too
Explore all →
Citrus Creamy Fruit Dip with Lime & Ginger

Broccoli Cauliflower Salad with Bacon

Slow Cooker Turkey Breast with Herb Butter

Clams White Wine with Pancetta Bread Crumble

Rustic Chicken Parmesan with Panko Crust
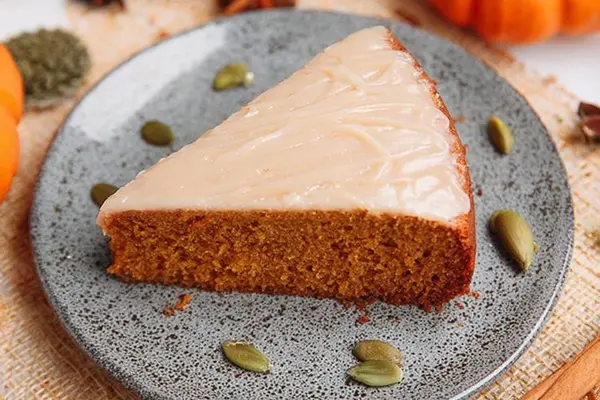
Pumpkin Olive Oil Cake with Maple Glaze
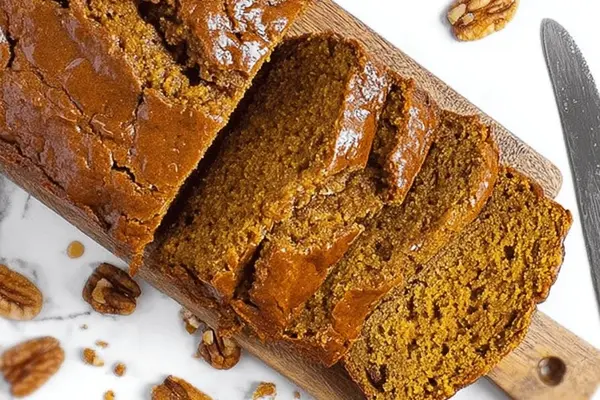
Banana Bread Recipe with Pumpkin & Cardamom
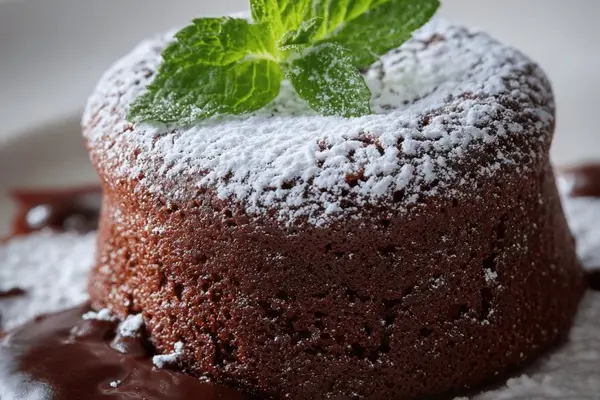
Gluten-Free Chocolate Soufflés with Lime Zest
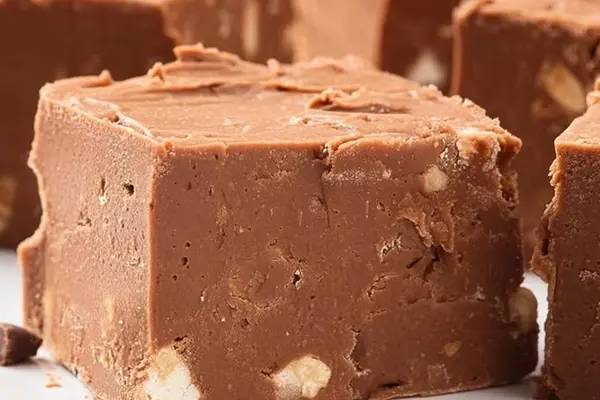
Marshmallow Fluff Fudge with Pecans

Saffron Aioli with Tomato Paste & Garlic

Red Potato Mash with Sweet Italian Sausages
Chewy Chocolate Chip Cookies with Cadbury Eggs

Jalapeño Corn Muffins with Jiffy Mix

Cheese & Sausage Dip with Corn

Nashville Hot Chicken Sliders Recipe

Pasta with Peas, Butter & Aged Cheese

Ziti Bake with Spinach, Mushrooms & Ricotta

Baked Cabbage and Bacon with Cheddar
Homemade Chocolate Bars with Almond Bark