Red Velvet Cake with Walnuts & Cream Cheese

By Emma
Certified Culinary Professional
·
Recipe tested & approved
Fifty minutes of prep. Twenty-seven minutes in the oven. Then you’ve got a red velvet cake that actually tastes like something — cocoa and tang, not just food coloring and cream cheese. The walnut layer cuts through the sweetness. That’s the whole thing.
Why You’ll Love This Red Velvet Twist Cake
Looks like the classic. Tastes completely different — cocoa powder and vinegar make it less saccharine than most versions, and toasted walnuts add a bitterness that works. Two-layer homemade red velvet cake with actual structure. Takes just over an hour start to finish if you move. The cream cheese frosting is ridiculously silky once you nail the ratio. Works cold from the fridge, maybe better that way. Walnut pieces pressed into the sides look intentional even if you rush the assembly.
What You Need for a Walnut Red Velvet Cake
Cake flour. Not all-purpose. The starch matters here — keeps crumb tender instead of tough. Two cups of it.
Cocoa powder. Two tablespoons. Unsweetened. This is what separates this from the food-coloring-and-nothing-else cakes everyone forgets about by next week.
Butter and sugar for creaming — half a cup butter, one and three-quarter cups sugar. That ratio. Matters.
Two eggs. One at a time. Patience.
Canola oil. A quarter cup. Not olive. Canola doesn’t fight the flavor.
Vinegar and vanilla. A tablespoon white vinegar — don’t skip this. It cuts richness, makes the crumb actually bounce. One teaspoon vanilla.
Buttermilk. One cup. The acid matters. If you don’t have it, milk with vinegar or lemon juice works. Rest it five minutes first.
Baking soda and salt. One teaspoon soda, half teaspoon fine salt.
Red food coloring gel. One and a half tablespoons. Gel, not liquid — liquid fades during baking and you end up with brick instead of scarlet.
Toasted walnuts. One cup chopped. Toast them yourself — five to eight minutes at 350, watch constantly. Nuts go from golden to burnt in about forty seconds. The toasting is what makes them taste like something instead of just existing in the cake.
For frosting: eight ounces cream cheese softened, half cup unsalted butter, four cups powdered sugar sifted, one teaspoon vanilla. That’s it. The cream cheese has to be soft or it stays grainy no matter how long you beat it.
How to Make a Homemade Red Velvet Layer Cake
Heat the oven to 350 degrees. Butter two eight-inch pans. Flour them lightly — not heavy. Too much flour and the cake dries out.
Whisk cake flour, salt, cocoa powder, and baking soda together in a large bowl. Actually whisk it. Lumps wreck the crumb. Stir vigorously if you don’t have a whisk.
Cream the butter and sugar together. Two minutes. Watch it. Don’t overbeat — grainy texture happens fast. You want fluffy but not separated. There’s a window.
Add the eggs one at a time. Beat fully after each one or the batter breaks down and separates. Then add the canola oil, vanilla, and vinegar. The vinegar smells weird at this point. Don’t care. It’s in there for a reason — makes the cake tender.
Now alternate. Dry ingredients first. Then buttermilk. Then dry again. End on dry. Low speed only. Mix barely until you can’t see the streaks anymore. Stop there. Overmixing makes the cake tough and dense, which defeats the entire point.
Add the red food coloring gel last. Fold it in gently. Vigorous mixing dulls the color — you want vivid scarlet, not muted brick red.
Divide the batter evenly between the pans. Smooth the tops roughly, then bang each pan on the counter once. Releases the big air bubbles.
Bake 27 to 32 minutes. Don’t watch the clock. Watch the cake. It should pull away slightly from the sides. The top should feel lightly springy when you poke it. A toothpick in the center comes out with moist crumbs, not wet batter. Not dry either. That’s the line.
Cool five to ten minutes in the pans, then turn the cakes out onto cooling racks. Don’t cover them. Covered cakes sweat and the bottoms get soggy. Let them sit exposed. Wait until they’re completely cool before frosting or the frosting melts into a mess.
How to Get Red Velvet Cake Crispy Walnut Edges
Toast the walnuts first. Three hundred and fifty degrees, five to eight minutes on a baking sheet. They shift from golden to burnt in maybe forty seconds so actually watch them. The smell tells you when they’re done — fragrant and sharp, not burnt-smelling.
Beat the cream cheese and butter together until silky and completely lump-free. This takes about three minutes on medium-high speed. No shortcuts. Lumps in the frosting are obvious and unpleasant and there’s no fixing them once they’re in.
Add the powdered sugar gradually. One cup at a time. Beat well after each addition or the kitchen fills with a sugar cloud. Finish with vanilla extract — important for depth.
Fold in the cooled toasted walnuts if you want crunch throughout. If you want them crunchier, frost the cake first, then press the walnuts onto the sides and top. They stay crunchier that way.
Use an offset spatula in gentle strokes to frost the layers. The frosting should hold shape but spread smoothly. If it’s too soft, chill it briefly — not too long or it hardens and you can’t spread it anymore.
Press the remaining walnuts onto the sides of the assembled cake. They add texture and a nutty bitterness that cuts the sweetness. Necessary balance.
Red Velvet Cake Tips and Common Mistakes
Don’t skip the vinegar. Sounds wrong. Actually works. Makes the crumb tender and bouncy instead of dense.
The crumb should feel light when you poke it — bounces back. If it’s dense or dry, you overmixed or baked too long. Nothing fixes that batch, but next time mix less and set a timer for 25 minutes to check early.
Cracked tops aren’t a failure. They happen. If the top is browning too aggressively partway through, tent it with foil.
Red food coloring gel. Not liquid. Liquid fades badly during baking and you end up with a muddy pink instead of red velvet. Don’t cheap out.
Overwhipped cream cheese frosting turns grainy. Stop when it’s just smooth and holds soft peaks. More beating doesn’t make it better.
Oil choice matters more than people think. Canola is smoothest here. Olive or coconut oil add undertones that fight the flavor. Just stick with canola.
If you don’t have buttermilk, use regular milk with a tablespoon of vinegar or lemon juice added. Let it sit five minutes before using. Fresh buttermilk works better though.
Serve it cold from the fridge or bring it to room temperature for about thirty minutes. Cold makes the cream cheese frosting firm and the cake hold together better. Room temperature tastes richer.
Keep the cake refrigerated if you’re not eating it same day. It lasts three days tightly wrapped. Freeze the layers separately with plastic wrap between them for longer keeping.
Red Velvet Cake with Walnuts & Cream Cheese
Prep:
50 min
Cook:
27 min
Total:
1h 17min
Servings:
12 servings
Ingredients
- 2 cups cake flour
- 1/2 tsp fine salt
- 2 tbsp unsweetened cocoa powder
- 1 tsp baking soda
- 1/2 cup unsalted butter softened
- 1 3/4 cups granulated sugar
- 2 large eggs
- 1/4 cup canola oil
- 1 tsp vanilla extract
- 1 tbsp white vinegar
- 1 cup buttermilk
- 1 1/2 tbsp red food coloring gel
- 1 cup chopped walnuts toasted
- 8 oz cream cheese softened
- 1/2 cup unsalted butter softened
- 4 cups powdered sugar sifted
- 1 tsp vanilla extract
Method
- Cake
- 1 Heat oven to 350°F. Butter and lightly flour two 8-inch pans; avoid too much flour to prevent dryness.
- 2 In a large bowl, whisk together cake flour, salt, cocoa, and baking soda. Important to sift or at least stir vigorously to avoid lumps. Set aside.
- 3 Cream butter and sugar using mixer for around 2 minutes until fluffy but watch them closely; overbeating leads to grainy texture here.
- 4 Add eggs one by one, beating fully after each. Don't rush, or batter breaks down. Blend in canola oil, vanilla, and vinegar next. Vinegar cuts richness, makes crumb tender — do not skip, despite odd scent at this stage.
- 5 Alternate adding dry ingredients with buttermilk. Start and end with dry. Mix on low speed only, barely combine before next addition. Overmixing = tough cake. Splash of cold buttermilk is fine to maintain moisture bounce in crumb.
- 6 Add red food coloring gel last, fold gently to maintain batter aeration. Too vigorous mixing dulls brightness; you want vivid scarlet, not muted brick.
- 7 Divide batter evenly between pans. Roughly smooth tops, then bang pans lightly on counter to release bubbles.
- 8 Bake 27 to 32 minutes. Don’t rely solely on time; watch for pull away from sides, lightly springy top, toothpick inserted should come out with moist crumbs, not wet batter.
- 9 Cool 5 to 10 minutes in pans, then turn out onto racks. Leave cakes exposed, no cover to avoid soggy bottoms. Should be fully cooled before frosting, or frosting melts into mess.
- Frosting & Nuts
- 10 Preheat oven to 350°F again. Spread walnuts evenly on baking sheet. Toast 5 to 8 minutes until fragrant and just golden. Watch carefully, nuts shift from toasted to burnt fast.
- 11 Beat cream cheese and butter together until silky and lump-free. Takes about 3 minutes on medium-high speed. No shortcuts here—lumps = unpleasant frosting.
- 12 Gradually add powdered sugar, 1 cup at a time, beating well after each. Too fast and sugar clouds kitchen. Finish with vanilla extract; important for deep aroma.
- 13 When frosting ready, fold in cooled walnuts if you want crunch inside. If not, frost then sprinkle on top to keep nuts crunchier longer.
- 14 Use offset spatula in gentle strokes to frost cake layers. Frosting should hold shape but spread smoothly. Too soft? Chill briefly, but not too long or it hardens.
- 15 Assemble cake, press walnuts on sides if desired. Nuts add texture and a nutty bitterness to cut sweetness — necessary balance.
- 16 Keep refrigerated if not serving soon. Remove 30 minutes before slicing to bring cream cheese to softer consistency.
- Tips & Tricks
- 17 If no buttermilk, use milk + 1 tbsp vinegar or lemon juice, rest 5 minutes. Fresh is best though.
- 18 Oil choice affects moistness; canola smoothest here, olive or coconut add odd undertones.
- 19 Cake crumb should bounce lightly when poked. If dry, you probably overmixed or baked too long.
- 20 Cracked tops not a failure—shield with foil partway if too aggressive browning.
- 21 Red color fades when baked; don’t skimp on gel dye, liquid fades too much.
- 22 Overwhipped cream cheese frosting will become grainy; stop when just smooth and hold peaks.
- 23 Serving tip: pair with a calm black coffee or tart berry sauce if wanting contrast.
- 24 Storage: Wrapped tightly can last 3 days fridge, freeze layers separately with plastic wrap for longer keeping.
Nutritional information
Calories
680
Protein
6g
Carbs
72g
Fat
42g
Frequently Asked Questions About Buttermilk Red Velvet Cake
Can I use liquid food coloring instead of gel for red velvet cake? Not really. Liquid fades too much during baking and you end up with a pale pink. Gel stays vibrant. Worth the extra few dollars.
Why does my red velvet cake turn out dense? Overmixing. Stop as soon as you can’t see the streaks. More mixing makes it tough, not better. Or you baked it too long — check at 25 minutes instead of waiting for 27.
What if I don’t have buttermilk for the red velvet recipe? Milk plus vinegar. One cup milk, one tablespoon vinegar or lemon juice. Mix it and wait five minutes before using. It works. Fresh buttermilk tastes better but this does the job.
How do I keep the walnut red velvet cake moist? Don’t skip the vinegar and canola oil. They’re what keep it tender. And don’t overbake. Pull it out when the toothpick has moist crumbs, not dry ones.
Should I toast the walnuts for this chocolate cake with walnuts? Yes. Toasted walnuts taste like actual walnuts. Raw ones taste like nothing. Five to eight minutes at 350 and watch constantly — they go from golden to burnt fast.
Can the cream cheese frosting be made ahead? Yeah. Make it, cover it, refrigerate it. Bring it back to room temperature before frosting the cake or it won’t spread. Or frost the cake, chill it, then bring the whole thing out thirty minutes before serving.
You’ll Love These Too
Explore all →
Blueberry French Toast Casserole
Curried Chicken Salad Toasts with Turmeric

Air Fryer Carrots with Thyme and Parmesan
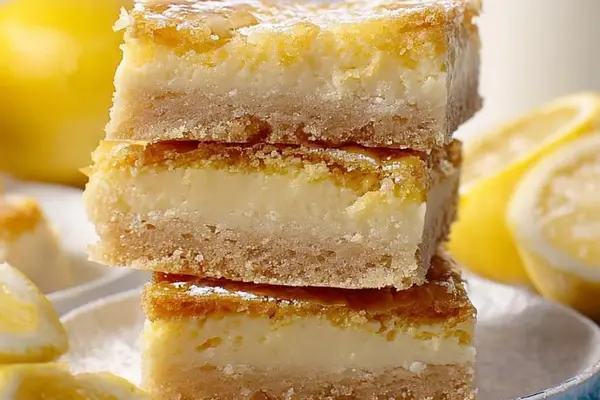
Lemon Cheesecake Bars with Puff Pastry

Sesame Shrimp Tartines with Lime & Cucumber

Chili Cheese Fries with Ground Beef
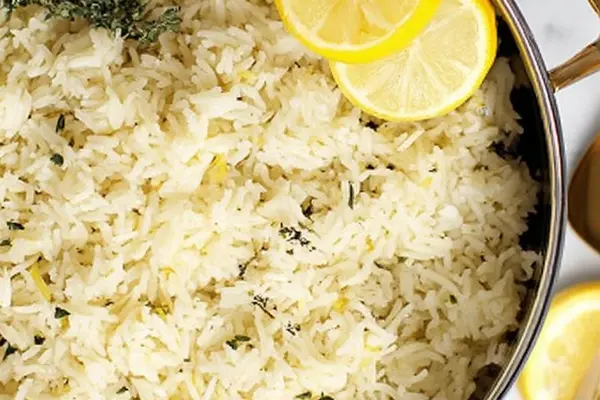
Lemon Rice with Fresh Thyme & Jasmine
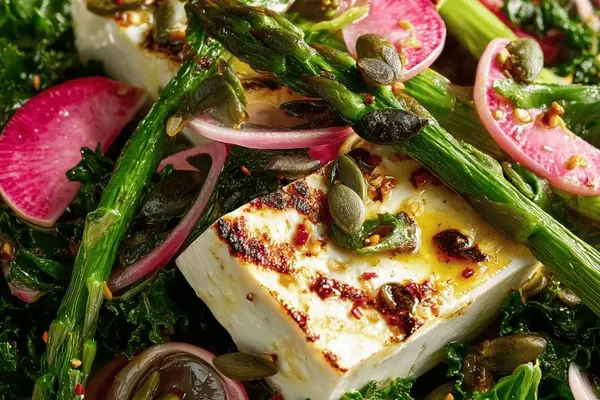
Grilled Asparagus Silken Tofu Salad
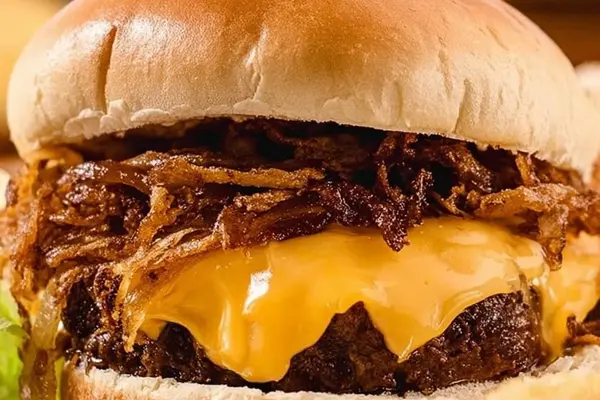
Oklahoma Onion Smash Burger Recipe
Grilled Chicken Salad with Rapini
Soba Noodle Dish with Chickpeas
Cinnamon Whisky Shot with Cream Soda
Lemon Granita Affogato with Coconut Milk
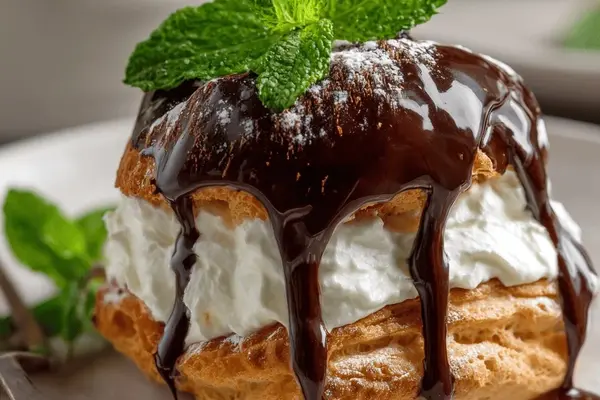
Mint Chocolate Profiteroles with Dark Chocolate Sauce
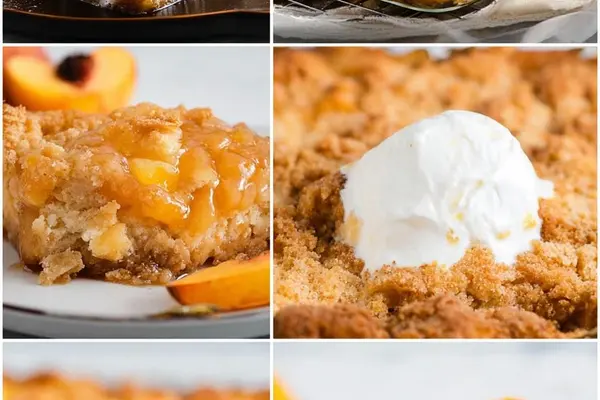
Easy Peach Cobbler with Cinnamon Sugar
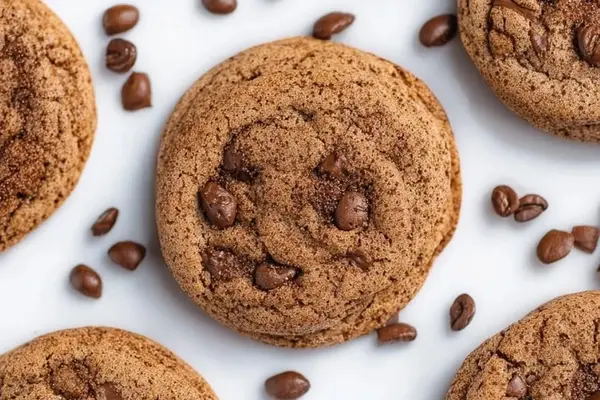
Coffee & Cookies: Espresso Chocolate Chunk
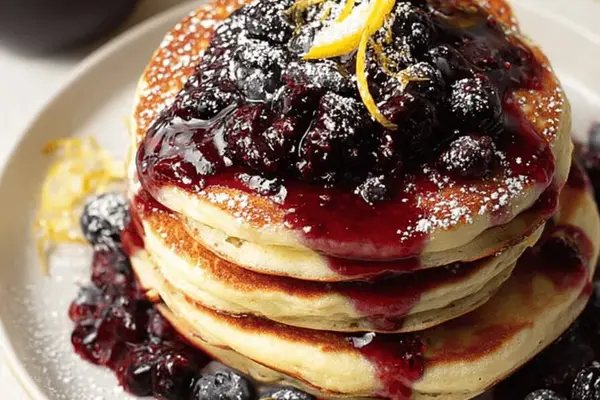
Lemon Souffle Pancakes with Blueberry Syrup
Ginger Cookies Recipe: Layered Butter & Chocolate
Rabbit with Pancetta and Mushrooms