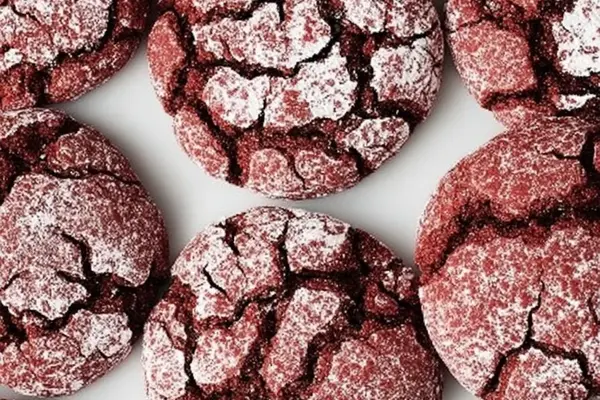
Red Velvet Crinkle Cookies with Buttermilk
By Emma
Certified Culinary Professional
·
Recipe tested & approved
Roll them in sugar first. The cracks happen during the bake—that’s the whole point. Had a batch where I skipped this step once. Came out smooth and boring. Learned fast.
Why You’ll Love These Red Velvet Cookies
Takes 24 minutes total. Fifteen to prep, nine in the oven. Not all day.
They’re easy. Seriously. Mixer does most of the work, and the chocolate hits different when it melts inside the crinkle.
Soft centers. Crackled tops from that confectioners’ sugar coating. Works every single time if you don’t skip the rolling part.
The red velvet thing tastes like cocoa and maple had a conversation. Not overly sweet. Balanced. One or two and you’re done—or you’re not, depends on your willpower.
What You Need for Red Velvet Crinkle Cookies
Cake flour and all-purpose flour mixed. Not one or the other. Cake flour alone makes them too tender; all-purpose alone gets tough. The combo just works.
Cocoa powder. Two tablespoons sounds small but it shows up. Gives that chocolate-red velvet depth.
Cornstarch keeps things tender. Skip it and they firm up too fast.
Baking soda and baking powder both. They do different jobs—soda reacts with the buttermilk and egg, powder keeps things rising slow and steady.
Cold unsalted butter cubed. Cold matters. If it’s soft, creaming takes forever and the texture gets greasy.
Two sugars. White and brown. Brown brings molasses flavor; white keeps it light enough to crinkle.
Maple syrup. A tablespoon. Sounds random but it rounds out the cocoa bitterness and adds this underlying warmth you can’t quite name.
One egg plus one yolk. The yolk is richness. The white is structure. Together they make the dough hold together without being dense.
Buttermilk. Not milk. The acid reacts with baking soda and makes the cocoa less harsh.
Red food coloring gel, not liquid. Gel doesn’t thin the dough out. Liquid does—you’d need to add more flour and ruin the whole thing.
Vanilla extract. Obvious but necessary.
Semi-sweet chocolate chips. Not dark, not milk. Semi-sweet melts into little pockets inside the cookie without overpowering the red velvet flavor.
Confectioners’ sugar for rolling. That powdered stuff. It’s the whole crinkle effect. Use it heavy.
How to Make Red Velvet Crinkle Cookies
Oven goes to 390. Not 375, not 400. That specific temp keeps the butter from spreading too fast while the centers stay chewy. Too hot and the edges burn before the middle sets. Too cool and they bake flat.
Whisk all the dry stuff together—flours, cocoa, cornstarch, baking soda, baking powder, salt. Takes two minutes. No clumps. Cocoa powder clumps are bitter little surprises you don’t want.
Cold butter gets cubed into the mixer with white sugar, brown sugar, and maple syrup. Paddle attachment. Cream it for three, four minutes. You’re looking for it to go pale and fluffy. Too short and the texture comes out gritty. Too long and butter separates, gets glossy and weird.
Add the whole egg, then the yolk, then buttermilk. This is where you add the red food coloring gel. Turn the mixer off first or it shoots everywhere. Then mix on low. Scrape the sides. The dough should be this bright, even red color. No white streaks.
Fold the dry ingredients into the wet. Slow. Do it gradually because you want to see when the flour disappears. Right before it’s totally combined, dump in the chocolate chips. This moment matters. Too many chips and the dough falls apart when you scoop it. Too few and you get empty pockets. A cup is usually right.
How to Get These Red Velvet Cookies Perfectly Crinkled
Use a big ice cream scoop or a sturdy spoon to measure out balls. Around seven large ones per batch, or more if you like them smaller. The dough’s sticky. Dust your hands with flour if you need to, but not much—too much flour dries everything out.
Roll every single ball in confectioners’ sugar. This is not a suggestion. Heavy coating. The sugar cracks as the cookie puffs in the oven, and those cracks are the crinkle. Skip this and you get a smooth, boring cookie.
Place them on an ungreased sheet. Flatten them just a little with the palm of your hand. Not aggressive. Gentle. They spread while they bake—watch them, especially if your oven runs hot.
Bake for nine minutes. Maybe eleven depending on your oven. You’re watching for the tops to look puffed and shiny with cracked sugar visible. Centers should still give a little when you touch them gently. If you use a toothpick to check, it’ll come out fudgy. That’s correct. That’s the whole thing.
Cool them on the sheet for fifteen minutes. Don’t move them. They’re setting up their structure. After that, slide them onto a cooling rack if you want. Or eat them warm. Flavors change when they cool—the chocolate solidifies, the cocoa becomes more pronounced. Both versions work.
Red Velvet Crinkle Cookies Tips and Common Mistakes
Butter has to be cold. Room temperature is not cold. If it’s soft, the creaming phase is pointless. Use cubed cold butter straight from the fridge.
Food coloring gel matters more than you think. Liquid food coloring adds water. Your dough gets wetter and you end up adding more flour, and then the cookies taste dry. Use gel.
Don’t skip the confectioners’ sugar rolling. This is where people mess up. They think it’s optional. It’s not. It’s the only way to get the crinkle.
Fifteen minutes on the sheet is long but necessary. The cookies are soft when they come out. They harden as they cool. Moving them too early breaks them apart.
Your oven might run hotter or cooler. Nine minutes is right for most. If your cookies spread too fast and brown on the edges before the center sets, lower to 375 next time. If they come out pale and gummy, add a minute.
The chocolate chips can melt into one clump if you overmix after adding them. Fold gently. Fold once or twice. Stop before the dough looks completely uniform.
Maple syrup is there for a reason. It’s not just sweetness. It’s this subtle woodsy note that makes the cocoa less bitter and the red velvet more interesting. Don’t swap it for honey or agave. The flavor doesn’t translate.
Red Velvet Crinkle Cookies with Buttermilk
Prep:
15 min
Cook:
9 min
Total:
24 min
Servings:
7 large cookies
Ingredients
- 1 cup cake flour
- 3/4 cup all-purpose flour
- 2 tablespoons cocoa powder
- 2 teaspoons cornstarch
- 1/2 teaspoon baking soda
- 1 teaspoon baking powder
- 1/4 teaspoon salt
- 1/2 cup cold unsalted butter, cubed
- 1/3 cup white granulated sugar
- 1/4 cup brown sugar
- 1 tablespoon pure maple syrup
- 1 large egg
- 1 large egg yolk
- 1 tablespoon buttermilk
- 1 tablespoon red food coloring gel
- 1 teaspoon vanilla extract
- 1 cup semi-sweet chocolate chips
- confectioners’ sugar (for rolling)
Method
- 1 Preheat oven to 390 degrees Fahrenheit. Not too hot—watch those edges. The oven's heat cooks the butter fast; want just the right creaking crackles later.
- 2 Whisk dry: cake flour, all-purpose flour, cocoa powder, cornstarch, baking soda, baking powder, salt. Mixing them helps even rise and texture. No clumps, or bitter cocoa spots later.
- 3 In stand mixer with paddle attachment, toss cubed cold butter, white sugar, brown sugar, and maple syrup. Cream for 3-4 minutes till bright and fluffy. Don’t rush—too short means gritty texture, overdo and butter melts weird.
- 4 Add whole egg, yolk, buttermilk, red food coloring (turn mixer off—food coloring shoots everywhere otherwise), and vanilla. Mix slow, scrape sides, get even red velvet hue.
- 5 Fold dry into wet gradually. Stop mid and toss in chocolate chips. More chips means pockets of molten surprise inside but balance—too many, dough collapses.
- 6 Use a hefty ice cream scoop or big spoon, measure around 7 large balls. Hands sticky? Dust fingers with flour, not too much or dries cookies out.
- 7 Roll balls liberally in confectioners’ sugar. Key step. Sugar coating cracks during bake, giving crinkle pattern. Don’t skimp on sugar, or structure falters.
- 8 Place on ungreased sheet, flatten gently—not too much or melts thin. Cookies spread slash puff. Watch thick centers and crackled sugar top.
- 9 Bake 9-11 minutes. Oven times vary; look for puffed, shiny, cracked sugar topping, cheeks just set but centers still soft. Toothpick test not ideal here—fudge needed.
- 10 Cool 15 minutes on cookie sheet. These rest for a good finish—settle crumb, lock tenderness. Then slide onto rack. Eat warm or cooled; flavors and texture shift subtly.
- 11 Variations: For dairy-free, swap butter for coconut oil, but reduce sugar by 1 tbsp as coconut oil is sweeter. Gluten-free, replace flours with 1 3/4 cup gluten-free blend, add 1/2 tsp xanthan gum for stretch. Vegan, swap eggs with flax eggs (2 tbsp ground flax + 6 tbsp water), but expect slight chewier texture.
Nutritional information
Calories
250
Protein
3g
Carbs
30g
Fat
12g
Frequently Asked Questions About Red Velvet Crinkle Cookies
Can I make the dough ahead and bake later? Yeah. Make the dough, roll it in sugar, freeze the balls in a bag. Bake straight from frozen—add a minute or two to the time. They come out fine.
What if I don’t have buttermilk? Mix regular milk with a tablespoon of lemon juice or vinegar. Let it sit five minutes. Works the same way.
Why are my cookies spreading too thin? Oven’s too hot. Lower it to 375 and try again. Or your butter was too soft going in. Matters more than people think.
Can I use food coloring liquid instead of gel? Not really. Liquid adds water and thins the dough out. You’d need more flour and the cookies get dry. Gel is worth buying.
How do I store them? Air-tight container. They last three, maybe four days before the chocolate goes stale. Cold is fine. Room temperature is fine. They’re still soft the next day—texture shifts a tiny bit but in a good way.
What’s the difference between this and regular red velvet cookies? The cocoa powder and maple syrup. Most red velvet is just food coloring and vanilla. This tastes like something. The chocolate is there. The maple rounds it out. It’s more than just red food coloring on sugar cookies.
Can I make these without the food coloring? Sure. You get dark cocoa cookies instead. They taste good but they’re not red velvet anymore. They’re just chocolate cookies with maple. Which is fine, but different.
Should the centers really be soft when they come out of the oven? Yes. That’s the point. They firm up as they cool on the sheet. If they’re fully baked in the oven, they’ll be hard by the time they’re cool. You want that fudgy center moment.
You’ll Love These Too
Explore all →
Grapefruit Cocktail with Elderflower Tonic

Making Sugar Cookies with Butter & Colored Sugar

Pimento Cheese Appetizers with Bacon

Oven Baked Spiced Chicken Legs with Paprika
Chicken Chorizo Olive Skewers Grilled
Pumpkin Muffins with Cream Cheese
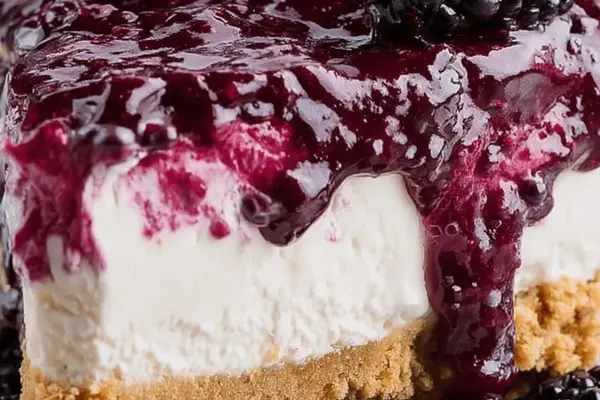
No Bake Blackberry Cheesecake with Greek Yogurt

Wonton Filling Recipes with Ground Turkey

Shrimp Corn Risotto with Arborio Rice

Italian Osso Bucco with Veal and Cheddar
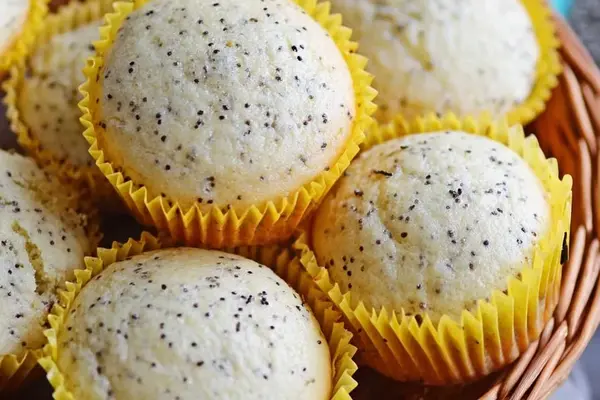
Lemon Poppy Seed Muffins with Coconut Oil
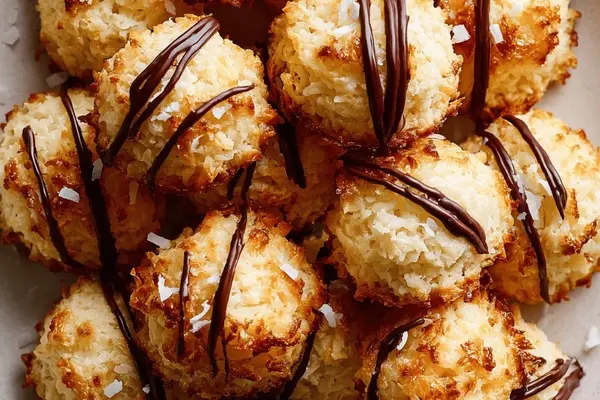
Eggless Macaroons with Coconut Yogurt
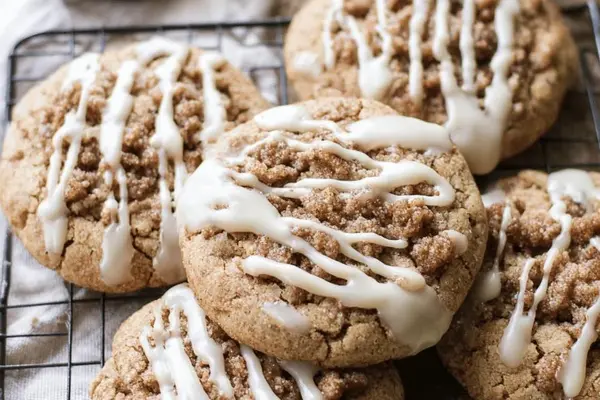
Chocolate Chip Cookie Recipe with Cinnamon
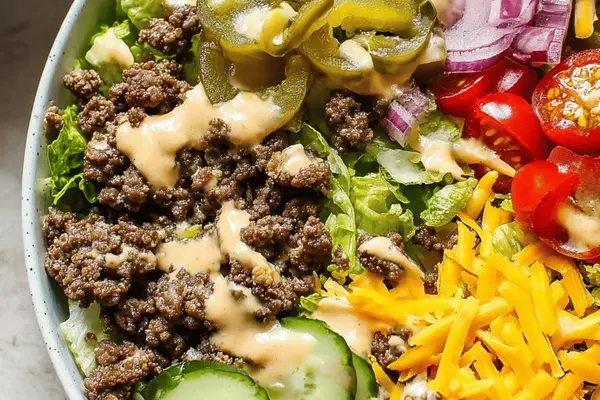
Salad With Avocado, Ground Beef & Poppy
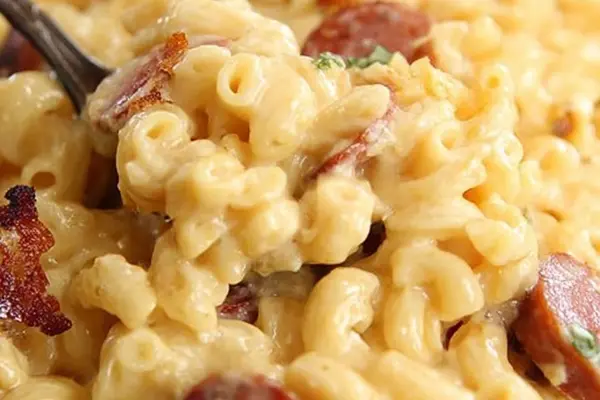
Creamy Smoked Sausage Mac and Cheese
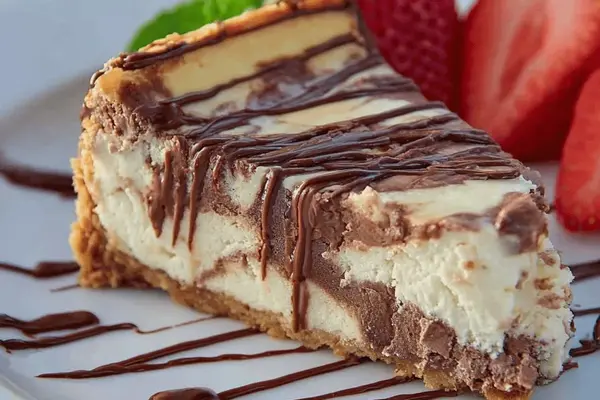
Marble Cheesecake with Chocolate Swirl
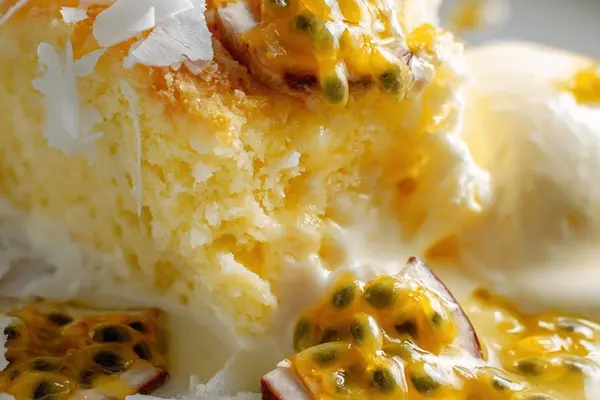
Passionfruit Coconut Pudding with Mango Sauce
Ground Beef Tacos with Chili Powder & Cumin
Mini Meatloaf Cupcakes with Mashed Potato Topping