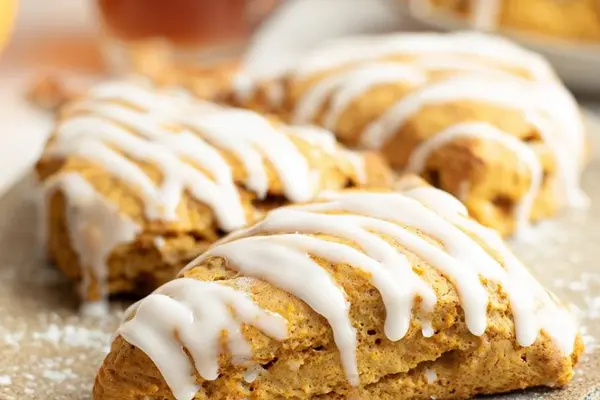
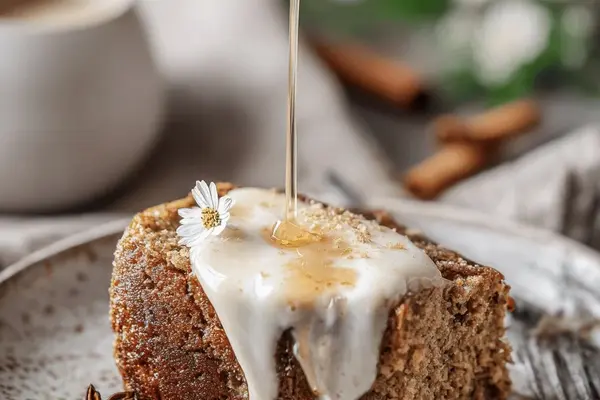
Pumpkin Scones with Maple Glaze
By Emma
Certified Culinary Professional
·
Recipe tested & approved
Flour goes down first. Sugar, baking powder, pumpkin pie spice, salt—whisk it all together and it’s almost done before you start. Cold butter cubed up, pea-sized lumps, that’s what makes them flaky. This is pumpkin scones for baking, and they’re kind of stupid easy if you don’t overthink it.
Why You’ll Love These Pumpkin Scones for Baking
Takes 34 minutes start to finish. Seriously. Fall breakfast that tastes like you planned ahead all week. Pumpkin flavor goes deep—not that artificial spice-cake thing. Actual pumpkin, actual maple. Works cold the next day, maybe better. Stays soft. Not dry. One bowl for wet stuff. One bowl for dry. Done. Cleanup is fast if you use a pastry blender instead of your hands, which you should.
What You Need for Pumpkin Scones
All-purpose flour—two and a half cups. Not cake flour. Not bread. Regular. Granulated sugar. A third of a cup. Sounds like nothing, it’s enough. Baking powder. A tablespoon. Check the date. Old baking powder doesn’t rise. Pumpkin pie spice. One and a half teaspoons. Toast it first if you have time—makes it smell like actual fall instead of a candle. Salt. Half a teaspoon. Cuts the sweetness. Butter. Twelve tablespoons. Cold. Like straight from the fridge cold. Cut into cubes before you do anything else. Pumpkin puree. Half a cup. Blot it. Press it between paper towels like you’re getting water out of a sponge. Watery pumpkin makes soggy scones. Not worth it. Greek yogurt. A quarter cup. Swap it for sour cream if that’s what you have. Maple syrup. A quarter cup. Real maple. The fake stuff tastes like corn. Buttermilk. Two tablespoons. If you don’t have it, thin regular milk with a splash of lemon juice and wait five minutes. Egg. One. Room temperature works better but cold is fine too. Vanilla extract. A teaspoon. Pure vanilla. Not the imitation. Heavy cream for brushing. Not much. Just enough to paint the tops.
For the glaze: powdered sugar, more heavy cream, more vanilla, cinnamon, brown sugar, pumpkin puree, maple syrup again, milk. You’re basically making a thin icing and a drizzle.
How to Make Pumpkin Scones for Baking
Heat your oven to 400 degrees. Middle rack, maybe a bit lower. Line a baking sheet with parchment or a silicone mat—this matters because nothing sticks and you don’t scrub later.
Whisk your dry stuff in a bowl. Flour, sugar, baking powder, pumpkin pie spice, salt. If your spices have been sitting in the cabinet for two years, toast them for a minute in a dry pan first. Sounds weird. Changes everything.
Cut the cold butter into the flour. Use a pastry blender if you have one. If not, two forks work. Keep going until it looks like breadcrumbs with pea-sized chunks of butter still visible. That’s the whole point—those butter pieces make the layers when it bakes. Don’t get impatient and blend it smooth. Smooth butter means dense scones.
Blot your pumpkin. Seriously. Press it between paper towels until it stops giving up water. Soggy pumpkin turns into soggy dough. Measure a half cup after you’ve blotted it, not before.
Mix your wet stuff in another bowl. Greek yogurt, maple syrup, pumpkin, buttermilk, egg, vanilla. Whisk until the lumps mostly go away. It won’t be smooth. That’s okay.
Pour the wet into the dry. Fold it with a rubber spatula until it barely comes together. You’ll see streaks of flour still. Stop there. Overmixing makes tough scones and nobody wants that.
Dust your counter lightly with flour and dump the dough out. It’s sticky—that’s right. Fold it over itself three or four times, gentle, until it forms a ball. You’re not kneading bread. You’re barely touching it.
Pat it into a circle about eight inches across, one inch thick. Use a bench scraper or a sharp knife to cut it into eight triangles. Flour the blade so it doesn’t stick.
Lay them on the sheet spaced apart. They need room or they steam into each other instead of baking. Freeze them for ten to twenty minutes. Sounds fussy but it matters—the cold butter firms up again and that’s what makes them flaky instead of cakey.
While they chill, your oven should be at 400 and ready.
How to Get Pumpkin Scones for Baking Golden and Flaky
Brush each scone with heavy cream right before they go in. Not milk. Cream. It browns darker and looks better and tastes richer. Just a light coat on top.
Bake for about 16 minutes. Maybe 13 if your oven runs hot. Maybe 17 if it doesn’t. They’re done when the tops turn golden and the edges feel firm when you tap them. The smell is the real test—warm spice, butter, baked pumpkin. You’ll know.
Don’t pull them out pale. They won’t cook more on the rack and they’ll taste underbaked even if they’re not.
Cool them completely on a wire rack before you glaze them. Warm scones melt glaze into a puddle. Cold scones hold it on top where it belongs.
Pumpkin Scones for Baking Tips and Common Mistakes
Butter temperature matters more than you think. Cold butter makes flaky. Room temperature butter makes dense. Use cold.
Don’t overmix the dough. The moment it comes together as a shaggy mass, stop. Stirring more makes gluten develop and that makes tough scones. Less stirring. Better scones.
Pumpkin has a lot of water. Blot it. This is the only time I’ll tell you twice because it’s the most common mistake.
The glaze is two things. First is the white glaze—powdered sugar, cream, vanilla, whisk it until it’s thick but pourable. Drizzle or slather, doesn’t matter. Let it set for fifteen to twenty minutes at room temp. Then the pumpkin drizzle—pumpkin puree, maple syrup, milk, mixed smooth, goes in a ziplock bag with the corner snipped off and you zigzag it over the white glaze. Set again for another few minutes and then the cinnamon sugar goes on top—cinnamon mixed with brown sugar, just a light sprinkle.
They’re best the same day but they keep wrapped in the fridge for two or three days. Reheat gently in a low oven or toaster oven. Microwaves wreck them.
Pumpkin Scones with Maple Glaze
Prep:
18 min
Cook:
16 min
Total:
34 min
Servings:
8 servings
Ingredients
- 2 1/2 cups all-purpose flour
- 1/3 cup granulated sugar
- 1 tablespoon baking powder
- 1 1/2 teaspoons pumpkin pie spice
- 1/2 teaspoon salt
- 12 tablespoons cold unsalted butter, cut into cubes
- 1/2 cup pumpkin, blotted of excess moisture
- 1/4 cup Greek yogurt
- 1/4 cup pure maple syrup
- 2 tablespoons buttermilk
- 1 large egg
- 1 teaspoon pure vanilla extract
- heavy cream for brushing
- 1/2 cup powdered sugar
- 1 tablespoon heavy cream
- 1/2 teaspoon vanilla extract
- 1/4 teaspoon cinnamon
- 1 tablespoon brown sugar
- 1 tablespoon pumpkin puree (for glaze)
- 1/2 teaspoon maple syrup
- 1 teaspoon milk
Method
- 1 Set oven rack middle-lower. Prep baking sheet with parchment or silicone mat; no sticking, easy cleanup.
- 2 Whisk dry: flour, sugar, baking powder, pumpkin spice, salt. If using fresh spices, toast lightly first for deeper aroma.
- 3 Butter in flour: use a pastry blender or two forks. Aim for pea-sized lumps, not fully incorporated. Butter chunks make flaky layers. Chill butter before—no melty butter here.
- 4 Blot pumpkin to remove watery excess. Press between towels; sopping pumpkin = soggy scones. Measure 1/2 cup after blotting, not before.
- 5 Wet mix in bowl: Greek yogurt swapped for sour cream, maple syrup replaces brown sugar. Add pumpkin puree, buttermilk, egg, vanilla. Whisk till no large lumps. Sweetness less intense, tangier bite.
- 6 Dump wet into dry. Fold gently with a rubber spatula until dough starts to come together. It’s shaggy, bits of flour still visible — don’t overmix or tough scones.
- 7 Flour counter lightly, turn dough out. Fold dough 3-4 times; gentle knead just to form ball. Sticky is fine but control with flour, no over-flouring or dry crumb.
- 8 Pat into approx 8” circle, about 1” thick. Use bench scraper or sharp knife to cut into 8 triangles. Flouring blade helps if sticky.
- 9 Arrange scones spaced on sheet. Freeze for 10-20 minutes. Faster chill firms butter again, prevents spread; also bakes up flakier.
- 10 Oven preheated to 400°F (205°C) during chilling. Brush tops with cream just before baking. This browns crust vibrantly, adds shine.
- 11 Bake until tops turn golden brown; edges firm but not hard, about 13-17 minutes. Check scones visually, gently tap edges for firmness. Aroma should smell warm spice, butter, baked pumpkin.
- 12 Cool on rack completely before glazing. Warm scones melt glaze messily.
- 13 White glaze: whisk powdered sugar, cream, vanilla until thick yet spreadable, not runny. Slather over scones, let set 15-20 minutes at room temp.
- 14 Pumpkin drizzle: combine pumpkin puree, maple syrup, milk till smooth. Use ziplock bag tip to drizzle zigzag. Set glaze again.
- 15 Sprinkle cinnamon sugar mix atop for subtle crunch and finish. Scones best eaten same day; refrigeration 2-3 days with wrap keeps freshness. Reheat gently; avoid microwave to preserve texture.
Nutritional information
Calories
350
Protein
5g
Carbs
40g
Fat
18g
Frequently Asked Questions About Pumpkin Scones for Baking
Can I make pumpkin scones ahead of time? Yeah. Freeze them after you cut them but before you bake. They’ll keep for a month. Bake straight from frozen, maybe add a minute or two. Works fine.
What if I don’t have buttermilk? Mix regular milk with a tablespoon of lemon juice or vinegar and wait five minutes. Close enough.
Should I use fresh pumpkin or canned? Canned is easier and it’s blotted already, mostly. Fresh pumpkin has more water so you blot it more. Either works. Canned takes less effort.
How do I know they’re done baking? Golden on top. Edges firm. Smell right. Don’t rely on time. Your oven is different than mine.
Can I use butter instead of Greek yogurt? Not instead of. You need the moisture from the yogurt. Butter alone makes them dry. Swap yogurt for sour cream if you want. Same thing basically.
Do these have pumpkin seeds in them? No. It’s pumpkin puree in the dough. If you want actual seeds roasted and mixed in as a topping, toast some pepitas with a bit of salt and sprinkle them on the glaze while it’s wet. That works.
Why do my scones spread too much? Butter wasn’t cold enough or you didn’t chill them before baking. Also if you’re overworking the dough it puffs weird. Keep everything cold. Keep your hands off the dough.
You’ll Love These Too
Explore all →
Roasted Pork Filets with Cashew Curry Sauce

Indian Spiced Beef Burgers with Mango Sauce
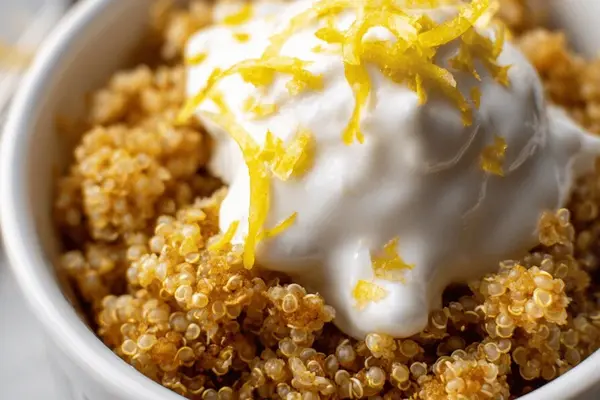
Dairy-Free Corn Crumble with Lemon Zest
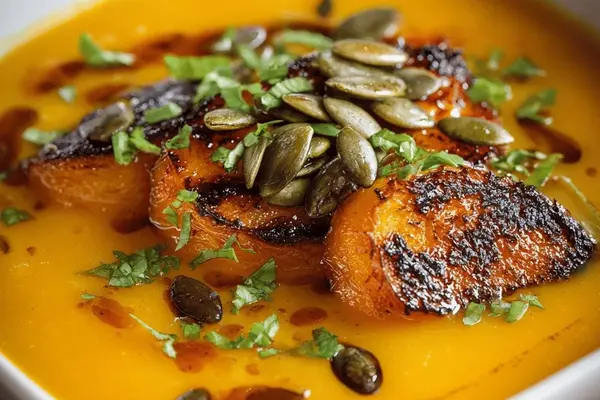
Roasted Spiced Squash Soup with Pumpkin Seeds
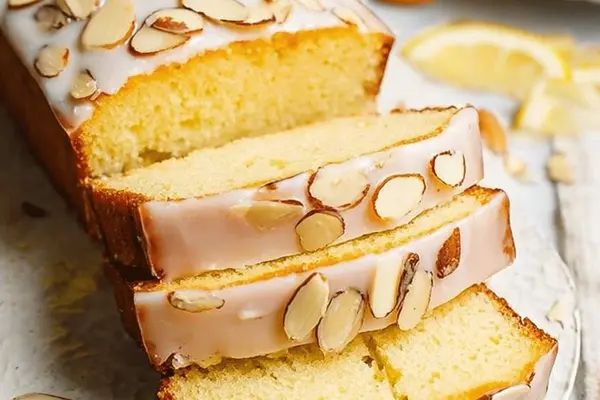
Iced Almond Lemon Loaf with Yogurt Glaze
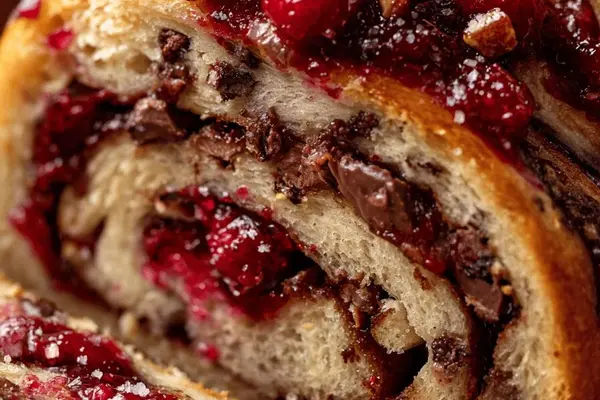
Cranberry Chocolate Pull-Apart Bread

Gruyère Gougères | Crispy Choux Pastry
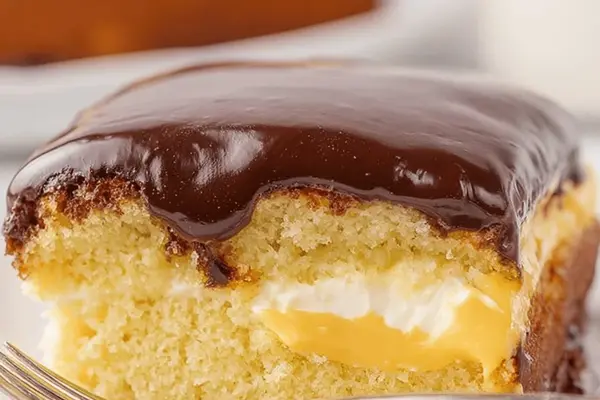
Chocolate Poke Cake with Vanilla Pudding
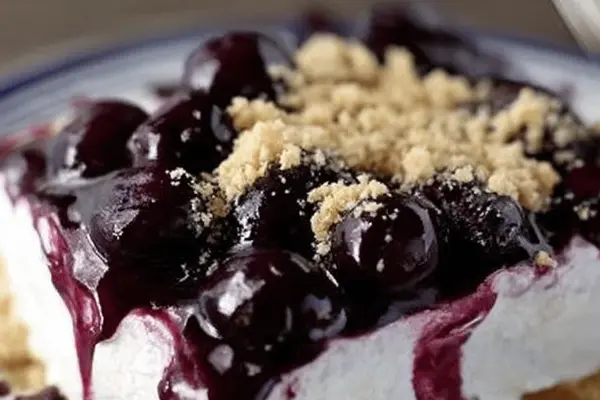
No Bake Blueberry Cheesecake Recipe
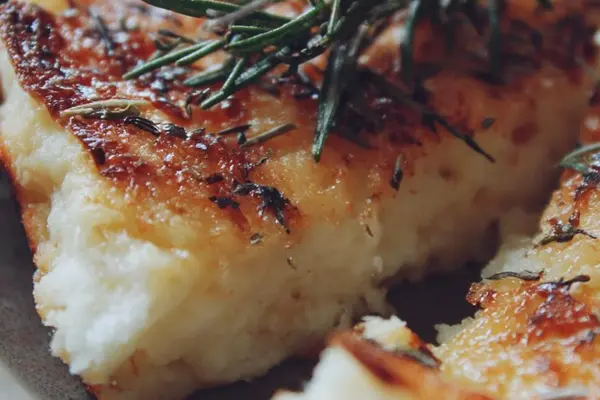
Roasted Chicken Thighs with Garlic & Rosemary
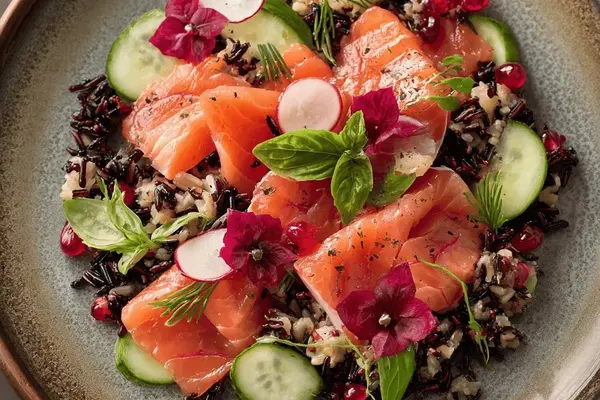
Omble Crudo with Cranberry Vinaigrette
Maple Pudding Cake with Cream Sauce
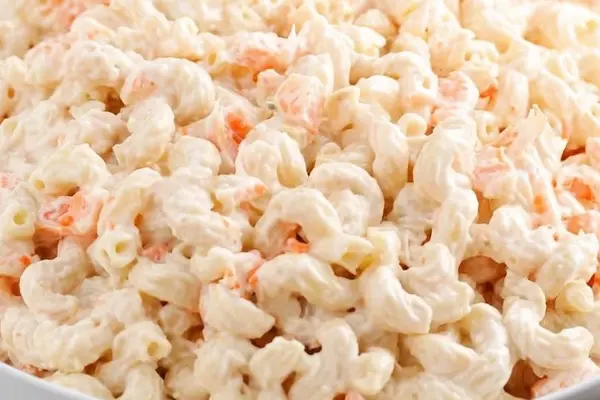
Hawaiian Macaroni Salad Recipe
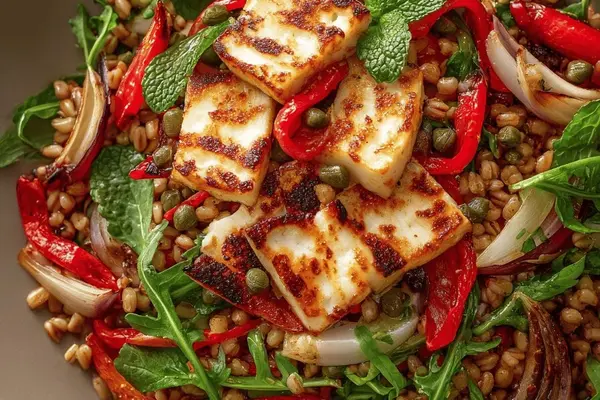
Barley Salad with Halloumi & Roasted Peppers
Gluten Free Hors D'Oeuvres with Sunflower Seeds
Cilantro Lime Pasta Salad with Citrus Gremolata
Creamy Blue Cheese Penne with Toasted Walnuts

Raspberry Cheesecake Cookies with Milk Chocolate

Pickled Eggs With Shallots & Pink Peppercorns