Sheet Pan Eggs Recipe with Salt & Pepper

By Emma
Certified Culinary Professional
·
Recipe tested & approved
Crack a dozen eggs onto a sheet pan. Into the oven at 345. Eleven minutes later, breakfast for however many people you’re feeding. Done.
Why You’ll Love This Sheet Pan Breakfast Eggs
Takes six minutes to prep. Seriously. Crack and spray—that’s it. No standing there watching a skillet. No flipping anything.
Makes twelve at once. Feed four people, or cook once and eat for three days. Cold eggs straight from the fridge still work.
The yolks come out silky. Not rubbery. Not runny either unless you want them that way. Just push the time up or down a couple minutes.
Cleanup is nothing. One pan. Spray it and you’re done—parchment optional but it helps.
Works for meal prep or feeding a crowd. Same method either way.
What You Need for Easy Baked Eggs
Non-stick spray. That’s the thing that matters most. Or oil—vegetable oil works, olive oil if that’s what you have. The pan shouldn’t stick, or the whole point falls apart.
Twelve large eggs. Fresher is better. Old eggs spread thin and the whites get watery—changes the timing.
Salt and black pepper. Real pepper, not the dust. Crack it yourself if you can. Season it now, not after, so it actually gets into the egg.
That’s it. Literally four ingredients.
How to Bake Eggs in Oven
Set your oven to 345. Higher than you’d think—350 works too but eggs toughen at 375 and above. This temp is the sweet spot where whites set without the yolks getting rubbery.
Spray the sheet pan. Generously. The eggs touch hot metal and stick if you don’t. You could use parchment but the edges get crispy when they touch the pan, and you lose that.
Crack the eggs onto the pan spaced apart. Use a scooting motion—crack into your hand first if you’re nervous about shells. Too close together and the whites merge into each other, messing up the texture and timing. They need room.
Salt and pepper each one now. Early seasoning penetrates better than sprinkling after.
Slide it in. Don’t bang it. The eggs are fragile.
How to Get Sheet Pan Breakfast Eggs Perfect
Six to seven minutes if you want yolks runny and centers still jiggly. Whites go from clear to set—you’ll see them puff a little and hear a soft sizzle. They’re fragile at this point. Don’t nudge them.
Nine to ten minutes for yolks that are thick but not hard. The surface dulls over, a little jiggle stays in the middle. This is the breakfast sandwich yolk—holds together, doesn’t run all over your bread.
Eleven minutes and the yolks firm up solid. Edges brown a touch. Still fine, just not that silky center.
Pull it out and let it sit a couple minutes if you’re eating it now. Whites are less likely to shatter. A thin spatula under each egg works—gentle scraping action or the yolk breaks.
If you overshoot and they’re too done—next time is shorter. It’s not hard to dial in.
Oven Baked Eggs Tips and Common Mistakes
Don’t crack them too close. They merge. Happened to me. Space is your friend.
The 345 temp is specific. Higher and they toughen fast. Lower and they take forever—the yolks stay clear too long.
Fresh eggs matter. Old ones spread and create watery whites that throw off the whole timing. Can’t tell until they hit the pan usually.
Listen for the sizzle after a minute. That means the edges are cooking and crisping. No sizzle means your pan wasn’t hot enough—let it run longer next time.
Overshoot the time slightly if you’re not sure. Underdone is harder to fix. Done is done.
Cool them a couple minutes before moving them. Whites are fragile right out of the oven. They’ll tear if you slide the spatula under too early.
Reheating—use the oven on low or the microwave in bursts. Not the stovetop. High heat makes them tough and rubbery.
Sheet Pan Eggs Recipe with Salt & Pepper
Prep:
6 min
Cook:
11 min
Total:
17 min
Servings:
12 servings
Ingredients
- Non-stick cooking spray or oil alternative
- 12 large eggs
- Salt to taste
- Black pepper to taste
Method
- 1 Preheat oven to 345°F. Warmer than usual but not too hot or eggs toughen.
- 2 Generously spray sheet pan with non-stick spray or lightly oil with vegetable oil to avoid sticking and ease cleanup. Can use parchment but may alter crisp edges.
- 3 Carefully crack eggs onto pan spaced apart. Too close and whites merge, messing timing and texture. I use a scooping motion to avoid shell bits.
- 4 Season eggs with salt and cracked black pepper now. Seasoning early penetrates better.
- 5 Bake 6-7 minutes for very runny yolk with set whites. Listen for slight sizzle, edges puff a little. The whites go from clear to firm—all fragile though.
- 6 For yolks slightly thick but not hard—great for breakfast sandwiches—go 9-10 minutes. Yolk surface dulls, some jiggle remains, whites fully solid.
- 7 If you overshoot, yolks firm up and edges brown slightly. Still edible but missing that silky center texture.
- 8 Remove pan carefully—eggs hot, whites fragile and can break if nudged too early.
- 9 Cool a couple minutes if eating now or slide eggs off with thin spatula, using a gentle scraping action to keep yolks intact.
- 10 To reheat, use low oven or microwave in short bursts to avoid toughness.
- 11 Use fresh eggs; older eggs spread more and can create watery whites, affecting bake time and texture.
Nutritional information
Calories
63
Protein
6g
Carbs
1g
Fat
4g
Frequently Asked Questions About Baked Eggs on Sheet Pan
How long does this actually take from start to finish? Six minutes to prep. Eleven minutes to bake. Maybe seventeen total if you’re slow. Could be faster.
Can I make these ahead? Absolutely. They keep three days in the fridge. Cold or reheated on low heat. Microwave works too—just short bursts or they get weird.
What if my yolks came out too runny? Add two minutes next time. That’s it. Nine minutes instead of seven.
Do I have to use a sheet pan? Technically no. A baking dish works. Cast iron works. Anything that won’t stick. Sheet pan is just easiest—more surface area, edges get crispier.
Can I add cheese or stuff to these? Haven’t tried it. Could probably do it. Cheese would melt fine in eleven minutes. Might change the timing slightly—heat distributes differently.
Why does my oven say 350 and you say 345? Most ovens are off by a bit anyway. 350 works. 345 is just safer for yolk texture. Not a huge difference either way.
Do I really need non-stick spray? Yes. Oil works too but spray is easier. Parchment helps but the pan edges won’t crisp up the same way. Spray and you’re golden.
You’ll Love These Too
Explore all →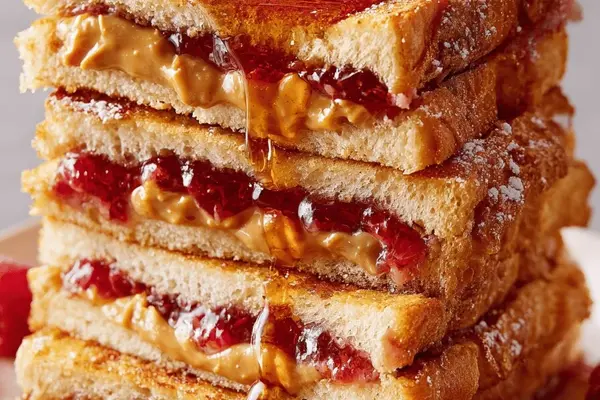
Peanut Butter Jam French Toast Sandwiches

Crispy Phyllo Cheese Bundles with Apples

Creamy Custard Fruit Salad with Pecans
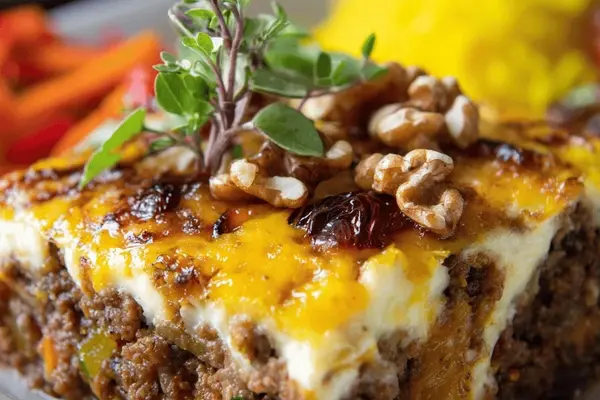
Recipes With Mince Lamb: South African Bake

Iced Rhubarb Cake with Crunchy Crumble
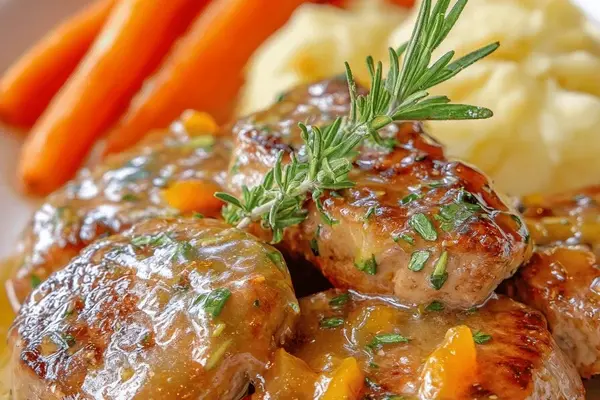
Pork Medallions with Tangerine Glaze
Fruit Skewers with Pineapple & Marshmallows

Sautéed Cauliflower Rice with Lemon

Crispy Potato Rösti with Spinach Recipe

Jerk Chicken Cornmeal Pizza with Chipotle

Pear Chocolate Cake with Dark Chocolate Mousse

Creamy Sausage Tortellini Soup Recipe

Mini Cheesecake Cupcakes with Lemon Frosting

Creamy Poblano Chicken with Corn & Avocado

Kielbasa Potato Sauerkraut Skillet
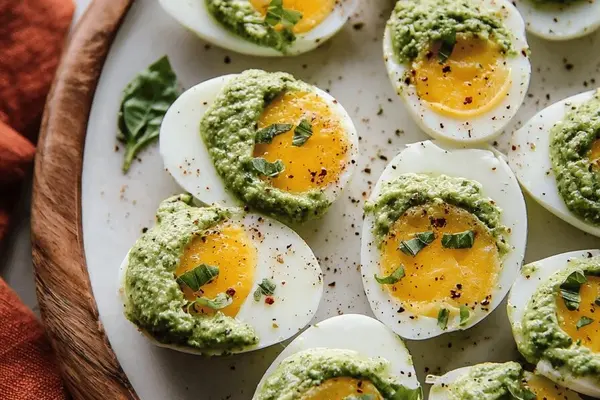
Spinach Pesto Egg Dollops with Pecorino
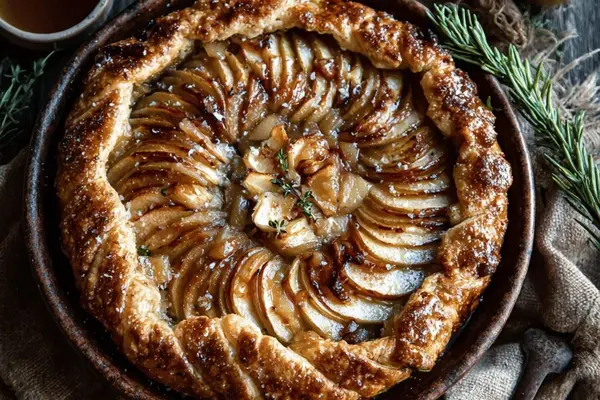
Rustic Apple Tart with Cardamom and Ginger

Marinated Chicken With Yogurt & Chickpeas

Coffee Orange Panna Cotta with Espresso