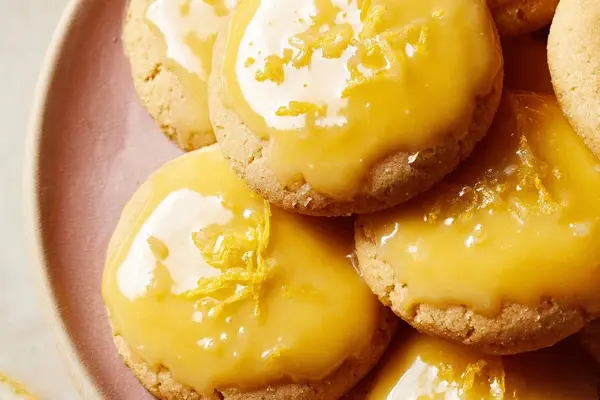
Lemon Cookies with Spelt Flour
By Emma
Certified Culinary Professional
·
Recipe tested & approved
Slice the dough thin. That’s it. Everything else is just letting the butter and lemon do their thing while your oven does the heavy lifting.
Why You’ll Love These Lemon Cookies
Takes 40 minutes of actual work spread across two days, so it feels less like baking and more like something you remembered to do. Spelt flour. Tastes less like cardboard than regular flour, more like something real. The glaze — mirror glaze, technically — looks like you spent four hours. Didn’t. Cold dough slices clean. No crumbling. No spreading. Bake sheet doesn’t need parchment if you don’t want it. Yellow glaze catches light. Makes people think you actually know what you’re doing. The lemon zest shows up as a flavor, not just a smell that fades. That matters.
What You Need for Spelt Flour Lemon Cookies
Unsalted butter. About half a cup plus two tablespoons, soft but not melting. Cold butter stays wrong the whole way through.
Cane sugar. Three quarters of a cup. Not brown. Not turbinado. Cane works best here.
One large egg. That’s all. Temperature doesn’t matter as much as people say.
Lemon zest. One large lemon. Don’t skimp. Zest a second one if the first feels small. This is where the cookie lives.
Spelt flour. Two cups. Regular flour works but tastes flatter. Spelt has something going on.
Baking soda. A teaspoon. The lemon zest does the acid work, so this actually does something instead of just sitting there.
Fine sea salt. A pinch. Holds everything together.
For the glaze — powdered sugar, three and a half cups. Two egg whites. A tablespoon of honey. Water. Yellow gel food coloring. Not liquid coloring. Gel stays where you put it.
How to Make Lemon Cookies from Scratch
Cream the butter and sugar together. Don’t rush this. It takes a few minutes of actual beating until it goes pale and fluffy. That air matters. It’s what makes the cookies rise instead of spreading into pancakes.
Add the egg. Then add the lemon zest right after. Don’t overmix once the egg goes in — you break something in the structure if you keep beating. The zest is your whole flavor story. Don’t hold back.
Sift the spelt flour, baking soda, and salt. Sifting sounds like extra work but it’s not. The baking soda needs air mixed in or it clumps and bakes weird.
Fold the flour in with a wooden spoon or spatula. Gently. I overmixed once. Cookies came out like rocks. Just fold until you can’t see the dry flour anymore.
Form the dough into a log. About three inches across. Wrap it tight in plastic wrap. Refrigerate for at least two hours. This isn’t optional.
Cold dough firms up. Flavors get time to marry. You can actually slice it without the whole thing falling apart. When you go to bake, the dough doesn’t spread all over the sheet because it remembers being cold.
How to Get Lemon Cookies with Perfect Mirror Glaze
Preheat to 350 degrees. Middle rack. Temperature actually matters here — too hot and the edges go dark while the middle’s still raw. Too low and they dry out before the edges brown.
Pull the dough out. Slice it thin. About half a centimeter. Uniform thickness means everything bakes at the same rate. Thick slices stay doughy in the middle.
Space them on the baking sheet. Leave room. Crowding makes them bake uneven and chewy where they shouldn’t be.
Bake for 12 to 18 minutes. Watch the edges. When the golden yellow starts turning light brown and the tops feel set but still springy to the touch, they’re done. The smell tells you too — nutty, with a faint lemon underneath. Little cracks starting to form on top. That’s the signal. Pull them immediately. Residual heat keeps cooking them on the rack and that ruins the texture.
The glaze is the whole point. Mix powdered sugar, egg whites, and honey together. Whisk until it’s firm but spreadable. Not stiff. Not runny. Add water one tiny bit at a time. Thin glaze runs off the cookie. Stiff glaze just sits there.
Keep half the glaze plain white. That’s your base layer. Thin it on the cookies with an offset spatula or the back of a small knife. Let it set for about ten minutes until it’s tacky but not wet.
Drop yellow glaze into the center of each cookie. One small spoonful. It spreads a little on its own. If you want it to look like an egg yolk — a perfect circle — spread it slightly. But don’t. The imperfections look better. They look real.
Let it all dry at room temperature. No oven, no fridge. Just air dry until the glaze is fully firm and shiny. That snap and crackle only happens when it’s completely set. Takes maybe an hour. Maybe more. Depends on humidity.
Lemon Cookie Tips and Common Mistakes
Don’t skip the refrigeration. Warm dough spreads. Cold dough slices clean and bakes with structure instead of pancaking.
Spelt flour is different from wheat flour. It’s softer. More delicate. Overworking the dough matters more with spelt. Mix gently. That’s it.
The lemon zest goes in with the egg. Not in the flour mixture. The egg white part helps distribute it. Flavor hits all the cookies instead of settling in clumps.
Baking soda needs acid to work. The lemon zest provides that. That’s why it matters. It’s not just flavor — it’s chemistry.
If the first batch spreads too much, the dough was warm. Chill it longer next time. Fifteen minutes in the freezer while the oven preheats works too.
The glaze thickness is everything. Too thin and it runs off before it dries. Too thick and it doesn’t look like a glaze — it looks like frosting that forgot something. Spreadable. Not syrup. Not paste.
Yellow gel coloring stays bright. Liquid coloring fades and turns the glaze gray. Not worth the savings.
Humidity affects drying time. Dry day, it’s fast. Humid day, it takes longer. The glaze will tell you when it’s done. It’ll look shiny and feel hard instead of tacky.
Lemon Cookies with Spelt Flour
Prep:
40 min
Cook:
20 min
Total:
1h
Servings:
1 dozen
Ingredients
- 135 ml (1/2 cup plus 2 tbsp) unsalted butter, softened
- 180 ml (3/4 cup) cane sugar
- 1 large egg
- Zest of 1 large lemon
- 480 ml (2 cups) spelt flour
- 5 ml (1 tsp) baking soda
- Pinch of fine sea salt
- Glaze
- 850 ml (3 1/2 cups) powdered sugar
- 2 egg whites
- Honey, 15 ml (1 tbsp)
- Water as needed
- Yellow gel food coloring
Method
- Dough Preparation
- 1 Cream butter and sugar together, don’t rush. Beat till pale, fluffy but not melting. Gets air in, helps rise and texture. Remember, cold butter kills rise.
- 2 Add egg, then lemon zest. Stir or slow mix; overbeating egg breaks structure. The lemon zest—don’t skimp. It’s your fresh bite, aroma popping here.
- 3 Sift spelt flour, baking soda, salt together. Baking soda needs acid, that lemon zest does the job, slight tang but balanced.
- 4 Work flour mixture in gently with wooden spoon or spatula. Avoid toughening dough; I once overmixed, rock-hard cookies followed.
- 5 Form dough into a log approx 7 cm diameter (just under 3 inches). Wrap tight in plastic wrap. Refrigerate at least 2 hours—don’t skim this step.
- 6 Dough firms, flavors marry, dough easier to slice without crumbling or spreading.
- Baking
- 7 Oven rack at middle position. Preheat to 175 °C (350 °F). Oven temp matters; too hot scorches edges, too low dries cookie out.
- 8 Unwrap chilled dough, slice into thin rounds—about 0.5 cm thickness. Uniform slices means even bake. If slices too thick, cookies stay doughy inside.
- 9 Place slices with room on parchment-lined baking sheet. Crowding causes uneven bake and chewy middles.
- 10 Bake 12 to 18 minutes. Watch edges; when golden yellow turns light brown, and tops feel set but still springy, pull them. Smell is key—nutty scent, faint lemon. Look for little cracks forming.
- 11 Remove immediately to cooling rack; otherwise residual heat cooks dough further messing texture.
- Glazing
- 12 Combine powdered sugar, egg whites, and honey in mixing bowl. Whisk to firm but spreadable glaze. Add water incrementally; too thin glaze runs off, too stiff gums up.
- 13 Reserve about 120 ml glaze for decoration. Keep that plain white.
- 14 Thin glaze over cooled cookies with offset spatula or small knife. Let dry until tacky – about 10 minutes. This layer is your base mirror.
- 15 Blend yellow gel coloring into glaze reserve until vibrant sunny yellow, mimics yolk.
- 16 Drop tiny spoonfuls of yellow glaze into center of each cookie—bright spot like egg yolk in sun. Spread slightly if you want uniform ‘yolk’ shape but don’t overdo; imperfections add charm.
- 17 Air dry glaze at room temperature until fully firm and shiny. No rush; glaze gains snap and crackle when thoroughly dried.
Nutritional information
Calories
210
Protein
3g
Carbs
30g
Fat
9g
Frequently Asked Questions About Lemon Cookies with Mirror Glaze
Can I use regular flour instead of spelt flour? Yeah. Comes out fine. Just tastes like a regular cookie instead of something with texture. Not worth the swap in my opinion but it works.
How long do the cookies stay fresh? Three days in an airtight container. They get soft after that — still edible, just not as good. The glaze stays crisp for a day, then softens. That’s just what happens.
Can I make the dough ahead and freeze it? Yes. Wrap the log tight. Freezes for a month easy. Thaw it in the fridge overnight before slicing. Don’t bake from frozen or they’ll be pale inside.
What if I don’t have egg whites for the glaze? The glaze won’t work the same way. Egg whites give it structure and that mirror effect. Skip the glaze or use a simple powdered sugar and lemon juice glaze instead. Different texture entirely.
Why does my glaze look matte instead of shiny? Either too stiff or it didn’t dry long enough. Stiff glaze looks dull. Undried glaze looks wet. Let it sit longer. Shine comes when it’s fully firm.
Can I make these without the glaze? They’re fine plain. Just cookies. Good ones. But the glaze is the point. It’s what makes them look like you know what you’re doing.
How do I keep the glaze from cracking when it dries? Don’t let it dry too fast. Room temperature is right. Oven or fridge makes it crack. And don’t make it too stiff. Stiff glaze cracks. Spreadable glaze flexes.
You’ll Love These Too
Explore all →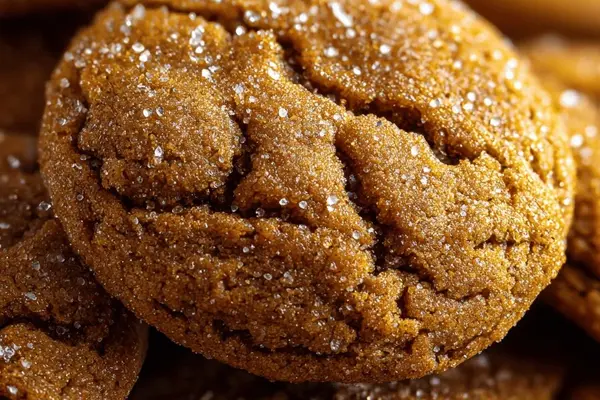
Molasses Banana Cookies with Cinnamon
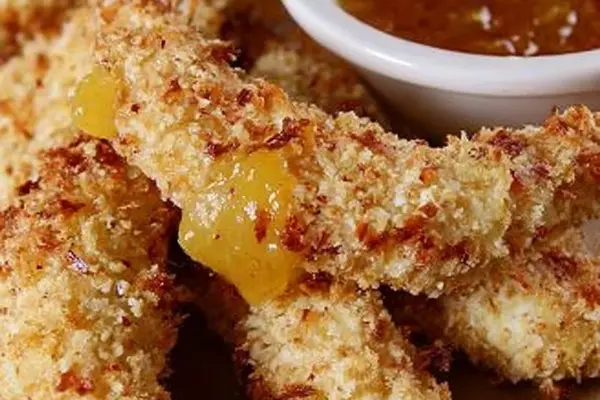
Crispy Coconut Chicken Tenders Recipe
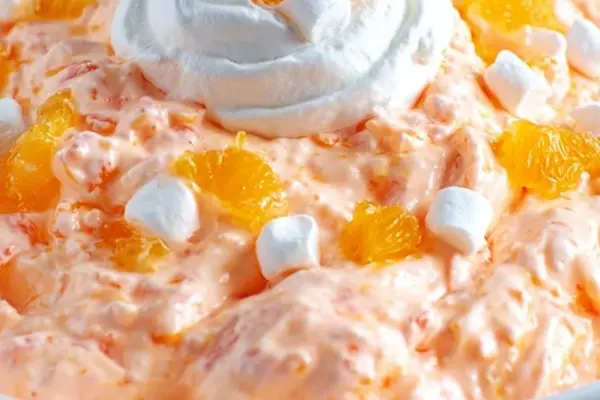
Citrus Fluff Delight with Mandarin & Pineapple
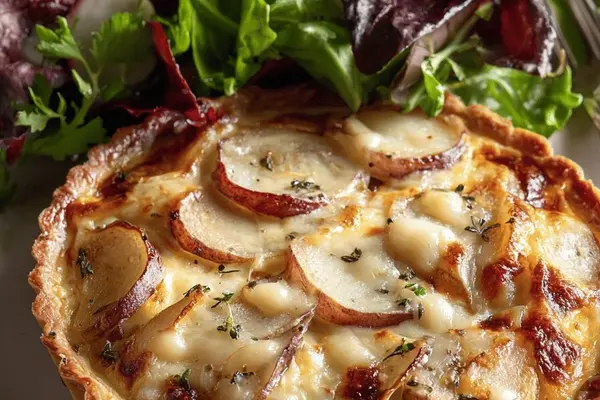
Cheese Casserole Potato with Gruyère

Crispy Shrimp Fritters with Lime Mayo
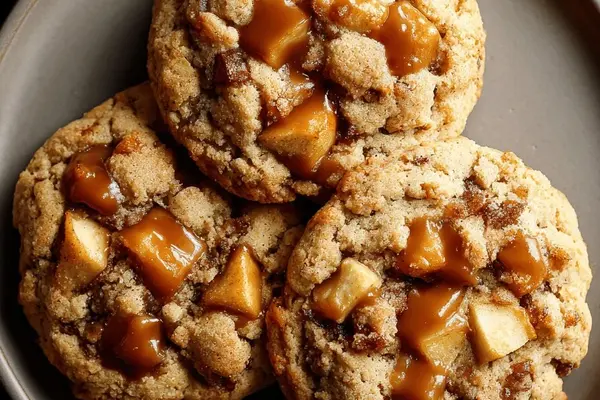
Apple Caramel Cookies with Brown Butter
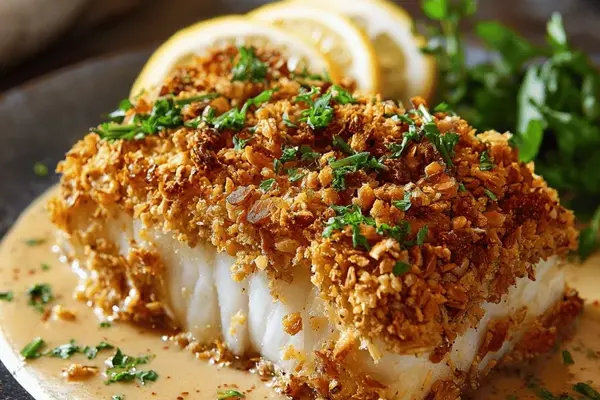
Crispy Battered Fish with Honey Dijon

Cheesy Salsa Chicken Rice One-Pan Bake
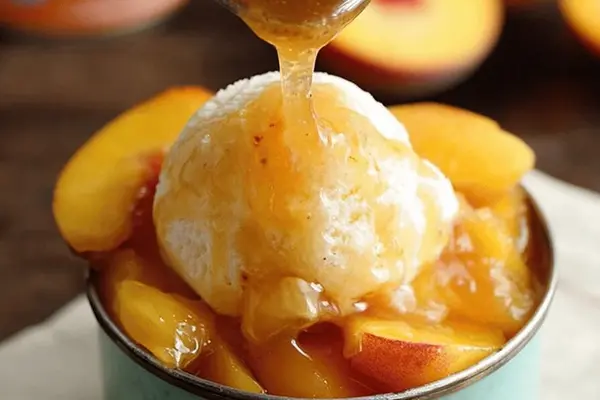
Make A Caramel Sauce with Brown Sugar
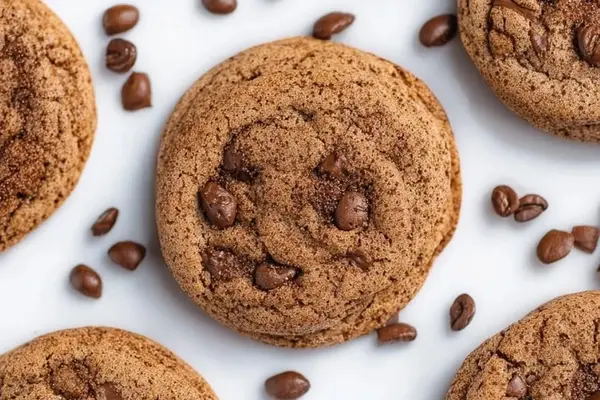
Coffee & Cookies: Espresso Chocolate Chunk
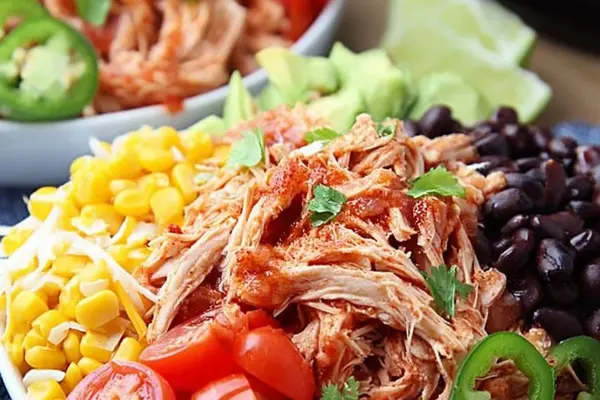
Instant Pot Salsa Chicken with Chipotle
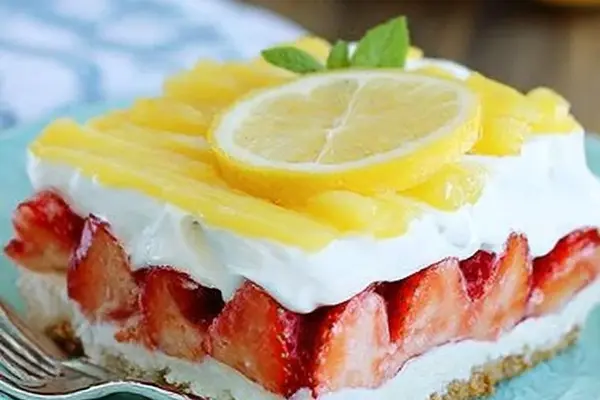
No Bake Cheesecake with Lemon & Strawberries
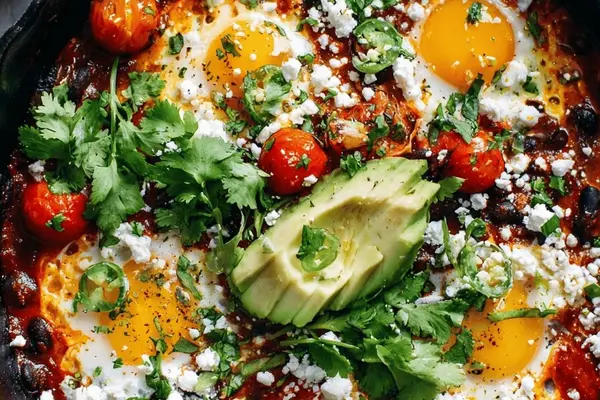
Grilled Eggs Recipe with Black Beans
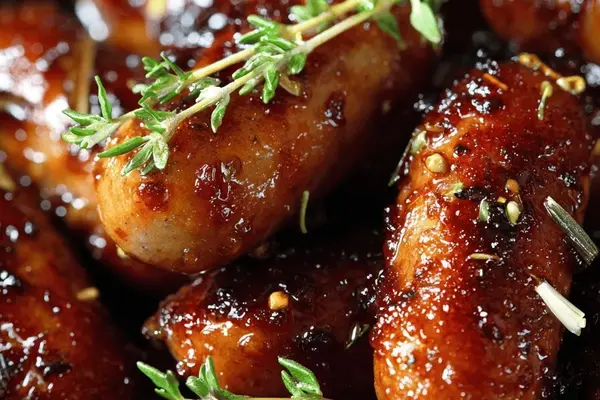
Maple Glazed Sausage Fingers Recipe

Grilled Cheese with Turkey, Bacon & Gruyere
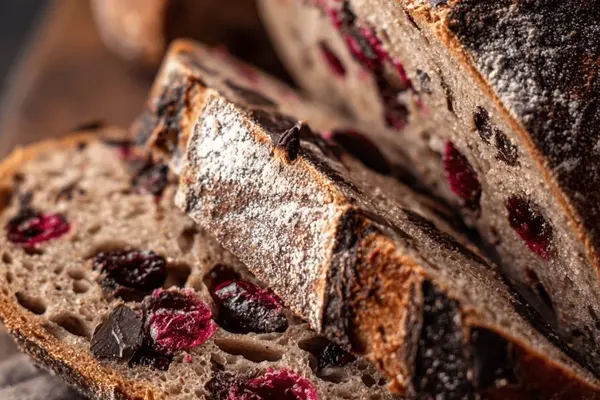
Cranberry Chocolate Rustic Loaf Recipe
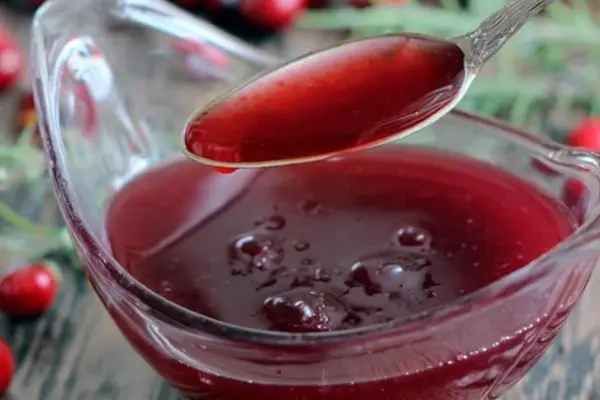
Cranberry Syrup with Fresh Lemon Juice

Veggie Wraps with Grilled Tofu & Sesame Mayo
Braised Beef Pappardelle with Butternut Squash