
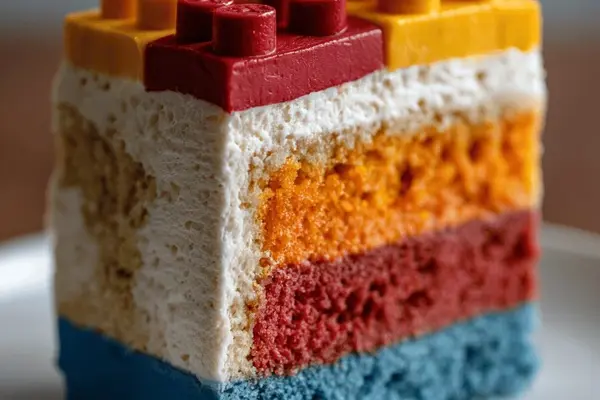
Lego Block Cake with Almond Flour & Buttercream
By Emma
Certified Culinary Professional
·
Recipe tested & approved
Oven to 350°F. Three loaf pans. Sift the flour twice. Bake 42 to 48 minutes depending on your oven’s mood. This cake gets carved into Lego blocks — the almond flour keeps it moist enough to cut clean, and the buttercream frosting holds color better than you’d think. Made this once for a birthday kid who actually ate it instead of just pushing it around. That’s how you know it works.
Why You’ll Love This Lego Block Cake Remix
Takes about 2 hours total from start to finish if you move. Two hours 5 minutes if you don’t rush the cooling part, which you shouldn’t.
The almond flour in the batter changes everything — not just flavor, actually the crumb stays tender even after you slice it into blocks. Most homemade buttercream cakes crumble when you cut them. This one doesn’t. Not completely anyway.
Easy to make. Seriously. You cream butter and sugar, add eggs one at a time, alternate the dry and wet stuff, bake it. Kid stuff. The Lego part happens after.
Comes out looking like a toy but tastes like actual dessert. Better than store cake. No weird tang. No stale vanilla.
The frosting takes like 10 minutes once the cake cools. Color it whatever you want — red, blue, orange, doesn’t matter. Gel colors work. Liquid ones don’t.
What You Need for an Almond Flour Cake
Flour. 900 ml of regular all-purpose, sifted twice. Sift it. Don’t skip it. The almond flour — 150 ml — goes in with the AP flour to keep the crumb from getting tough. Not a substitute for AP flour. Goes with it.
Baking powder. A tablespoon. Fresh stuff. The smell matters.
Salt. Just a quarter teaspoon. Cuts sweetness.
Butter and sugar. 375 ml of butter softened at room temperature — poke it with your finger, it should dent but not be a greasy puddle. 650 ml of sugar. You’re creaming these together until pale and airy. Takes about 4 minutes with an electric mixer. Don’t rush.
Six eggs, large ones. Add them one at a time. The emulsion gets stable that way. Lighter cake. Air gets trapped.
Vanilla extract. A tablespoon. Gets blended in after the eggs.
Whole milk. 375 ml. Alternates with the dry stuff when you’re mixing.
For the buttercream frosting — 560 ml of softened unsalted butter. Two teaspoons of vanilla. Six cups of powdered sugar. Three gel food coloring gels in red, blue, orange. Orange zest from a small orange, goes right into the frosting base and changes everything. Cuts the sweetness monotony. You can skip it. Don’t.
How to Make an Almond Flour Layered Cake
Center the oven rack. Heat to 175°C — that’s 350°F. Three loaf pans, 23 by 13 centimeters each. Grease them. Flour them. Have a sifter ready because you’re going to sift twice.
Combine the all-purpose flour and almond flour together. Whisk it with the baking powder and salt. Set that aside.
In a mixing bowl, cream the softened butter with the sugar using an electric mixer. You want it pale. Fluffy. Airy. Texture changes after about 4 minutes — you’ll see it lighten up. That’s when you stop.
Add the eggs now. One at a time. Blend each one completely into the mixture before you add the next one. This is what makes the cake light. This is what traps air. Don’t skip it.
Vanilla goes in now. Just blend it through.
Lower the mixer speed. Alternate adding the flour mixture in three batches with the milk in two batches. Start dry, end dry. This rhythm matters — it keeps the crumb tender. Stop the moment you don’t see flour streaks anymore. Overmixing toughens the cake and nobody wants that.
Divide the batter evenly between the three pans. Tap them gently on the counter to release air bubbles. Smooth the tops with a spatula but don’t overwork it.
How to Get the Cake Layers Baked Perfectly
Bake 42 to 48 minutes. Your oven might bake faster or slower — watch for golden edges pulling away from the pan sides. The top should feel dry and springy to the touch. Insert a toothpick in the center. Clean exit means done. Don’t overpoke or you collapse the structure before it sets.
Let the cakes cool in the pans for 10 minutes. Then flip them onto wire racks and let them cool all the way down. Warm cake falls apart when you cut it. Too cold and it’s stubborn. Room temperature is the sweet spot.
Make the frosting while the cakes cool. Beat the softened butter and vanilla until it’s silky and light. Not quite as light as cream cheese but it holds a shape. Toss in the orange zest now — fresh punch right there. Gradually add the powdered sugar at low speed. If you go fast, you get a powdered sugar storm all over your kitchen. Beats until smooth but firm enough to hold a pipe or spread without sliding. Too soft? Refrigerate it for 15 minutes. Too stiff? Whip in a teaspoon or two of milk to loosen.
Divide the frosting into three bowls now. Color one red, one blue, one orange using gel food coloring gels. Gel works. Liquid runs and bleeds color everywhere.
Sculpted Lego Block Cake Assembly and Tips
Cut the cakes into rectangular blocks with a clean serrated knife. Then from the thicker side — about 1.4 centimeters thick — cut small discs about 2.5 centimeters in diameter using a round cutter. These become Lego studs.
Spread each large cake block with its matching colored frosting using an offset spatula. Smooth as you go. Rough or crumbly edges? Freeze the cakes for 10 minutes before cutting again. Cold cake holds shape.
Put two loaf cakes flush on a serving platter forming an L shape. Stack the third cake over the joint like a bridge.
Frost each Lego stud individually with matching frosting. Use a small offset spatula to pipe it thickly. Some texture underneath shows like plastic buttons on a real Lego brick.
Set each stud on the cake blocks in rows to mimic actual Lego bricks. Push gently so the frosting sticks but doesn’t squish flat. The spacing matters for the look.
Chill the assembled cake briefly before serving. Frosting firms up and the whole thing gets less likely to slide apart.
Butter temperature makes or breaks this. Room temperature butter poked with a finger should dent but not be greasy. Too soft and the cake gets dense. Too cold and it won’t cream properly. The cake bakes faster in uneven ovens — rotate pans halfway through if yours heats weird. The cake smells buttery with vanilla as it bakes. Golden crust carries caramel notes at the end.
Cakes can be baked a day ahead. Wrap them airtight once they cool to keep them moist. If almond flour isn’t available, swap it for all-purpose flour but expect a slightly less velvety crumb. Orange zest in the frosting is optional but highly recommended. Alternatively, a splash of lemon juice in the frosting helps cut sweetness if that bothers you.
Creating precise Lego blocks means steady hands and a sharp knife. Chill the cake before cutting. Warm hands? Use gloves to reduce stickiness. Slice with quick decisive strokes — slow sawing produces ragged edges. Keep a bench knife to clean between cuts so crumbs don’t drag.
Storage is tight plastic wrap in the fridge. Best consumed within three days. Bring to room temperature before slicing if it’s been cold. Cold hardens the frosting. Room temperature risks collapse. In humid kitchens the cake takes longer to bake — err on the later side but watch closely.
Lego Block Cake with Almond Flour & Buttercream
Prep:
1h 20min
Cook:
45 min
Total:
2h 5min
Servings:
14 to 16 servings
Ingredients
- 900 ml (3 3/4 cups) unbleached all-purpose flour sifted with 150 ml (2/3 cup) almond flour
- 15 ml (1 tbsp) baking powder
- 1 ml (1/4 tsp) salt
- 375 ml (1 1/2 cups) unsalted butter softened
- 650 ml (2 3/4 cups) sugar
- 6 large eggs
- 15 ml (1 tbsp) vanilla extract
- 375 ml (1 1/2 cups) whole milk
- Frosting
- 560 ml (2 1/4 cups) unsalted butter softened
- 10 ml (2 tsp) vanilla extract
- 1.5 liters (6 cups) powdered sugar
- 3 gel food coloring gels (red, blue, orange)
- Zest of 1 small orange added to frosting base
Method
- Cake
- 1 Oven rack centered. Preheat to 175°C (350°F). Grease and flour three loaf pans 23 x 13 cm (9 x 5 inches). Get ready to sifting — twice. Combining almond flour with AP flour adds a touch of moistness and a bit of bite. Don't skip sifting; lumps are your enemy here.
- 2 Whisk flour mixture with baking powder and salt. Set aside. Smell the baking powder; fresh is crucial for rise.
- 3 In mixing bowl, cream butter and sugar using electric mixer. Look for pale, fluffy, airy texture—takes about 4 minutes. Don't rush. Egg addition is key: add them one by one, fully incorporated before next. Makes emulsion stable, air trapped, cake lighter.
- 4 Vanilla blended in at this point. Aroma begins developing. At first, smell raw, but soon sweeten oven air.
- 5 Lower speed. Alternate adding dry ingredients in three batches with milk in two batches. Start and end dry. Mixing too long toughens crumb, so stop right when mixed, no flour streaks.
- 6 Divvy cake batter evenly amongst pans. Tap lightly to release air bubbles. Smooth tops with spatula but don't overwork.
- 7 Bake 42 to 48 minutes depending on your oven’s mood. Look for golden edges pulling away from pan, top dry and springy to touch. Insert a toothpick for clean exit, but don't overpoke - collapses structure.
- 8 Let cakes cool in pans ten minutes, then flip onto wire racks for full cooling. Cake warmth signals texture readiness. Carving warm will crumble; too cold is stubborn.
- Frosting
- 9 Beat butter and vanilla until silky, lighter than cream cheese but holds shape. Toss in orange zest—fresh punch balances sweetness and adds subtle citrus tang.
- 10 Gradually add powdered sugar at low speed to avoid powdered sugar storm. Beat until smooth but firm enough to pipe or spread. Texture matters here; too soft? Refrigerate 15 minutes.
- 11 Split frosting into three bowls. Color red, blue, and orange gels. Use gel for vibrancy—liquid risks runny mess and color bleed.
- Assembly
- 12 Cut cakes into rectangular blocks with clean serrated knife. Then from thicker side (about 1.4 cm or ½ inch), cut 16 small discs 2.5 cm (1 inch) diameter with round cutter. These are Lego studs.
- 13 Spread each large cake with different colored frosting, smooth with offset spatula. Patience here is king. Rough or crumbly edges? Freeze cakes for 10 minutes before cutting again to sharpen shapes.
- 14 Place two loaf cakes flush on a large serving platter or cake board, forming an ‘L’ shape. Stack third cake over the joint, bridging gap.
- 15 Frost all Lego studs individually with matching colored frosting. Use a small offset or spatula to pipe frosting thickly, allowing some texture underneath to show like plastic buttons.
- 16 Set each stud on cake block in rows to mimic Lego bricks. Push slightly so frosting sticks but no squish. Accuracy in spacing = visual win.
- 17 Chill assembled cake briefly before serving to firm up frosting and reduce sliding risk.
- Tips & Tricks
- 18 Cake can be baked a day ahead. Wrap airtight once cooled to keep moist. If almond flour not available, swap for all-purpose but expect slightly less velvet crumb.
- 19 Butter temperature matters. Too soft? Cake too dense; too cold? Doesn't cream properly. Room temp butter, poke with finger, dent but not greasy slick is goal.
- 20 If frosting too stiff, whip a teaspoon or two of milk to loosen slightly. Too thin? Add more powdered sugar.
- 21 Orange zest addition optional but highly recommended to cut sweetness monotony. Alternatively, a splash of lemon juice in frosting helps if too sweet.
- 22 If pressed for time, store-bought buttercream can substitute but color vibrancy may change.
- 23 Creating precise Lego blocks means steady hands and sharp knife. Chill cake before cutting helps avoid crumble. Warm hands? Use gloves to reduce stickiness.
- 24 Storage: chill cake covered tightly with plastic wrap; best consumed within 3 days. To refresh, bring to room temp before slicing.
- 25 Served cold or room temp; cold hardens frosting, warm risks collapse.
- 26 In ovens that heat unevenly, rotate pans halfway through baking after checking doneness clues.
- 27 Cakes smell buttery with a vanilla hint as baking ends, golden crust carries hint of caramel notes.
- 28 Use toothpick test but rely also on top touch: slight bounce back, no indentation left.
- 29 In humid kitchens, cake may take longer to bake; err on later side but watch closely.
- 30 I once skipped leveling pans — big mistake — uneven blocks don't stack well and frosting runs, so level tops gently with serrated knife.
- 31 Don’t skip sifting flours; it traps air and prevents dense clods.
- 32 Early frosting swirl test: if frosting peaks hold and don’t sag, move forward; if not firm, chill briefly.
- 33 Making crumbs is a pain; freeze for 10 mins, then cut with quick, decisive strokes. Slow sawing = ragged edges.
- 34 Adapting icing colors is fun—orange for green swap brightens palette, unexpected but works!
- 35 Try stacking blocks like real Lego for design options. A flatter cake surface means more precise stud placement.
- 36 In worst-case crumble, salvage scraps as cake pops or trifle layers—never waste.
- 37 Some learnings: more almond flour = denser crumb. Less sugar = subtle tart contrast from zest enhances complexity.
- 38 With experience gained from multiple batches, cake carving and frosting smoothing became faster. Patience pays. Visual appeal matters.
- 39 Gel colors preferred; liquid causes frosting to weep or soften too much.
- 40 Making patty-sized discs frozen helps hold shape when frosting.
- 41 Orange zest in frosting blends subtle citrus aroma with creamy sweetness. Highly recommend this tweak.
- 42 Best to frost cakes off board then assemble — cleaner edges and easy handling.
- 43 Use refrigerated butter for frosting prep then allow to soften just enough before beating.
- 44 Color depth improves if gels mixed slowly and carefully, avoiding streaks.
- 45 The cake looks like a big plastic toy; kids love it. Adults too, because the buttery crumb doesn’t feel cloying.
- 46 Slicing the cake should produce clean Lego block shapes. Practice on scraps first before main cut.
- 47 Clean bench knife between cuts to avoid crumb dragging.
- 48 Keep extra frosting to patch leftover crumbs or for touching up studs during serving.
Nutritional information
Calories
450
Protein
5g
Carbs
55g
Fat
28g
Frequently Asked Questions About Buttercream Cake with Almond Flour
Can I bake this cake a day ahead? Yeah. Wrap it airtight once it cools. Keeps moist that way. Frosting and assembly the next day works fine.
What if I don’t have almond flour? Use all-purpose flour instead. The crumb won’t be quite as tender. But it still works. The cake just feels a bit more standard.
How do I know when the cake is actually done baking? Golden edges pulling away from the pan. Top feels dry and springy when you touch it. Toothpick test — insert it, comes out clean, you’re done. Don’t rely only on time. Ovens lie.
My frosting is too soft to pipe studs. What do I do? Refrigerate it for 15 minutes. Hardens right up. Too stiff after that? Add a teaspoon or two of milk and whip it again.
Should I use liquid food coloring or gel? Gel. Liquid makes the frosting runny and colors bleed everywhere. Gel stays vibrant and the frosting holds.
How much does the orange zest actually matter in the frosting? It matters. Cuts the sweetness and adds aroma. You can skip it but don’t. Makes the difference between good frosting and frosting that tastes like something.
Why do you sift the flour twice? Traps air. Prevents dense clods that ruin crumb. Skip it and the cake gets heavy.
Can I make this with store-bought buttercream instead? Yeah. Color vibrancy might change but it works. Not quite as good though. The homemade buttercream tastes better.
How long does this cake stay fresh? Three days in the fridge covered tightly. After that it starts drying out. Freezes okay if you’re desperate but the frosting gets weird.
What if I mess up cutting the blocks and they look sloppy? Happens. Freeze the cake before cutting if edges are crumbly. If the blocks are already cut weird, patch them with extra frosting. Kids won’t care. Neither will most adults.
You’ll Love These Too
Explore all →
Crunchy Sesame Chicken with Honey Sriracha
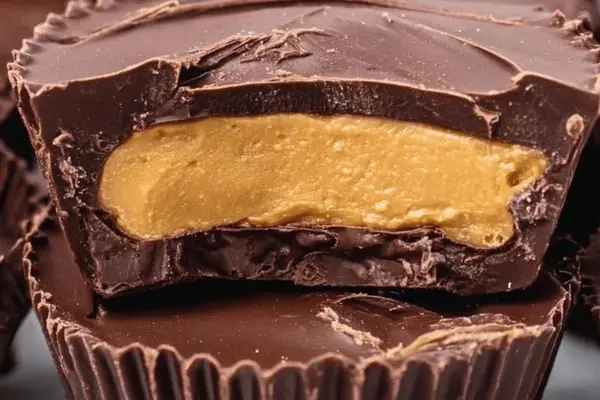
Homemade Peanut Butter Cups Recipe

Croissant Pizza with Pepperoni & Mozzarella
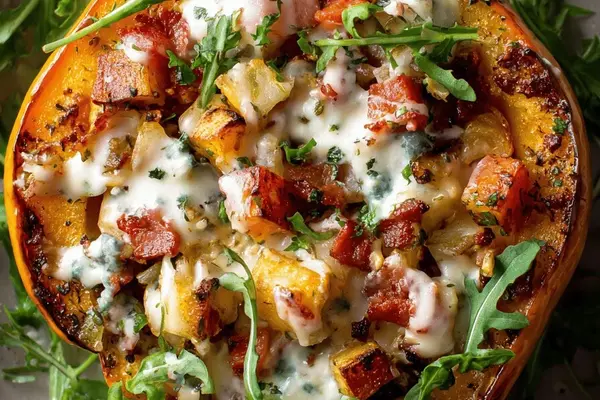
Stuffed Pepper Squash with Roasted Potatoes
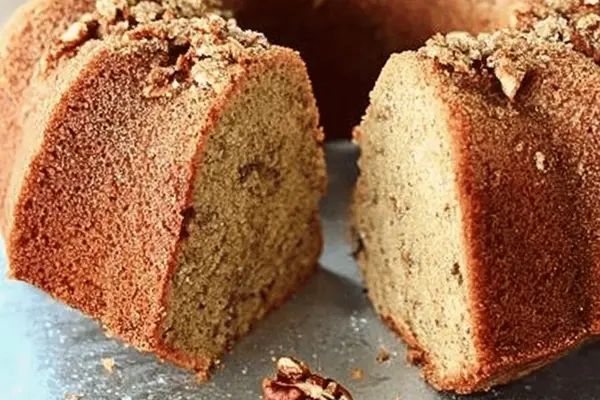
Brown Sugar Pecan Cake with Butter
Brown Butter Chocolate Chip Cookies
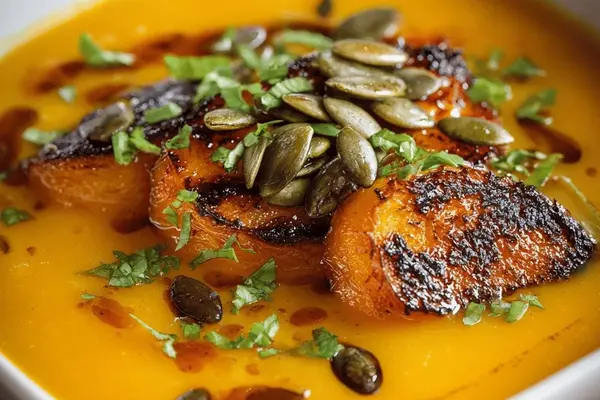
Roasted Spiced Squash Soup with Pumpkin Seeds
Caramel Desserts with Maple Syrup

Asian Chicken Tacos with Broccoli Slaw

Chicken Barley Soup with Leeks and Parsnips

Oven-Baked Steak Hash Omelet with Cheddar
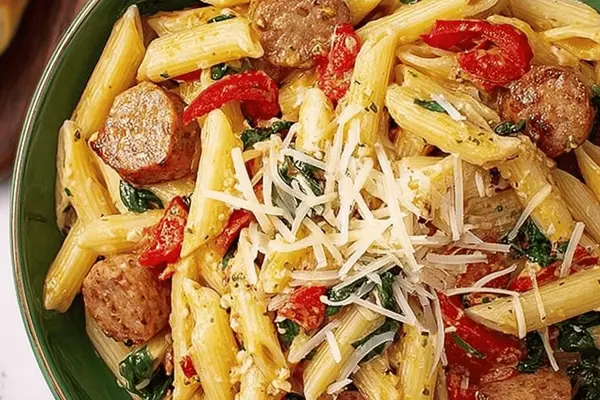
Sausage Pasta with Spinach and Tomatoes
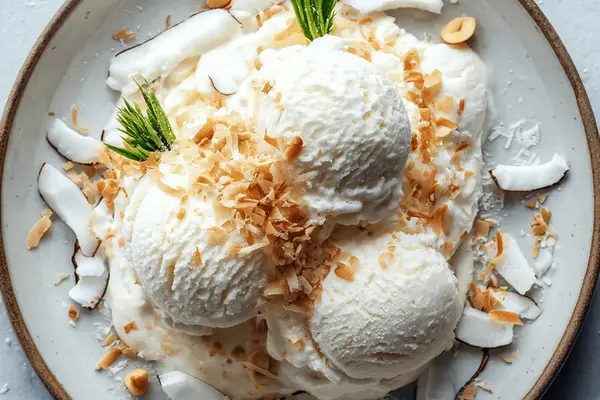
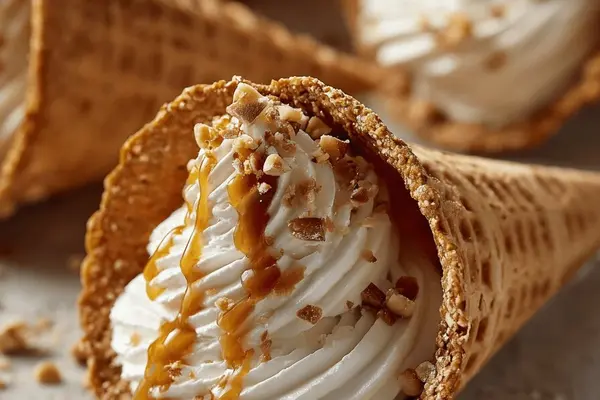
Vegan Ice Cream with Coconut Cream

Lychee Lime Granita with Mango & Mint
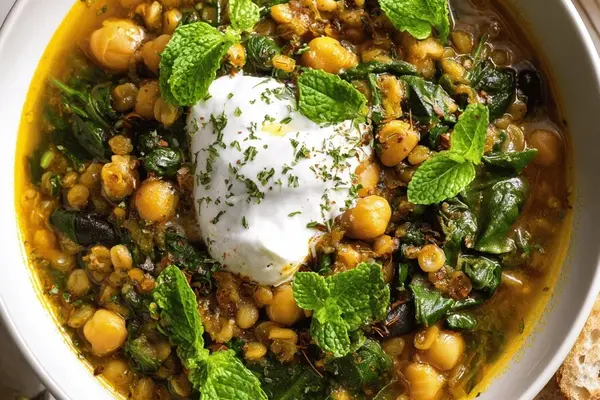
Barley Lentil Soup with Chickpeas and Spinach
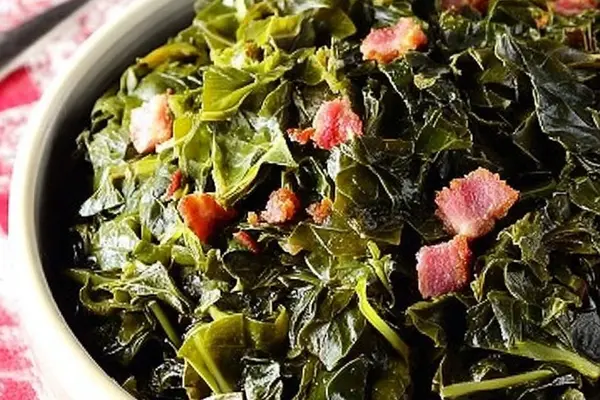
Collard Greens Recipe with Smoked Turkey

Tagliatelle with Fennel, Walnuts & Raisins

Grapefruit Spritz with Aperol & Prosecco
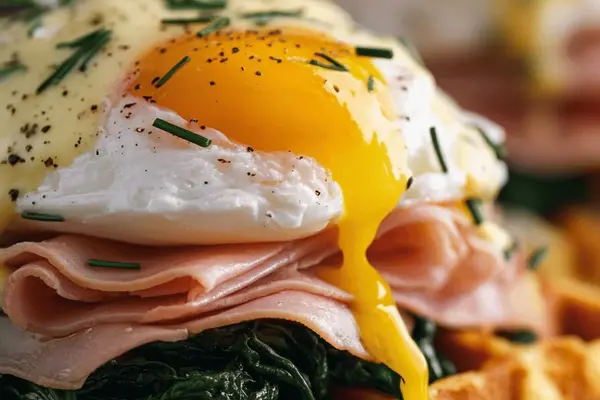
Ham Waffles with Poached Eggs & Béarnaise