
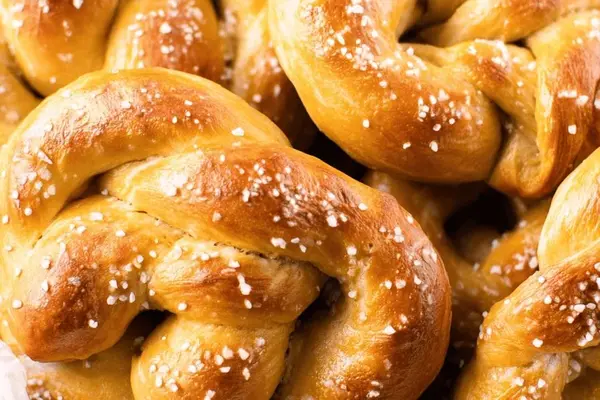
Homemade Soft Pretzels with Honey & Baking Soda
By Emma
Certified Culinary Professional
·
Recipe tested & approved
Make soft pretzels at home with honey-sweetened dough and a baking soda bath for chewy crust. Bread flour, butter, and instant yeast create that bakery texture in 90 minutes.
Prep:
20 min
Cook:
15 min
Total:
1h 30min
Servings:
8 servings
Warm water, honey, salt—mix it now. Dough rises in under an hour and becomes something you’ll actually want to make again instead of buying stale ones at the mall. The baking soda bath is where the magic lives. That’s what turns regular bread into a pretzel.
Why You’ll Love This Homemade Soft Pretzels Recipe
Warm, soft, actually chewy. Not the dense brick from a gas station. Takes 1 hour 30 minutes total, and most of that is just waiting. Comfort food you twisted with your own hands—tastes better because of it. Works as a snack, a side, a thing you eat when nothing else matters. The crust snaps. The inside stays tender all the way through, even the next day cold.
What You Need for Homemade Soft Pretzels
Warm water. Around 95 to 105 degrees. Check it on your wrist like you’re testing a baby bottle. Too hot kills the yeast. Too cold and nothing happens.
Honey. A couple tablespoons. Maple syrup works fine if you’ve got it. Dries the dough a bit more, so watch the flour ratio.
Salt. Fine salt, 1 and a half teaspoons. Another pinch for the top when they come out hot.
Bread flour. Four cups. All-purpose works but loses the chew—bread flour’s got more protein, holds everything together better. The difference matters here.
Instant yeast. One packet. That’s about 2 and a quarter teaspoons if you’re measuring it out yourself.
Butter. Four tablespoons melted, plus another quarter cup for brushing after they bake. Unsalted. Slightly cooled before it goes in the dough.
Baking soda. A third of a cup. This is non-negotiable. Tried baking powder once. Flat, dull crust. Never again.
How to Make Soft Pretzels
Mix the warm water with honey and salt in your stand mixer bowl. Stir until the honey dissolves completely—no granules, no grittiness. This matters because salt crystals left behind catch wrong when the dough develops.
Add the flour and yeast all at once. Set the mixer to low—setting 1 on most stand mixers—and let it run. Start drizzling the melted butter in slowly while it mixes so it gets incorporated without clumping or separating.
Mix on low for 2 minutes to meld everything, then crank it to medium-low, setting 3, for 6 minutes. The dough should feel smooth and slightly sticky to touch—not dry, not overly tacky either. Grab it with your hand if you want. It should grip the hook lightly but not feel like glue. Too sticky means add a tablespoon more flour, but go careful. Too much flour kills the chew you’re after.
Cover the bowl loosely with plastic wrap and let it rise in a draft-free spot. Watch the dough. It needs to at least double in size—roughly 55 minutes on a normal day, maybe longer if your kitchen’s cold. Don’t trust the clock. Trust the puff. Bigger bubbles mean better airiness in the final product.
Heat your oven to 400 degrees while the dough rises. Set up a baking sheet with parchment or a silicone baking mat. Sticking is the enemy here. The mat prevents it and lets the bottom get crispy.
Flour your work surface with about a quarter cup flour. Dump the dough out and press it gently into an 8 by 20-inch rectangle. This is where people tense up. Don’t. Coax it flat. Press too hard and you tighten the gluten, making the dough fight back. Just spread it out.
Slice it into eight strips with a sharp knife or pizza cutter—each one roughly 1 by 20 inches. Roll each strip into a rope, slowly, without overworking. The dough relaxes easier than it resists. You’ll feel the difference between working it and letting it work itself.
How to Get That Iconic Chewy Pretzel Crust
The twist is simple once you know it. Cross the ends of the rope to form a circle, leaving about 2 inches of overhang on each side. Loop the ends over the top of the circle, crossing them over each other. Hold the twisted ends and bring them down to the bottom of the loop. Classic shape. Or go freestyle—experimentation might end ugly but usually it’s fine.
Place the twisted pretzels on the baking sheet and let them rest while you prep the bath. Five minutes is enough.
In a deep baking dish—something with at least 2-inch sides—dissolve a third cup baking soda in very hot water. Stir it well until it fully dissolves. This is the alkaline bath. This builds that shiny, chewy, iconic crust that makes homemade soft pretzels different from bread that just looks like a pretzel.
Lower the pretzels carefully into the soda water one or two at a time, depending on size. Soak for about 30 seconds on each side. Flip gently so you don’t deflate the bubbles in the dough. Use a slotted spoon or spider strainer to fish them out. Let the excess drip off before setting them back on the baking sheet.
Bake at 400 degrees for about 15 minutes. Watch them. Golden brown edges, not dark. The smell should be warm, buttery, with that bread aroma that makes everything else in your house smell boring.
While they bake, microwave a quarter cup butter until melted—25 to 30 seconds. The moment the pretzels come out, brush them generously with it. This locks in softness and adds shine.
Scatter coarse salt on top while the butter’s still warm. That contrast—salty crunch meeting soft chew—is addictive.
Soft Pretzels Tips and Common Mistakes
Water temperature is everything. Check it on your wrist. Too hot and it kills the yeast immediately. Too cold and the rise takes forever or doesn’t happen at all. Warm. That’s the only rule that matters.
Don’t skip the baking soda bath. I know it’s a step. It’s the difference between soft pretzels and bread twisted into a pretzel shape. The bath changes the crust completely. It’s not optional.
If the dough sticks too much while you’re shaping, flour your hands lightly. Just your hands though. Don’t dump extra flour on the work surface because it dries everything out and the dough gets stiff.
Maple syrup instead of honey works fine but makes the dough a bit drier. If you swap it, watch the flour. You might need less. Add it in tablespoon increments if the dough feels too tacky.
All-purpose flour makes softer pretzels but loses the chew. Bread flour is worth it here. The protein structure holds up better during the soda bath.
Tried lard once. Tried vegetable oil. Both made the dough fall apart and taste flat. Stick with butter. It works because it works.
Overbaking makes them tough and dry. Underbaking leaves the inside gummy. 15 minutes is the target. Watch them starting at minute 12. Golden brown. That’s the cue.
Let them cool for a minute or two before eating, but warm is the magic moment. The butter’s still soaking in, the inside’s still steaming. That’s when they taste best.
Homemade Soft Pretzels with Honey & Baking Soda
Prep:
20 min
Cook:
15 min
Total:
1h 30min
Servings:
8 servings
Ingredients
- 1 1/2 cups warm water around 95 to 105°F
- 2 tablespoons honey swapped with maple syrup works too
- 1 1/2 teaspoons fine salt with a pinch extra for topping
- 4 cups bread flour can go all-purpose but less chew
- 1 packet instant yeast about 2 1/4 teaspoons
- 4 tablespoons unsalted butter melted, slightly cooled
- 1/3 cup baking soda for bath (adjusted from 1/4 cup)
- Melted butter for brushing on top about 1/4 cup
Method
- 1 Start by mixing the warm water with honey and salt in your stand mixer bowl. Stir a bit until the honey and salt vanish, no granules left. Slightly warmer water too hot kills yeast. I always check with my wrist.
- 2 Add flour and yeast all at once. Using the dough hook, turn mixer on low speed, setting 1 on mine. Slowly drizzle your butter in while mixing so it gets well incorporated without clumping.
- 3 Mix for 2 minutes on low to fully meld ingredients, then bump speed to medium-low, setting 3 for 6 minutes instead of 5. Feel the dough gripping the hook, smooth but still a little sticky to touch, not dry or overly tacky. If too sticky add a tablespoon more flour, but careful, too much flattens the chew.
- 4 Remove the dough hook and cover the bowl loosely with plastic wrap. Rest it in a draft-free spot to rise. The dough should at least double in size, roughly 55 minutes—watch the puff, don't just trust the clock. Bigger bubbles mean better airiness.
- 5 Heat oven to 400 degrees Fahrenheit. Prepare your baking sheet with parchment or a silicone baking mat. This avoids sticking and allows crisp bottoms.
- 6 Flour your work surface with remaining 1/4 cup flour. Dump out the dough, gently press it into an 8 by 20-inch rectangle. Be gentle here or risk tightening gluten too much. No need to punch down hard, just coax it flat.
- 7 Use a sharp knife or pizza cutter to slice into eight strips, each about 1 by 20 inches. Roll each strip into a rope carefully, don't overwork — dough relaxes easier than it resists.
- 8 To twist pretzels, cross ends forming a circle with overhang about 2 inches, loop over again crossing over. Hold twisted ends, bring to bottom of loop. Classic shape or go freestyle experimentation could end ugly but fun. Place pretzels on baking sheet to rest and puff a bit while prepping bath.
- 9 In a deep baking dish with 2-inch sides, dissolve 1/3 cup baking soda in very hot water. Stir well until soda fully dissolves. This alkaline bath builds that shiny, chewy iconic crust.
- 10 Lower pretzels carefully into soda water, 1 or 2 at a time depending on size, soak for about 30 seconds each side. Flip gently, not to deflate bubbles in dough. Use slotted spoon or spider to remove, let excess drip off before returning them to sheet.
- 11 Bake in hot oven for about 15 minutes. Keep watch—golden brown edges, not too dark. The smell should be warm, buttery, with that baked bread aroma wafting nicely.
- 12 While baking, microwave 1/4 cup butter until melted, about 25 to 30 seconds. Use this for brushing the moment pretzels come out, locking in softness and adding shine.
- 13 Brush generously and scatter coarse salt on top while butter is still warm. That contrast of salty crunch and soft chew is addictive.
- 14 Let cool slightly before digging in, but warm is the magic moment.
- 15 Substitution tips and problem-solving: Maple syrup works for honey dryer dough needs less flour. All-purpose flour makes softer but less chewy pretzels. Watch water temp: too hot kills yeast, too cold slows rising. Overbaking makes them tough; underbaking leaves dough gummy. Use silicone mats for easier cleanup.
- 16 Trying lard or vegetable oil for butter yielded less flavor and poor dough cohesion in past attempts. Sticking to butter.
- 17 Baking soda bath is non-negotiable for pretzel texture; tried baking powder - flat, dull crust.
- 18 If dough sticks too much during shaping, flour hands lightly but avoid excess or dough will dry out.
Nutritional information
Calories
315
Protein
8g
Carbs
49g
Fat
8g
Frequently Asked Questions About Homemade Soft Pretzels
Can I use all-purpose flour instead of bread flour? Yeah. They’ll be softer but less chewy. Bread flour’s got more protein, holds the structure better through the soda bath. The difference is noticeable if you’ve made them both ways.
What temperature should the water be? 95 to 105 degrees. Check it on your wrist like you’re testing a baby bottle. Too hot kills the yeast. Too cold and nothing rises.
Do I have to use a stand mixer? No, but it’s easier. You can mix and knead by hand for about 10 minutes, but your arms will know about it.
Can I make the dough ahead? Sure. Mix it, cover it, stick it in the fridge overnight. Pull it out in the morning, let it come to room temperature, then shape and proceed. Dough tastes better when it’s had time to develop.
What if I don’t have a baking soda bath? Don’t do it then. Tried baking powder. Flat, dull crust. Boiling in water gives you soft bread, not pretzels. The soda bath is what makes them actually pretzels.
How long do they keep? Day or two in an airtight container. They get a bit denser, but they’re still good cold or reheated in a 300-degree oven for a few minutes. Honestly, they’re better the next day sometimes.
Can I freeze them? Yeah. Cool them completely, wrap them tight, freeze for up to a month. Thaw on the counter, then warm them in a 300-degree oven until they’re soft again.
Why did mine turn out dense? Either the yeast was too hot and died, or you overworked the dough while shaping. Coax, don’t punch. The dough relaxes easier than it resists.
You’ll Love These Too
Explore all →
Crispy Fried Green Tomatoes with Cornmeal
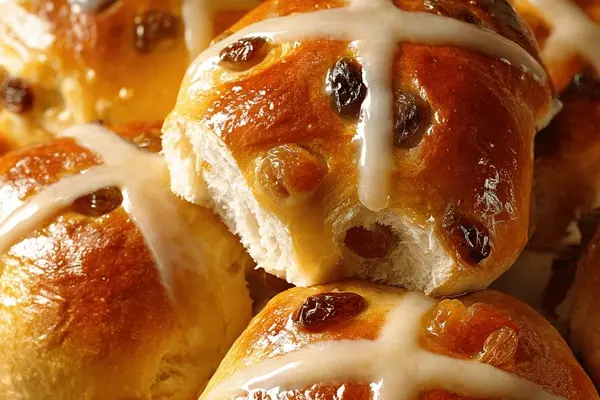
Lenten Brioche with Raisins and Dates
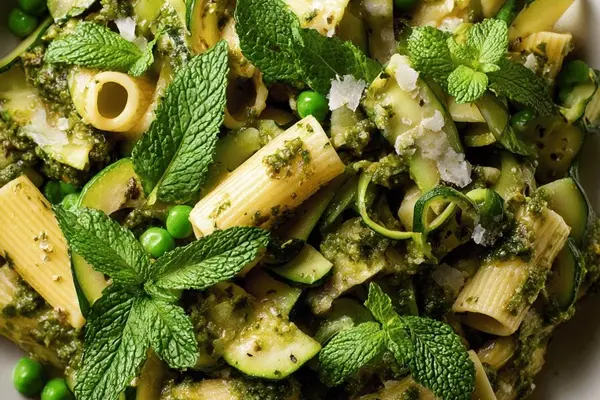
Filled Shells with Ricotta and Peas
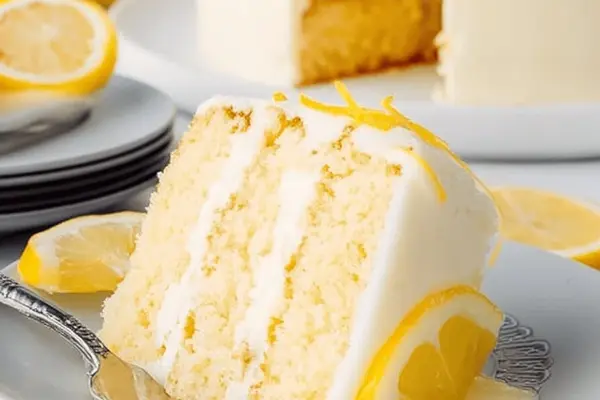
Lemon Cake with Cream Cheese Frosting

Lemon Pineapple Tartelettes with Meringue

Beef Stew with Onion Soup Mix

Meat and Broccoli Meatballs with Panko

Slow Cooker Pulled Pork with Tagliatelle
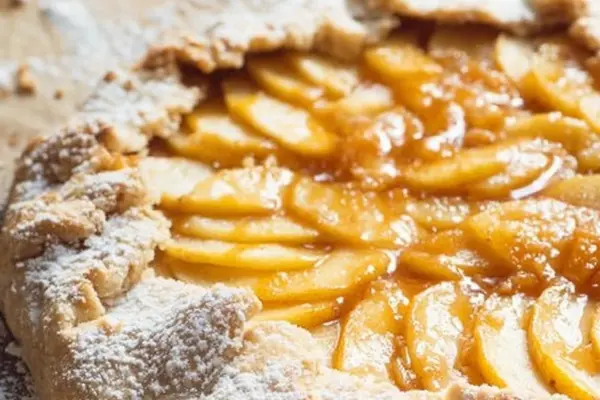
Rustic Apple Galette with Cinnamon

Kimchi Recipe: Napa Cabbage with Gochugaru

Grilled Butter Fries with Melted Cheddar

Chorizo Corn Macaroni Bake with Cheddar

Shrimp Quiche with Leeks and Tarragon

Mini Goat Cheese Quiche with Pine Nuts
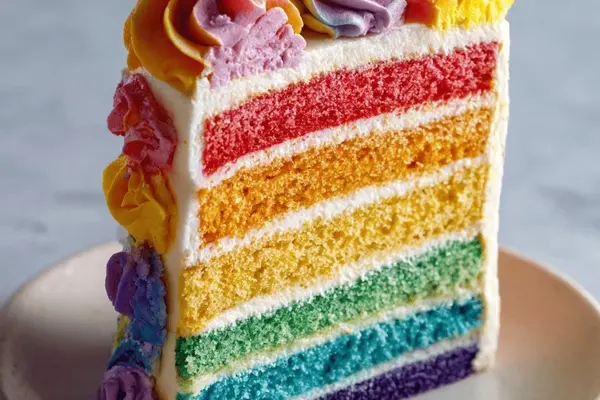
Rainbow Layer Cake with Buttercream Frosting
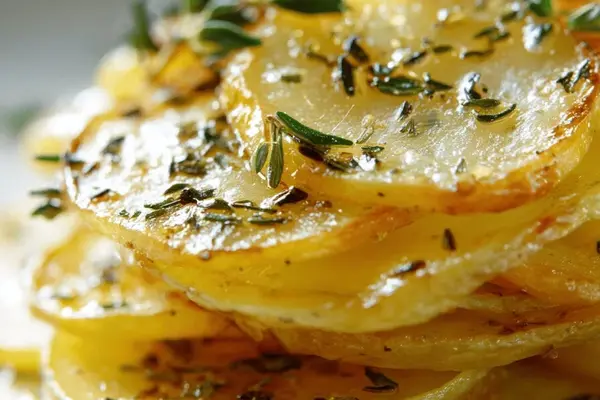
Crispy Potato Lace with Thyme & Rosemary

Braised Pork Chops with Beer and Cabbage

Crunchy Apple Fritters with Cinnamon
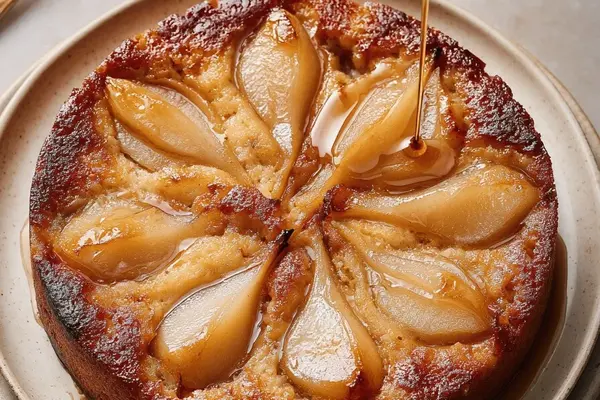
Maple Pear Pudding Upside-Down Cake