Homemade Coconut Milk from Fresh Coconut

By Emma
Certified Culinary Professional
·
Recipe tested & approved
Crack the shell hard. Tap it until it splits clean.
Three ingredients stand between you and actual coconut milk — the kind that tastes like nothing else matters. Fresh young coconut, hot water, a blender. Fifteen minutes and you’re done. No canned stuff. No weird additives hiding in the ingredient list.
Why You’ll Love This Homemade Coconut Milk
Makes vegan coconut milk that tastes completely different from canned. Not bitter. Not thin. Actually creamy. The kind you’d pay way too much money for at a health food store, except you made it yourself for almost nothing. Takes 15 minutes flat. Pulp goes straight to baking or compost — nothing wasted. Cold milk separates into layers. That cream on top? Stir it back in or leave it. Both work. Technically easier than opening a can, once you get past the coconut shell. Healthy without trying. Homemade without the pretension.
What You Need for Fresh Young Coconut Milk
One fresh young coconut. About 450 to 590 grams. The kind with the whitish-brown shell, not the hairy brown ones. Those are old. You want young. Nearly boiling water — 480 ml. Hot water matters more than you’d think. Cold water doesn’t extract the creaminess right. If you’re skeptical about coconut, almond milk works as a substitute. Tastes different. Still good. The real magic is the fresh coconut flesh itself.
How to Make Coconut Milk Blended with Hot Water
Crack the shell first. This takes longer than you expect. Tap it hard with the back of a knife. Tap again. Find the seam where it naturally wants to split. Pry carefully. You’re after the white flesh inside, so don’t destroy it smashing the shell. Use a sturdy spoon or a knife to scrape the meat away from the hard part. It comes loose if you angle it right.
Chop it coarsely on a cutting board. Chunks. Not pretty. The blender doesn’t care.
Pour the hot water in the blender first — the water has to still be steaming. Add the coconut chunks immediately. Blend on high for 2 to 3 minutes. Watch it turn creamy. Watch it get frothy and pale. Stop before the motor sounds angry or the pitcher gets too hot to touch.
Make Coconut Milk Without Canned Using a Strainer
This part matters. Set a fine sieve over a bowl. If you have a nut milk bag, use that instead — it’s faster, cleaner. Pour the blended mixture through. White liquid flows through. Fiber stays behind.
Press it. Use the back of a ladle or squeeze the cloth hard. Keep pressing until nothing drips anymore. The pulp gets drier. The milk gets thicker on the other side. Don’t skip this step. Liquid texture changes completely.
Transfer to an airtight container. Chill it now or it gets weird. The cream rises to the top — that’s normal. Stir it back in before you use it, or don’t. Depends on what you’re making. Thicker milk for cooking. Mixed milk for drinking. Both versions work.
Save the pressed pulp if you want. Dries fine for baking. Adds fiber to anything. Throw it out if you don’t care. No waste if you do.
You get about 400 ml of fresh young coconut milk. Maybe a bit less. Maybe more. Depends on the coconut size and how much water you squeezed out.
Homemade Coconut Milk Tips and Common Mistakes
Young coconuts vary. Some are creamier than others. Coconut size matters — smaller ones sometimes taste sweeter. Water temperature is the thing nobody talks about. Hot water extracts better. Cold water leaves it thin and sad. Nearly boiling works. Lukewarm doesn’t.
Blending longer doesn’t make it creamier — just stops after 2 to 3 minutes. The coconut meat’s already given everything it’s got. Blending beyond that just heats things up and wastes energy.
Pressing hard gets more liquid out. You can’t press too hard. The texture improves when you’re aggressive about it. Some people use cheese cloth. Some use a fine nut milk bag. Fine sieve works too if you’re patient. All three get there.
The cream layer on top looks weird the first time. Stir it. It goes back. Next time you make it, you’ll expect it. Doesn’t matter if you leave it layered or mix it — both are fine milk.
Storage — refrigerate immediately after it cools. Lasts about 3 days before it gets weird. Freezes okay for longer storage. Thaw it in the fridge. The texture’s a bit different after freezing but still usable.
Homemade Coconut Milk from Fresh Coconut
Prep:
15 min
Cook:
0 min
Total:
15 min
Servings:
400 ml
Ingredients
- 1 fresh young coconut about 450 to 590 grams
- 480 ml hot water (nearly boiling) substitute with almond milk for twist
Method
- 1 Open coconut cracking hard shell; extract white flesh with a sturdy spoon or knife. Tap repeatedly, pry carefully to preserve flesh integrity.
- 2 Coarsely chop flesh on cutting board. No need to be neat; chunks should be manageable for blender blades.
- 3 Pour hot water in blender jug, add coconut chunks immediately while water still steaming. Blend on high for 2 to 3 minutes watching mixture turn creamy and frothy. Stop before overheating blender motor.
- 4 Set fine sieve or nut milk bag over bowl. Pour blended coconut slurry. Press firmly with back of ladle or squeeze cloth thoroughly. Liquid runs clear of pulp; stop pressing once no more drips form.
- 5 Transfer strained milk to airtight container. Let chill or refrigerate ASAP. Cream rises atop; stir gently before use to reincorporate.
- 6 Optional: save pressed pulp for baking or drying; great fiber booster.
- 7 Expect about 400 ml fresh milk; yield varies with coconut size and water amount.
Nutritional information
Calories
160
Protein
1.5g
Carbs
4g
Fat
15g
Frequently Asked Questions About Vegan Coconut Milk
Can you use canned coconut milk instead of fresh young coconut? Defeats the purpose. Homemade without canned is the whole thing. Different taste. Different texture. Canned is convenience. This is flavor.
What if you can’t find fresh young coconuts? Harder to make it homemade. Most grocery stores with decent produce sections have them. Asian markets always do. If nothing else, mail order exists. Mature brown coconuts work but taste different — earthier, less sweet. Not recommended if you want the light creamy version.
Do you need a nut milk bag or can a strainer work? Strainer works fine. Takes longer. You’ll stand there pressing it for a while. Nut milk bag is faster and squeezes cleaner. Either way gets the job done.
How long does homemade coconut milk last? Three days in the fridge. Maybe four if you’re lucky. It separates. The cream rises. Stir it before use. After day four it gets funky. Tastes off. Freeze it if you want it longer. Lasts a month frozen. Texture changes slightly after thawing but works for cooking.
Can you make it with almond milk or other liquids? Technically yes. Tastes completely different. Almond milk gives you something thinner and lighter. Not really homemade coconut milk anymore — just blended coconut with almond milk added. Works as a substitute if you want something lighter.
What do you do with the leftover pulp? Bake with it. Add to smoothies. Dry it out and use it as a fiber booster. Compost it if you don’t want it. Nothing goes to waste unless you throw it away.
You’ll Love These Too
Explore all →
Chocolate Icing Recipe with Mascarpone
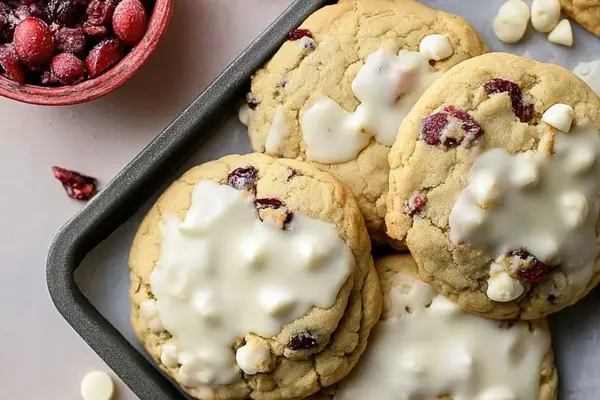
Cranberry White Chocolate Cookies

Chicken Spaghetti Casserole

Bubble Gum Cake with Sour Cream

Spaghetti Squash Lasagna with Ground Turkey

Beef and Vegetable Soup with Pale Ale

Caramelized Onion Veggie Pâté Recipe

Pumpkin Cake Cheesecake Recipe

Red Sangria Recipe with Elderflower

Grilled Lamb Chops with Honey Mustard Glaze

Chocolate Crepes with Dark Chocolate Sauce
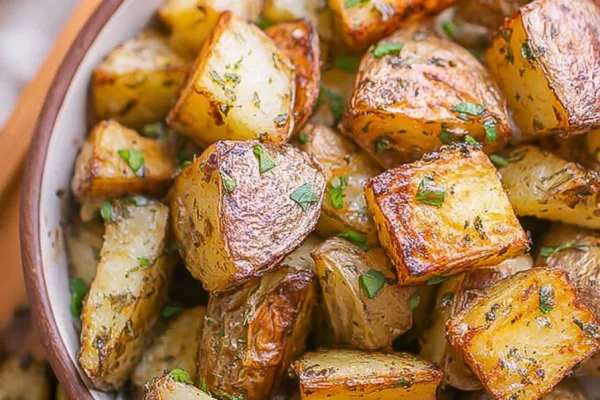
Crispy Ranch Potatoes
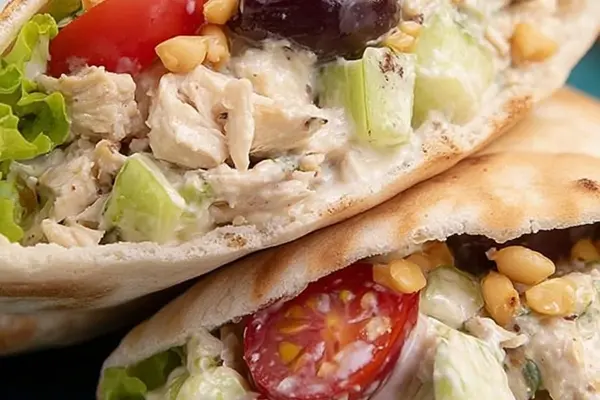
Chicken Salad Pita Recipe with Pecans

Deviled Eggs Recipe with Jalapeño & Bacon
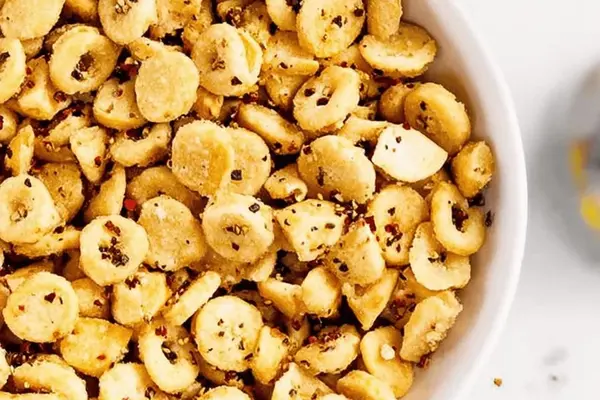
Homemade Ranch Oyster Crackers Recipe
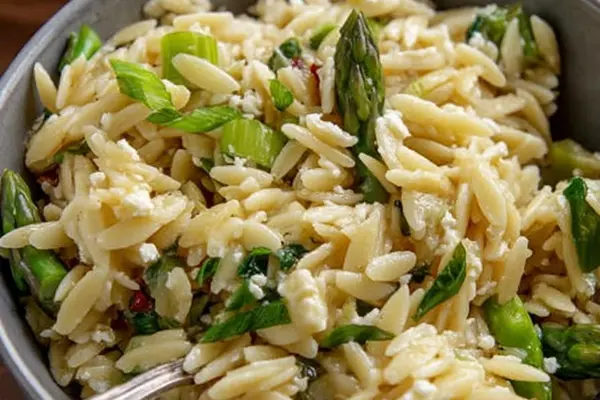
Orzo Salad with Goat Cheese and Asparagus
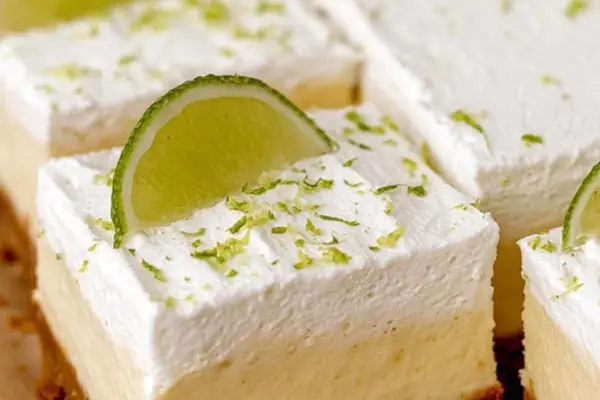
Key Lime Bars with Biscoff Cookie Crust
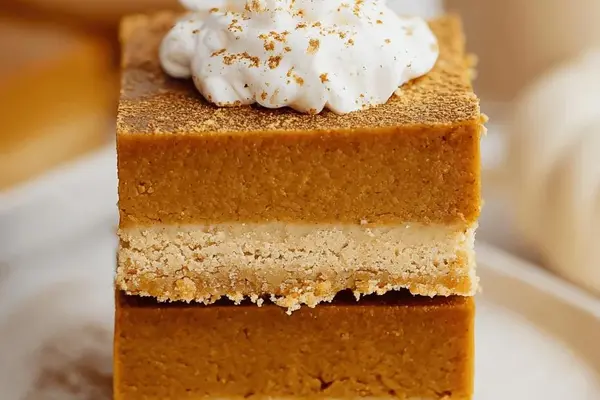
Pumpkin Bars Recipe with Spiced Filling
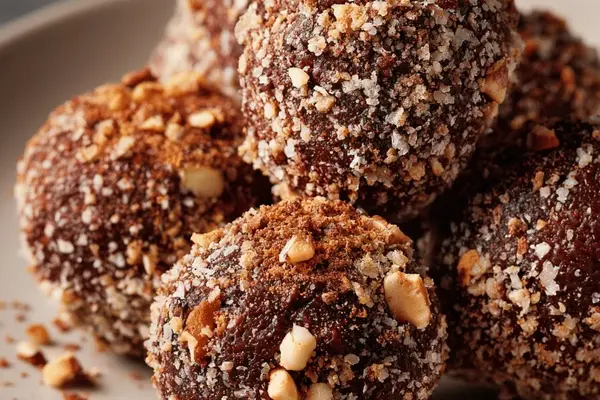
Crunchy Cocoa Bites with Hazelnuts