Homemade Brownie Mix with Dutch Cocoa
By Emma
Certified Culinary Professional
·
Recipe tested & approved
Mix this in 6 minutes. You’ve got a dry brownie base that sits in a jar for weeks—no eggs, no oil, no fridge. Just add liquid and heat when you want actual brownies.
Why You’ll Love This Brownie Mix
Whips up fast and lives in your pantry. Bake brownies in 20 minutes whenever the craving hits. Homemade chocolate flavor without the “from a box” taste. Dutch-processed cocoa makes it actually taste like something. The cornstarch does weird stuff—makes them chewier, not cakey. Texture’s better than you’d expect. Works cold. Stores for three weeks. Perfect for last-minute gifts or just having brownies ready when you need them. Less sugar than most recipes. Doesn’t sacrifice anything. Still tastes rich.
What You Need for Homemade Brownie Mix
¾ cup sugar. Not a full cup—it’s enough.
3¾ tablespoons dutch-processed cocoa powder. Not regular. The Dutch version tastes deeper, almost smoky. Regular cocoa works but it’s more bitter and thinner.
6 tablespoons cornstarch. This is the secret move. Replaces some flour, keeps the texture different from a cake. Tapioca starch works too but cornstarch’s better.
5 tablespoons all-purpose flour. Just enough.
½ teaspoon baking powder. Not baking soda. Powder.
⅓ teaspoon fine sea salt. Fine salt dissolves better than kosher. Matters.
How to Make a Dry Brownie Mix
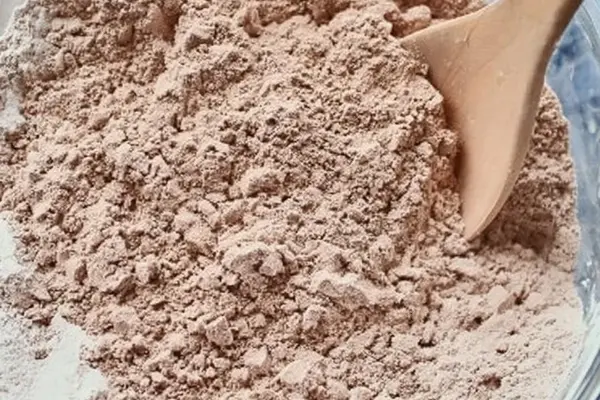
Whisk everything together—hard. Not casual whisking. Actually force it. Sugar lumps disappear, everything gets powdery and even. Takes about a minute of real effort.
If you see clumps, run it through a fine-mesh sieve. Push the cocoa lumps through with the back of a spoon. Takes another minute. Worth it—gritty brownies are wrong.
Pulse it in a food processor or blender. Five or six quick pulses. Not more. You want it smoother but not heated or compressed. Think dusty chalk. Even color top to bottom.
That’s it. You’re done mixing.
How to Store and Use Your Dutch Cocoa Brownie Mix
Pour into an airtight container. Keeps for three weeks easy, sometimes longer if your kitchen’s actually cool and dry. No fridge.
When you want brownies, grab the mix. It’ll probably have settled a bit—quick sift or five pulses in the processor and it’s back to normal.
Add the wet ingredients. Oil, water, egg, whatever the actual brownie recipe says. Bake at whatever temp you’re using. Twenty minutes is standard but watch for it—don’t trust time alone.
Brownie Mix Tips and Common Fixes
Whisk with actual force. Sugar pockets ruin brownies. You’ll feel the difference between “whisked” and “actually whisked” pretty fast.
The food processor pulse thing—subtle. Don’t blast it. Pulsing too hard oxidizes the cocoa and you lose flavor. Just a few quick hits.
Sometimes the mix clumps after it sits. Just sift again or pulse a couple times. Totally normal.
If your brownies turn out too dry, next time add 2 tablespoons melted butter and 3 tablespoons water—or coffee, which amplifies the chocolate without making it bitter. That fixes it.
No dutch-processed cocoa? Regular cocoa works but add ¼ teaspoon baking soda to cut the acid. It’ll taste sharper but it’ll work.
Gluten-free? Swap the flour for a gluten-free blend but keep the cornstarch amount the same. The cornstarch’s doing the texture work, not the flour.
Homemade Brownie Mix with Dutch Cocoa
Prep:
6 min
Cook:
20 min
Total:
26 min
Servings:
1 batch mix
Ingredients
- 1 cup white granulated sugar reduced to ¾ cup
- 3 ¾ tablespoons dutch-processed cocoa powder substituted for regular
- 6 tablespoons cornstarch replacing some flour
- 5 tablespoons all-purpose flour
- ½ teaspoon baking powder
- ⅓ teaspoon fine sea salt
Method
- Dry Mix Prep
- 1 Whisk sugar, flour, baking powder, dutch-processed cocoa powder, cornstarch, and salt vigorously. Use a fine-mesh sieve if lumps persist. You want a powdery, even blend without pockets of dry clumps. The cornstarch pulls moisture subtly, giving better chew later, trust it.
- 2 Pulse this blend briefly in a food processor or blender—5 or 6 quick pulses. Avoid over-processing; you don’t want heat but you want smoothness. Think dusty chalk, even color tone.
- Storage & Use
- 3 Transfer mix to airtight container. Store in cool, dry place. Can sit for 3 weeks without losing punch. Useful for those ‘unexpected’ baking urges or last-minute gifts, yes gifts—not just pantry filler.
- Baking Note
- 4 Brownies baked from this mix need gentle observation. The smell of cocoa will thicken and intensify midway through baking. Edges will pull away from pan slightly and surface will wrinkle but remain slightly shiny. The center should be soft. Press lightly, slight spring back—not spongy. Cake testers come out with moist crumbs, never dry.
- 5 Time varies based on pan size (8x8 better than 9x9) and oven quirks. Rely on these sensory clues not time alone.
- Substitutions & Fixes
- 6 If no dutch-processed cocoa on hand, use regular but add ¼ teaspoon baking soda to balance acidity. Cornstarch optional but recommended; tapioca starch can replace, but cornstarch gives best texture contrast. Sugar can be partially swapped for coconut sugar or maple sugar for earthier notes; expect slightly different browning.
- 7 Dry mix sometimes clumps after storage—quick sift or pulse again before baking. Too dry brownies? Add 2 tablespoons oil or melted butter and 3 tablespoons water or coffee to batter. Coffee amplifies cocoa without bitterness. For gluten-free, swap flour for gluten-free blend but maintain cornstarch quantity.
- Experienced Tips
- 8 Whisk with enough force and impatience. No one wants gritty sugar pockets. Food processor pulsing is subtle—don’t blast or you’ll oxidize cocoa, losing flavor. Baking time shifts ±3 minutes normal, adjust by pan size/altitude. Watch edges, smell, and surface cracks rather than timer.
- 9 Feel brownie's body with gentle poke, not stab. Too firm means overbaked, too wobbly means underdone. Adjust oven temp 5 degrees if brown bits form too fast. Scent changes from sweet to toasty signal done-ness better than clock.
- 10 Store leftover dry mix well. No fridge needed but dry environment critical. Tried making mixes months ahead; best freshness within a month but potency fades very slowly if sealed tight.
- 11 Mix serves as reliable base. Add-ins—nuts, chocolate chips—should be stirred in last. In dry mix, keep extras separate until just before baking to prevent uneven distribution or moisture migration.
Nutritional information
Calories
150
Protein
2g
Carbs
35g
Fat
1.5g
Frequently Asked Questions About Homemade Brownie Mix
How long does the dry brownie mix actually last? Three weeks easy if it’s sealed tight in a cool spot. After that it starts losing punch but honestly it’s still fine for a month. Just doesn’t taste as chocolate-y after a while.
What if I don’t have dutch-processed cocoa? Use regular but add ¼ teaspoon baking soda. It won’t taste exactly the same—more bitter, less smooth—but it works. Dutch cocoa’s better though.
Can I swap out the cornstarch? Tapioca starch works. Regular flour doesn’t—you lose the chew. Cornstarch’s the whole point here.
Do I need a food processor? No. Just whisk hard and sift if you see lumps. Processor makes it smoother but not required. Takes an extra minute by hand.
Why is the sugar reduced? ¾ cup instead of a full cup keeps it from being cloyingly sweet. Still tastes rich and chocolate-y but you actually taste the cocoa.
Does the mix go bad before I use it? Not really. Three weeks is just when it starts getting stale. After a month it’s fine but tastes a bit less punchy. Store it sealed in a cool place and stop worrying about it.
You’ll Love These Too
Explore all →
Dinner Rolls Recipe with Instant Yeast
Celery Salad with Feta, Apple & Almonds
Andes Mint Chocolate Cookies Recipe
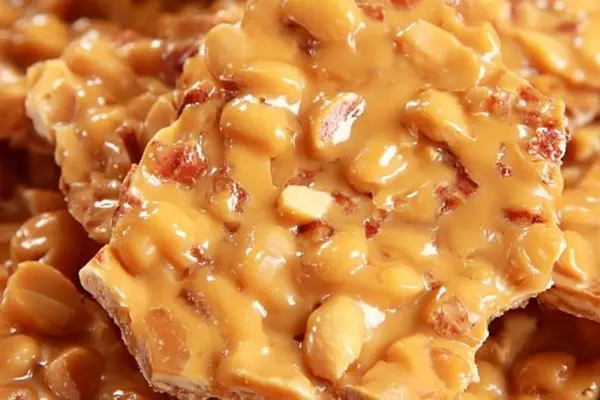
Microwave Peanut Brittle with Coconut Oil

Maple Glazed Tofu with Crispy Cornstarch

Grilled Chicken Breasts with Honey Soy Marinade

Instant Pot Pot Roast with Ginger & Lemongrass
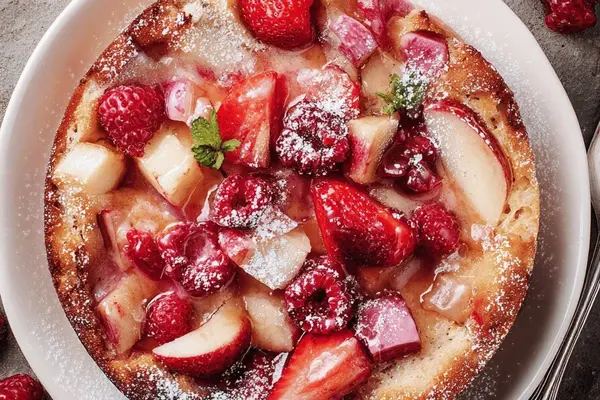
Chocolate Pudding Fruit with Berries

Lemondrop Martini Recipe with Vodka
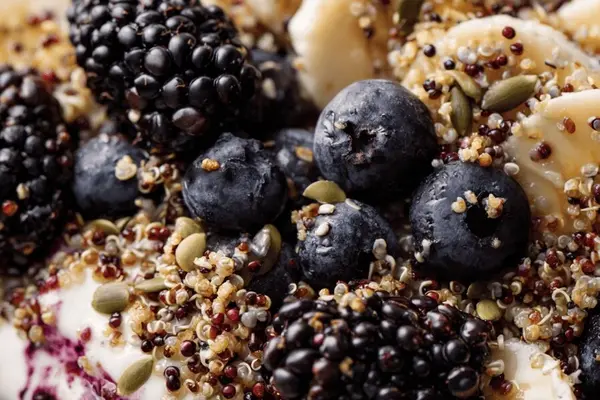
Berry Quinoa Bowl with Greek Yogurt

Sheet Pan Sesame Chicken with Broccoli

Salmon With Mushroom Cream Sauce

Brown Butter Chocolate Chip Cookies

Lemon Pineapple Tartelettes with Meringue

Red Velvet White Chip Cookies Recipe
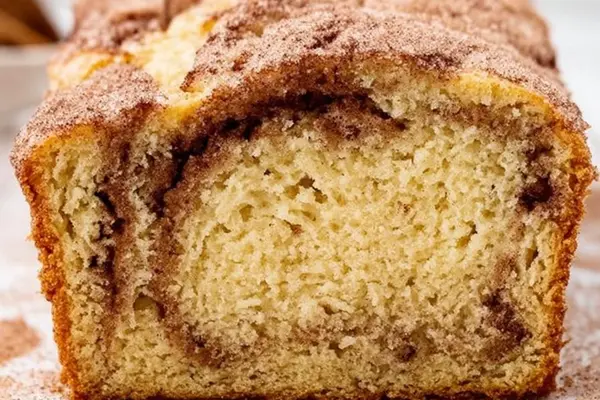
Buttermilk Corn Bread Recipe with Cinnamon

Easy Breakfast Tartines: 5 Sweet & Savory Ideas
Garlic Aioli with Crudité Vegetables
pan fried steak cast iron