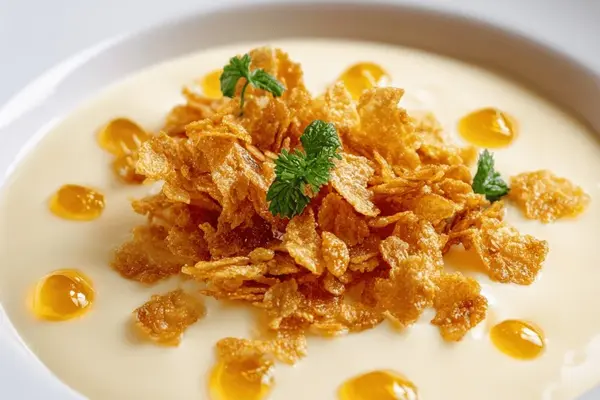
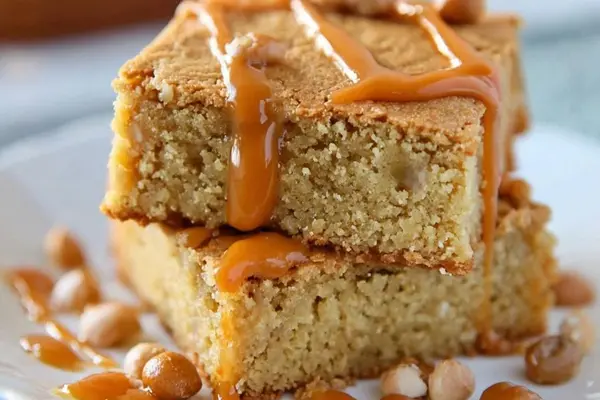
Corn Cream & Caramel Cornflakes Dessert
By Emma
Certified Culinary Professional
·
Recipe tested & approved
Silky corn cream dessert made with fresh corn, heavy cream, and gelatin, topped with caramelized cornflakes. Simple, elegant, and chilled to perfection.
Prep:
35 min
Cook:
20 min
Total:
6h 55min
Servings:
6 servings
Blend corn with milk first. That’s the whole thing — rest of it’s just patience. Nearly 7 hours total, but most of that’s the fridge doing the work while you’re doing literally nothing else. The payoff is textured, creamy, cold. Then caramelized cornflakes on top get warm and crunchy the second they hit the plate.
Why You’ll Love This Corn Dessert
No oven needed for the main part — just a saucepan and time. Vegetarian, technically vegan if you swap the milk, though that changes the set. Feels fancy. Takes 35 minutes of actual hands-on work. Everything after that is just waiting. The contrast hits different — cold custard against warm caramel and crunch. Fresh corn puree tastes nothing like corn you’d expect in dessert. More subtle. Almost savory-adjacent. And it’s the kind of thing people ask for the recipe on, which is always worth it.
What You Need for Corn Cream & Caramel Cornflakes
Gelatin powder — 9 ml. Not the sheets. Powder dissolves cleaner and faster. Cold water to bloom it, about 65 ml. Fresh corn kernels from 2 ears, maybe 475 ml total. Whole milk. Not 2%. The fat matters. Heavy cream at 35% — most cream you buy is this. Granulated sugar for the custard, 105 ml. Cornstarch, 6 ml, keeps it from breaking when it heats. Two egg yolks — the whites don’t go in here. Vanilla extract, just a splash. Lemon zest from half a lemon, which sounds weird until you taste it. Then it makes sense. For the topping: melted butter, 40 ml. Corn Flakes cereal, 260 ml. Sugar again, 25 ml, for caramelizing.
How to Make Corn Cream & Caramel Cornflakes
Scatter the gelatin over cold water. Just pour it in. Watch it sink and swell like a tiny sponge — takes about 7 minutes. Don’t skip this step even though it looks done at minute 3. Lumpy gelatin doesn’t dissolve right and the whole texture gets gritty.
Corn goes in the blender with milk. High power, short bursts. You want smooth. Not watery, not chunky. If it looks too thick, add a tablespoon or two more milk. The texture should feel creamy but still pourable. Once it’s there, fold in the cream gently. Not whisking. Folding. There’s a difference — you’re trying to keep air out, not beat it in. Let it sit for a minute. Flavors start to come together already.
Sugar and cornstarch go into a bowl together. Whisk them so there’s no lumps hiding at the bottom. Add egg yolks, vanilla, and the lemon zest. Whisk again until it looks like a smooth paste. Pour in the corn mixture slowly while stirring. You’re building this step by step.
How to Get the Custard to the Right Consistency
Transfer everything to a medium saucepan. Medium heat. Stir constantly with a silicone spatula, scraping the bottom. The mixture thickens after 5 to 8 minutes. You’re looking for nappe stage — when it coats the back of a spoon and leaves a visible line if you drag your finger through it. The whole thing should feel substantial but still move.
Stop before it gets to a rolling boil. Once you see large, slow bubbles — that’s enough. Boiling scrambles the yolks. Keep stirring. Don’t turn your back on it.
Off heat. Squeeze the excess liquid out of the gelatin and throw it away. Stir gelatin into the hot custard until it dissolves completely. If lumps show up, whisk hard. Or strain it through a fine mesh immediately — ultra-smooth finish if you care about that. Pass the whole thing through a fine sieve once more just to catch any cooked egg bits or corn debris that shouldn’t be there.
Pour into 6 small ramekins, about 125 ml each. Smooth the top. Cling wrap pressed directly onto the surface — this stops a skin from forming on top. Refrigerate for at least 5 hours. Overnight is better. The center stays delicate, just barely jiggling when you move the ramekin.
Caramelized Cornflakes Tips and Timing
Oven to 185°C. Preheat. Line a baking sheet with parchment. Combine melted butter and cornflakes in a mixing bowl. Coat them gently without crushing too much. Sprinkle sugar over top. Fold again carefully.
Spread thin on the sheet. Single layer. Don’t clump. Even caramelization only happens if they’re separated. Bake 6 to 9 minutes. Watch it. Cornflakes go from golden to burned in seconds. You’ll smell it — brown, bubbly sugar. That’s the signal. Pull it out when it’s crisp, not scorched.
Cool on the sheet. The caramel hardens as it cools. Crunch develops. You can break it apart or leave it in chunks. Either works.
Unmold the cream if you want something fancy. Or just serve it in the ramekin — easier, looks intentional. Spoon caramelized cornflakes on top right before eating. Cold custard against warm, crunchy sweetness. That contrast is the whole point.
Corn Cream & Caramel Cornflakes Dessert
Prep:
35 min
Cook:
20 min
Total:
6h 55min
Servings:
6 servings
Ingredients
- 9 ml (1 ¾ teaspoons) gelatin powder
- 65 ml (¼ cup plus 1 teaspoon) cold water
- 475 ml (2 cups minus 3 tbsp) fresh corn kernels (about 2 ears)
- 240 ml (1 cup) whole milk
- 130 ml (½ cup plus 1 tbsp) heavy cream 35%
- 105 ml (7 tbsp) granulated sugar
- 6 ml (1¼ tsp) cornstarch
- 2 large egg yolks
- 2 ml (½ teaspoon) vanilla extract
- Zest of ½ lemon (new ingredient twist)
- Caramelized Cornflakes
- 40 ml (2 ¾ tbsp) unsalted butter melted
- 260 ml (1 cup plus 2 tbsp) Corn Flakes cereal
- 25 ml (1 ½ tbsp) granulated sugar
Method
- Gelatin soak
- 1 Scatter gelatin evenly over cold water. Let sit until soft, about 7 minutes. Will swell like a tiny sponge. Don’t rush or powder clumps cause uneven dissolve later.
- Corn purée
- 2 Blend corn kernels with milk until smooth but not watery. Use high power short bursts. If too thick, add 1-2 tbsp more milk; texture matters here – think creamy but not undone soup.
- 3 Fold in cream gently, just to combine. Rest mixture; flavors meld. I’ve found this adds silkiness and tempers sweetness without heaviness.
- Thickening custard
- 4 Off heat, whisk sugar with cornstarch so no lumps. Add egg yolks and vanilla extract plus zest. Whisk until a smooth paste. Add corn mixture gradually, stirring constantly.
- 5 Transfer to medium saucepan. Cook over medium heat, stirring with a silicone spatula, scraping bottom to avoid scorching. Mixture thickens after 5-8 minutes. Look for nappe stage – coats back of spoon cleanly with visible thickness but still fluid.
- 6 Do not rush boiling. Stir often. Boil briefly once thickened – bubbles should be large and slow, not fierce rolling boil. Overcooking scrambles yolks or toughens texture.
- 7 Remove pan from heat.
- Incorporate gelatin
- 8 Squeeze excess liquid from swollen gelatin, discard liquid. Stir gelatin into hot custard until fully dissolved. If lumps appear, whisk rapidly to fix or strain immediately through fine mesh to ensure ultra-smooth finish.
- 9 Pass custard through fine sieve to catch bits of cooked egg or corn debris.
- 10 Pour evenly into 6 small ramekins (125 ml / ½ cup size). Smooth surface.
- 11 Cover with cling wrap pressed directly onto surface to prevent skin forming.
- 12 Refrigerate minimum 5 hours or up to overnight for firmness yet delicate jiggle in center.
- Caramel cornflakes
- 13 Center oven rack, preheat oven to 185 °C (365 °F). Line a baking sheet with parchment paper.
- 14 In mixing bowl, combine melted butter and cornflakes gently to coat without crushing too much. Sprinkle sugar evenly over flakes and fold carefully again.
- 15 Spread mixture in a thin, even layer on prepared sheet. Avoid overcrowding clumps to ensure even caramelization and crispness.
- 16 Bake about 6-9 minutes; watch closely—cornflakes darken quickly from golden to burnt. Brown bubbling sugar aroma signals readiness. Pull out when crisp, not scorched.
- 17 Cool completely on sheet; caramel hardens and crunch develops.
- Serving
- 18 Unmold cream if desired or leave in ramekins. Spoon caramelized flakes atop just before serving for contrast.
- 19 Textures: cool, creamy custard balanced by warm, crunchy sweetness.
- 20 Variations: swap lemon zest for orange; use brown sugar in flakes for molasses depth; substitute milk with oat or almond for dairy-free adaptation but expect softer set.
Nutritional information
Calories
280
Protein
5g
Carbs
32g
Fat
15g
Frequently Asked Questions About Corn Dessert
Can I make this ahead? Yes. The corn cream keeps in the fridge for 2 days covered. Caramelized cornflakes stay crispy in an airtight container for 3 days. Assemble the same day you serve it or the flakes get soft.
What if I don’t have fresh corn? Frozen corn works. Thaw it first. Canned is mushy. Skip it. The fresh stuff matters because of texture.
Can I skip the egg yolks? Not really. They thicken it and make it custardy. Without them it’s just corn mousse, which is fine but different. Maybe use 1 tablespoon cornstarch instead if you can’t do eggs.
Why the lemon zest? Corn is sweet. Lemon cuts that and brings out flavor you didn’t know was there. Half a lemon. Don’t go crazy.
Does this work dairy-free? Sort of. Oat or almond milk instead of whole milk. But the set won’t be as firm. Heavy cream has fat that helps texture. Plant-based cream is thinner. It’ll work. Just looser.
Can I use regular cornflakes instead of Corn Flakes? If they’re the same thing where you are, sure. Some store brands work. The idea is a basic corn cereal. Frosted versions will burn too fast.
How long total from start to finish? 35 minutes of prep and cooking. Then 5 hours minimum in the fridge. 6 hours 55 minutes if you count it all. Plan ahead.
What if the custard breaks? If it splits or curdles, strain it through a fine sieve immediately. Most of the time it’s salvageable. Next time, don’t let it boil hard and watch the heat.
Can I substitute the cornstarch? Not easily. Cornstarch thickens without making it rubbery the way flour does. Tapioca starch might work. Haven’t tried it.
Is it actually vegetarian? Yes. Eggs and dairy. No meat. That’s vegetarian.
You’ll Love These Too
Explore all →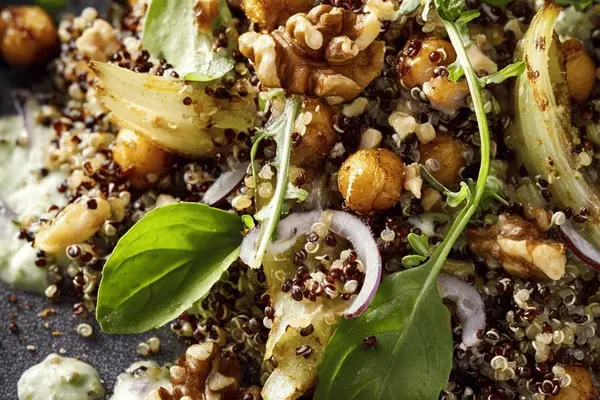
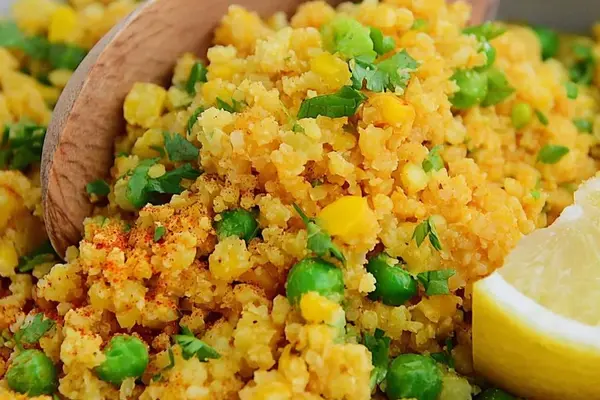
Quinoa Salad with Chickpeas and Walnuts

Buffalo Wing Egg Rolls with Cheddar
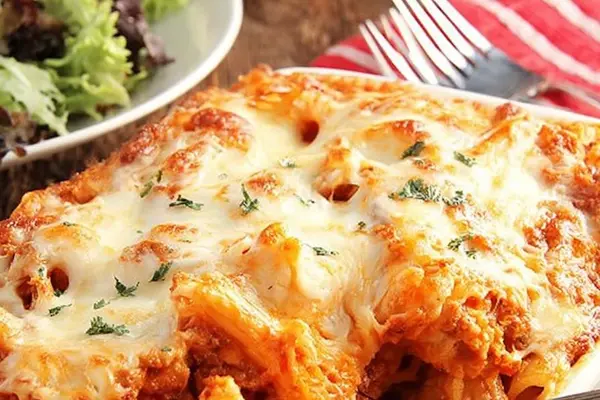
Baked Ziti Ground Turkey Recipe
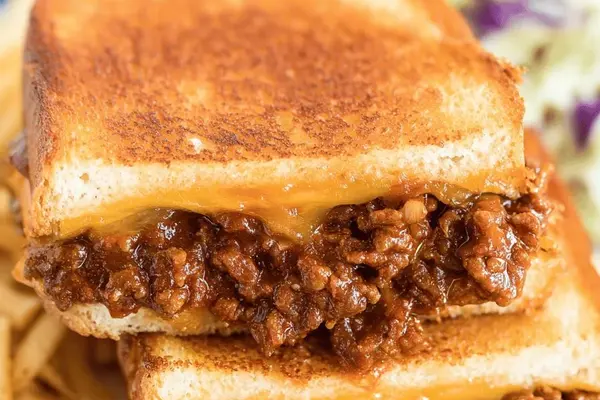
Grilled Cheese Sloppy Joe with Ground Beef
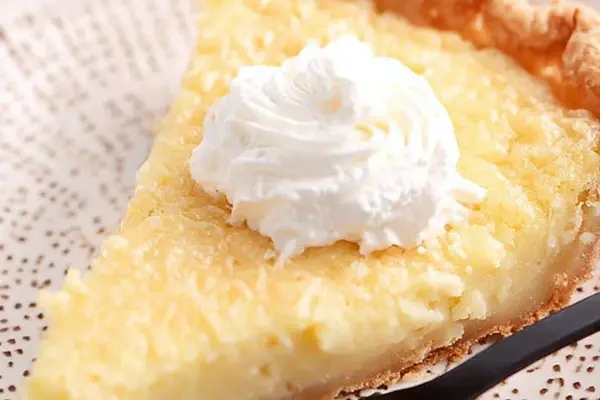
Buttermilk Pie Recipe with Eggs & Vanilla
Oven Roasted Cauliflower Rice with Cheddar

Kung Pao Chicken with Peanuts & Peppers
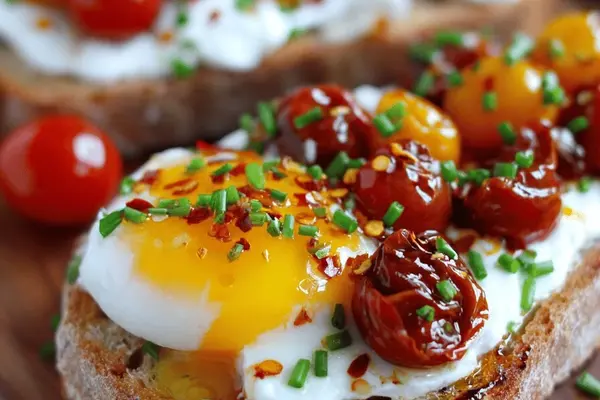
Burrata Toast with Fried Egg & Roasted Tomatoes
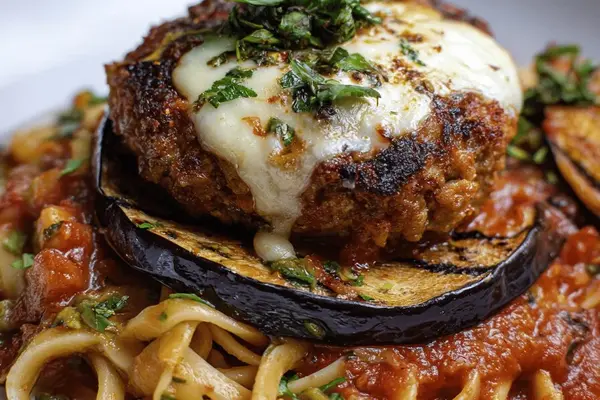
Pork Parmigiana Patties with Eggplant
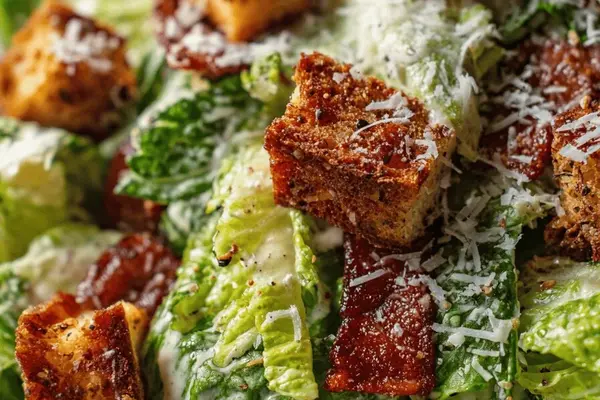
Light Caesar Salad with Tofu Mayo & Turkey Bacon
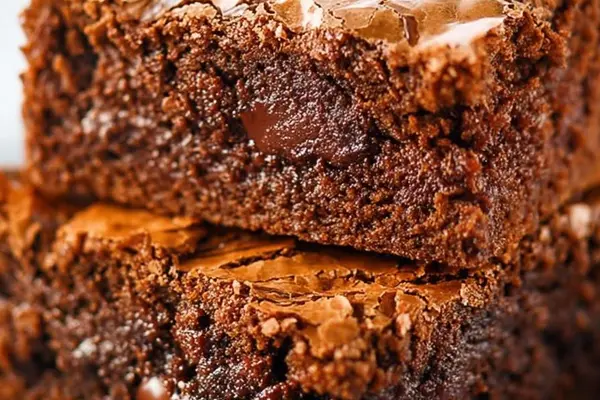
Nutella Swirl Brownies with Hazelnut Spread
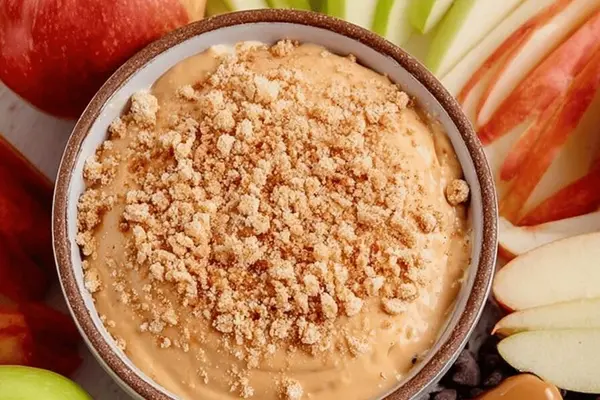
Caramel For Taffy Apples Dip Recipe
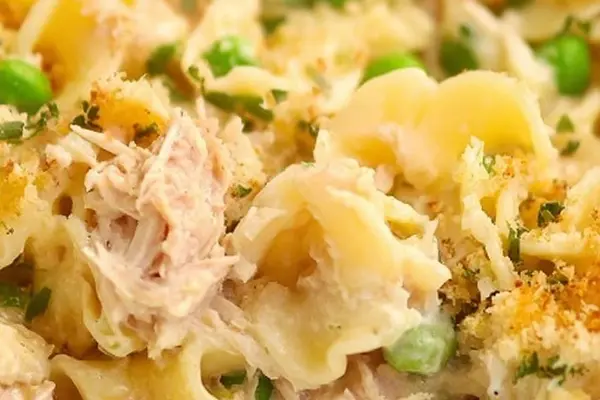
Tuna Casserole with Egg Noodles
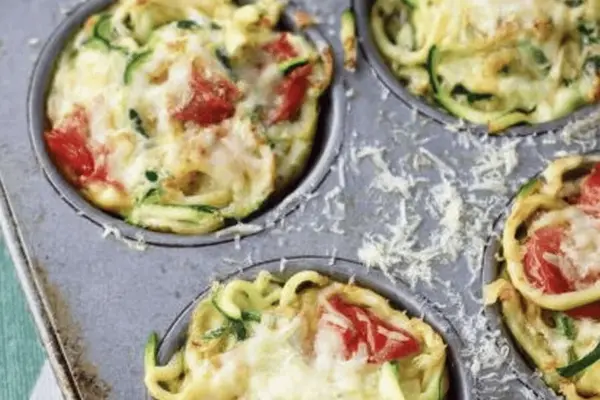
Egg Muffins with Zucchini and Cheese
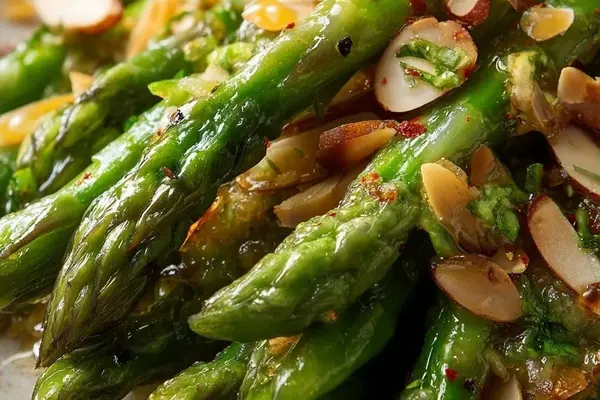
Vegan Lemon Butter Asparagus with Almonds

Sautéed Shrimp Dishes with Garlic & Sweet Chili
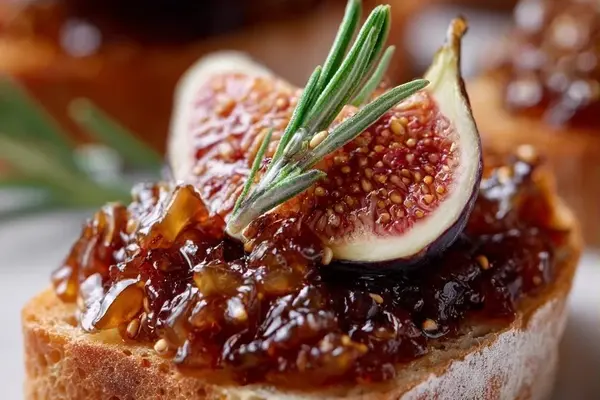
Fig Jams with Onion & Apple Cider Vinegar

Almond Pizzelle Recipe with Lemon Zest
Salted Caramel Blondies with Butterscotch