Cookie Dough Truffles with Bittersweet Chocolate

By Emma
Certified Culinary Professional
·
Recipe tested & approved
Butter and sugar creamed till it looks like clouds. That’s the whole game right there—get that part wrong and everything else falls flat. Cookie dough truffles. No oven. Just a mixer, some chocolate, and 25 minutes of actual work before the waiting starts.
Why You’ll Love This No-Bake Chocolate Candy
Tastes like edible cookie dough but actually safe to eat. The almond extract hits different—sharper, less vanilla-predictable. No bake means no heating the kitchen. Literally just mix, roll, dip. They’re small. One or two and you’re done. Not like eating a whole cookie. Melts on your tongue because it’s supposed to—butter and chocolate working together, not fighting. Texture holds up in the fridge for days without getting waxy or weird. Show up with these at a party and people ask for the recipe. Happens every time.
What You Need for Cookie Dough Truffles
Unsalted butter—120g, softened but not melting. Cold butter won’t cream right. Warm butter is worse.
Granulated sugar plus light brown sugar. The combo matters. Brown sugar alone makes them too dense. White sugar alone tastes thin.
Almond extract instead of vanilla. A teaspoon. This is non-negotiable. Vanilla gets boring. Almond stays interesting.
Heavy cream. 30ml. Not milk. Cream makes the dough richer and easier to roll without cracking.
All-purpose flour, 180g. Just enough to hold shape. Too much and it tastes like actual flour. Too little and it falls apart when you dip it.
Bittersweet chocolate, 100g chopped. 60 to 70 percent cacao. The numbers matter—too dark and it overpowers the dough, too light and it tastes like candy.
Semi-sweet chocolate for coating, 150g. Different chocolate than the chunks inside. The coating melts smoother.
Toasted shredded coconut flakes if you want them. Optional. Works. Looks nice too.
How to Make Cookie Dough Truffles
Beat the softened butter with both sugars until it goes pale. Electric mixer on medium speed. Takes about three minutes, maybe four. You want it fluffy—clouds. That texture matters more than the time.
Add the cream, salt, and flour all at once. Mix just until you can’t see any dry spots. Stop there. Don’t keep going. Overmixing makes them tough.
Fold the chopped chocolate in by hand. Use a spatula. This takes maybe 30 seconds. You want chunks throughout, not chocolate dust.
Scoop the dough using a slightly heaping tablespoon. Could use a cookie scoop too, but a spoon works fine. Roll each ball between your palms until it’s tight and compact. Doesn’t have to be perfect round—close enough is actually better because perfection looks fake.
Lay them on a parchment-lined tray with a little space between each one. Doesn’t need to be exact. Just not touching.
How to Get Cookie Dough Truffles Perfectly Dipped
Freeze the tray for 15 to 25 minutes. Not longer. You want them firm enough to hold shape but still slightly soft inside. Frozen solid means they crack when the warm chocolate hits them.
Melt the semi-sweet chocolate in the microwave. Twenty-five-second bursts. Stir between each burst. This prevents burning and keeps the chocolate smooth—no grainy texture, no lumps.
Using two spoons, dunk each ball completely into the melted chocolate. Spoon a little chocolate over the top while it’s in there. Lift it out, let the excess drip off. Takes a second. Too much chocolate on there and the coating gets thick and waxy.
Place it back on the parchment. Sprinkle toasted coconut on top if you’re using it. Do this immediately while the chocolate is still glossy.
Return the whole tray to the fridge for at least 55 minutes. They need to set fully. Rushing this means the center stays soft and the coating doesn’t harden right. You’ll end up biting through the shell and the dough oozes out—which sounds good but tastes sloppy.
Cookie Dough Truffle Tips and Storage
The cream matters more than people think. Milk makes them crumbly. Cream keeps them cohesive and soft inside even after they’re refrigerated.
Almond extract is stronger than vanilla. Use the full teaspoon. Don’t cut it.
Don’t skip the freezing step before dipping. Room-temperature dough falls off the spoon and makes a mess.
Chocolate temperature kills everything. Too hot and it’s thin, drips off instantly. Too cool and it’s thick and clumpy. Aim for liquid but not runny.
Keep them in an airtight container in the fridge. They last two weeks, maybe three if you don’t eat them all first. Let one sit at room temperature for five minutes before you bite into it. The dough softens slightly and tastes better that way—the almond comes through, the butter tastes richer.
Cookie Dough Truffles with Bittersweet Chocolate
Prep:
25 min
Cook:
0 min
Total:
50 min
Servings:
18 servings
Ingredients
- 120g unsalted butter softened
- 100g granulated sugar (reduced 5%)
- 50g packed light brown sugar (reduced 5%)
- 1 tsp almond extract (instead of vanilla)
- 30ml heavy cream (instead of milk)
- 1/4 tsp fine sea salt (slightly less than usual)
- 180g all-purpose flour (cut 5%)
- 100g chopped bittersweet chocolate (60-70% cacao)
- 150g semi-sweet chocolate for coating
- Toasted shredded coconut flakes for topping (optional)
Method
- 1 Beat softened butter with sugars in a large bowl using an electric mixer till pale and airy. Light fluffy texture is key; switching to almond extract here injects a sharper aroma.
- 2 Add cream, salt, and flour (reduced slightly for less dryness). Blend just until mixed, scraping the bowl's sides so no pockets linger; fold chocolate chunks in, not over-mixing to keep a chunky bite texture.
- 3 Scoop dough into balls with a slightly heaping 1-tablespoon spoon. Pinch and roll firmly for compact shape. Lay on parchment-lined tray with small gaps. Freeze between 15 to 25 minutes. Stop when balls hold shape but not frozen solid; too hard causes cracking when dipped.
- 4 Melt coating chocolate in microwave increments of 25 seconds, stirring between each to avoid burning and promote even melt. It should shine with no lumps or graininess. Using two spoons, dunk each ball completely, spoon over excess to prevent thick coating drags. Lift and let drip off extra chocolate before placing back on parchment.
- 5 Sprinkle mellow toasted coconut immediately to cling to glossy coat. Return tray to refrigerator minimum 55 minutes or till firm and set. Avoid rushing or truffle snaps poorly, crumbly centers arise.
- 6 Keep refrigerated stored airtight. Let sit few minutes at room temp before eating for truffle to soften just enough to release all layered nutty almond, buttery dough, and bittersweet melty fragments.
Nutritional information
Calories
160
Protein
2g
Carbs
15g
Fat
11g
Frequently Asked Questions About Cookie Dough Truffles
Can I make these ahead? Yeah. Make them, dip them, refrigerate. They hold up fine for a week, maybe longer. Actually taste better the next day because everything sets together.
What if my chocolate is too thick after melting? Add a tiny bit more—half a teaspoon of heavy cream or coconut oil. Stir it in. Don’t add much or it breaks.
Do I have to use almond extract? Not required but it’s the whole thing. Vanilla works technically. Tastes like a regular truffle instead of something with character. Try the almond version first.
Can I use milk chocolate instead of semi-sweet? Sure. It’ll be sweeter, less complex. Bittersweet coating with milk chocolate chunks inside works too if you want to experiment.
How soft should they be right before I dip them? Firm on the outside. Squeeze one lightly—your thumb should leave a small dent that doesn’t go all the way through. If it’s rock solid, they’ll crack. If it’s soft, they’ll fall apart.
Can I freeze them after dipping? Longer storage, yeah. They last months in the freezer. Thaw them in the fridge for 20 minutes before eating.
You’ll Love These Too
Explore all →
Red Velvet Cupcakes with Espresso & Oil
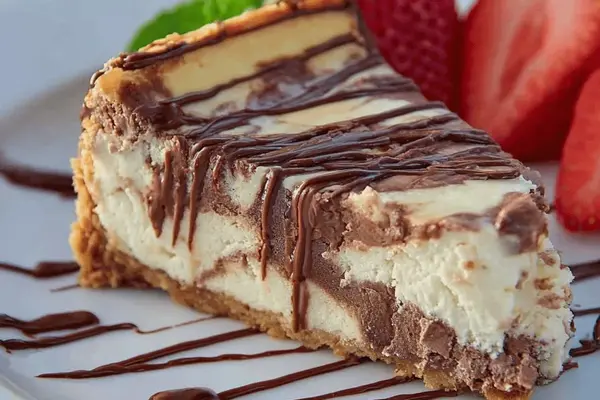
Marble Cheesecake with Chocolate Swirl
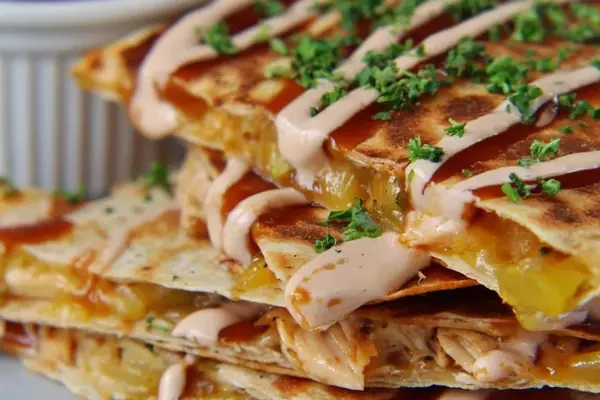
BBQ Chicken Quesadillas with Pineapple
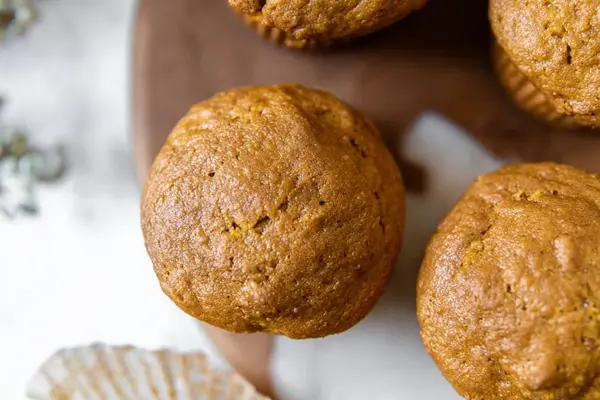
Pumpkin Muffins with Greek Yogurt

Berry Fennel Burrata Salad with Honey-Citrus

Crustless Spinach Quiche with Roasted Tomatoes

Chorizo Stromboli Recipe with Mozzarella
Easy Hard-Boiled Eggs with Baking Soda

Mini Quiches with Ham, Endive & Gruyère
Berry Smoothie with Frozen Yogurt

Pimento Cheese Appetizers with Bacon

French 75 Cocktail with Gin and Cranberry
Dry Pancake Mix with Cinnamon | Fluffy

Crunchy Coconut Macaroons with Chocolate

Pork Parmigiana Patties with Eggplant

Slow Cooker Pulled Pork with Orange & Lime
Cookie Recipe Cake Mix Orange Frosting

Grilled Octopus Salad with Fennel

Turkey Stuffing Recipe with Moroccan Pastilla