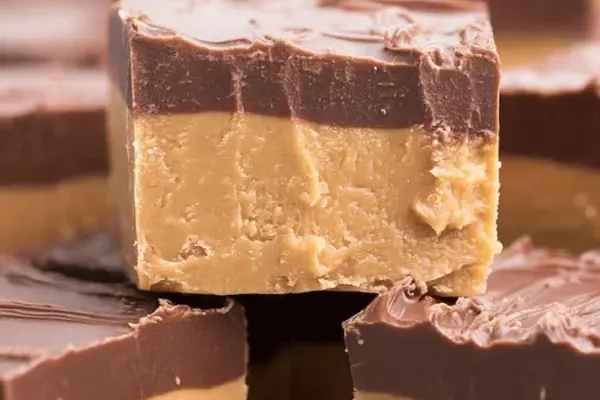
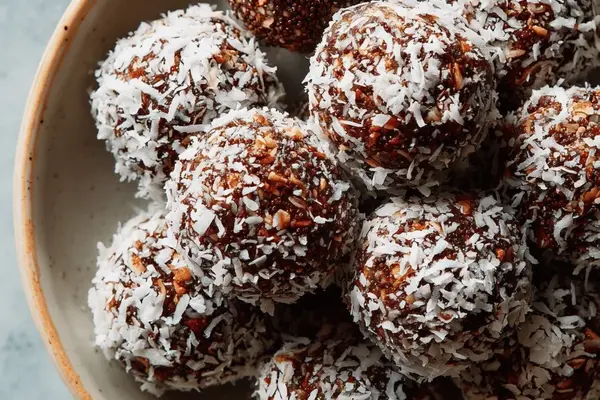
Chunky Peanut Butter Chocolate Fudge
By Emma
Certified Culinary Professional
·
Recipe tested & approved
Two-layer chunky peanut butter chocolate fudge with almond butter depth and roasted peanuts. Creamy peanut butter base, silky chocolate topping made with condensed milk and heavy cream. No bake, no graininess.
Prep:
20 min
Cook:
10 min
Total:
2h 30min
Servings:
30 servings
Cut the softened butter into the peanut butter. Not melted. Soft. There’s a difference and it matters — melted makes everything greasy. Mix until it starts holding together, then add the almond butter. Vanilla goes in now. Stir until it smells like something you actually want to eat.
Powdered sugar comes in batches. One cup at a time. Wooden spoon. You’ll feel when it stops being dust and starts being dough. Press it into the pan — corners matter, edges matter. Flat and even. That’s your base.
Chocolate layer is next. Scant butter here. Three tablespoons. Not five. The condensed milk and heavy cream do the work. Microwave in 15-second bursts. Stir between each one. You’re looking for glossy, not grainy. Peanuts go in last. Spread it while it’s still warm.
Chill for two hours minimum. One hour fifteen minutes if you’re rushing.
Why You’ll Love This No Bake Peanut Butter Fudge
Takes 30 minutes total active time. The rest is just sitting in your fridge. No oven. No thermometer. No stress about temperature or timing precision — just texture and feel. Two layers means two different experiences. Peanut butter base is dense and almost cakey. Chocolate top snaps when you bite it. Works because of the contrast. Chunky roasted peanuts add something that smooth fudge is missing. Condensed milk and heavy cream make the chocolate layer silky without being oily or waxy. Store-bought fudge doesn’t compare and you know it.
What You Need for Homemade Peanut Butter Chocolate Fudge
Softened butter. Not melted. Just softened. Six tablespoons total — three go in the peanut base, three in the chocolate.
Peanut butter and almond butter. One and a quarter cups peanut butter. Three-quarter cup almond butter. Creamy works fine but chunky adds texture. Almond butter is the swap that deepens flavor without making it taste like almonds.
Vanilla extract. Two teaspoons. Wait until you add it to feel the difference in the room.
Powdered sugar. Four cups sifted. Don’t skip the sifting. Gritty fudge is its own kind of terrible.
Chocolate chips. One and a half cups semisweet. Chop them if they’re large. Matters for even melting.
Sweetened condensed milk and heavy cream. A quarter cup each. This is the secret. Neither of these on their own works. Together they make the chocolate layer shine.
Roasted peanuts. A third cup chopped. Optional. Don’t skip it.
Parchment paper. Line your 8x8 pan with it.
How to Make Two Layer Peanut Butter Chocolate Fudge
Soften the butter first. This takes maybe five minutes on the counter. Cut it into the peanut butter and almond butter until it’s almost uniform. Almost. Some chunkiness is the point. Add vanilla. Stir until fragrant — you’ll know when.
Powdered sugar in batches. One cup. Stir until dry powder disappears. Another cup. Stir again. Keep going. The wooden spoon is doing real work here. Don’t use a mixer. You’ll end up with dust everywhere and actually that’s not worth it. After the third cup, the mixture should hold shape when you lift the spoon but not feel crumbly. Press it into the parchment-lined pan. Use the flat edge of your spatula. Push the corners down. Make it flat. This takes maybe a minute.
Set it aside while you do the chocolate.
How to Get the Chocolate Layer to Snap Right
Heat-safe bowl. Chop the chocolate chips if they’re chunky. Scant butter — three tablespoons — plus condensed milk and heavy cream. Microwave 40 seconds. Stir. You’re checking for progress. Glossy but not fully melted yet.
Fifteen-second bursts from here. Stir between each one. Microwaves vary. Some need three more bursts. Some need five. You’re looking for thick and glossy without any graininess at all. Grainy means you overheated it. Or underheated it. Either way it’s done — let it cool and start over.
Add the chopped peanuts in the last stir. Spread it over the peanut butter base while it’s still warm. Offset spatula. Even strokes. Thin enough to see texture contrast but thick enough to snap when you bite it.
No Bake Fudge Tips and What Actually Goes Wrong
Softened butter, not melted. Hot butter mixed with peanut butter makes greasy fudge that doesn’t set properly. Just leave it on the counter.
Sift the powdered sugar. Takes 30 seconds and prevents grit. Worth it.
Chill for two hours minimum. Some refrigerators run cold. Some don’t. Check the edges first. Should yield slightly to your finger but remain solid. If it’s still soft, give it 10 more minutes. Not 30. Just 10.
Remove it using the parchment flaps. Cut while it’s cold but not frozen solid. Frozen fudge loses flavor. Cold fudge tastes right. Use a sharp knife. Warm the blade under hot water if it drags. Press, don’t saw. Wipe the blade between cuts or tearing happens.
Almond butter softens the set slightly but adds depth you notice. If it doesn’t firm up as much as you want, swap it back to straight peanut butter next time. Not a failure. Just a preference thing.
Heavy cream and condensed milk do different jobs. Cream gives silkiness. Condensed milk adds shine and sweetness. Butter alone makes it grainy. Trust the combination.
Roasted peanuts are optional. Don’t make them optional.
Chunky Peanut Butter Chocolate Fudge
Prep:
20 min
Cook:
10 min
Total:
2h 30min
Servings:
30 servings
Ingredients
- 6 tablespoons unsalted butter softened, divided
- 1 1/4 cups peanut butter creamy or chunky
- 3/4 cup almond butter swapped for 25% peanut butter amount
- 2 teaspoons vanilla extract
- 4 cups sifted powdered sugar
- 1 1/2 cups semisweet chocolate chips
- 1/4 cup sweetened condensed milk
- 1/4 cup heavy cream
- 1/3 cup chopped roasted peanuts optional crunch boost
- Parchment paper for lining pan
Method
- Peanut Butter Layer
- 1 Butter softened but not melted, mix peanut butter and almond butter until near uniform. Not perfectly smooth, a bit of chunkiness is how it should feel. Vanilla added now, stir till fragrant. Patience here. Slowly dump powdered sugar in batches, one cup at a time. Wooden spoon work best; only after no more dry lumps. Avoid dust clouds of powdered sugar everywhere. The mixture should hold shape when lifted with spatula but not crumbly dry. Press evenly into parchment-lined 8x8 pan. Use spatula’s flat edge, push corners down firmly. Set aside.
- Chocolate Layer
- 2 In heat-safe bowl, chop chocolate chips if large. Butter scant—use 3 tablespoons here versus common 5—plus condensed milk and heavy cream for silkiness instead of just butter. Microwave 40 seconds, stir to gauge melt progress. Heat in 15-second bursts, stir fully between. Look for thick, glossy liquid without graininess. Add chopped peanuts in last stir—surprise crunch hits. Spread immediately over peanut butter base with offset spatula. Even strokes, thin enough for texture contrast but thick enough for snap.
- 3 Cover pan loosely with foil or lid. Refrigerate minimum 115 minutes. Check edges; fudge should yield slightly to finger but remain solid. If too soft, extend chilling 10 to 15 more minutes. Remove fudge using parchment flaps. Cut while cold but not rock hard. Use sharp knife, warmed blade if needed. Press, don’t saw; clean blade after every few cuts prevents tearing. Store in airtight container. Best served just a bit chilled—not freezer solid, or lost flavor.
- Tips and Troubleshooting
- 4 Softened butter matters more than melted. Butter completely melted and hot ruins texture. Sifting powdered sugar prevents gritty fudge. If gluten-free needed, swap sugar for erythritol blend, but reduces sweetness slightly. Stir chocolate mix well—graininess means undercooked or overheating. Heavy cream thickens chocolate topping pleasantly, condensed milk adds shine and sweetness. Almond butter swap adds depth but watch for softer set; peanut butter’s saltiness balances sweet layers. Crunchy roasted peanuts optional but highly recommended—adds dimension you’ll crave.
- 5 No thermometer needed—feel and sight rule. Microwave buzzing slows, chocolate dull yet glossy—perfect spot. Confused about set? Press lightly with spatula; if sticks, chill more. Melted butter in peanut base gives greasy finish, avoid heating butter directly with peanut butter. Just soften and stir vigorously instead. Get yourself a good wooden spoon; plastic spatulas can catch sugar crumbs and cause mess. In a pinch, metal offset spatula smooths layers best but cautious not to scratch pan or tear parchment.
Nutritional information
Calories
285
Protein
4g
Carbs
29g
Fat
20g
Frequently Asked Questions About No Bake Peanut Butter Fudge
Can I use natural peanut butter instead? Natural peanut butter works but the fudge gets oily. The stabilizers in regular peanut butter help it set. If you use natural, press it down harder into the pan and chill longer. Maybe 45 minutes extra.
What if my chocolate layer is grainy? Overheated or underheated. Either way it happened. Let it cool. Scrape it off. Start that part over. Grab the condensed milk and cream again. Do 15-second bursts this time.
How long does this last? Airtight container. Room temperature lasts three days. Fridge lasts two weeks. Freezer lasts two months but honestly you’ll eat it before then.
Can I make this in a 9x13 pan instead? Layers get thinner. Fudge gets less satisfying. Stick with 8x8. It’s not that much smaller.
Should I add salt to the peanut butter layer? The peanut butter already has salt. The condensed milk adds sweetness that balances it. Tasting it raw before you chill tells you what you need. Add a tiny pinch if you want. Salt isn’t the fix for everything.
What’s the actual difference between chunky and creamy peanut butter here? Chunky makes the base less uniform. Some pieces stay separate. Creamy blends smooth. Texture-wise both work. Pick whichever you like.
You’ll Love These Too
Explore all →
Creamy Pumpkin Soup with Pistachios
Moist Banana Cinnamon Cake with Cream Cheese
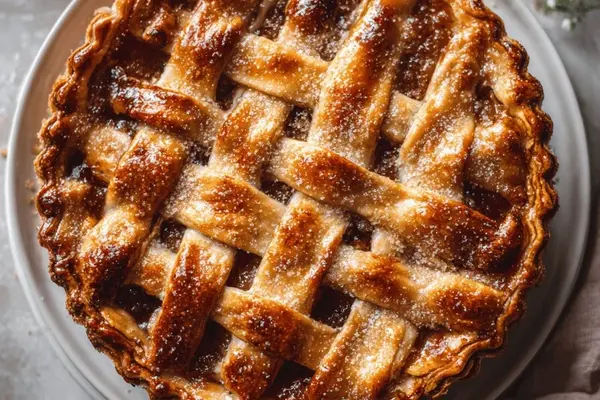
Maple Lattice Tart with Puff Pastry
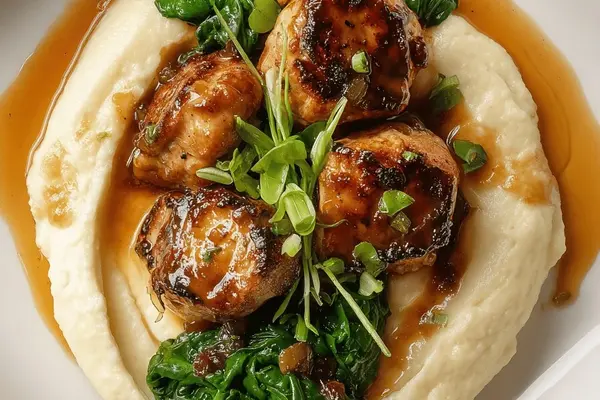
Sweetbreads of Veal with Duck Fat
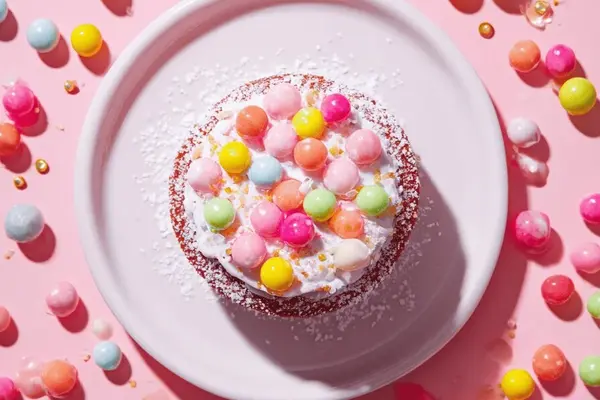
Bubble Gum Cake with Sour Cream
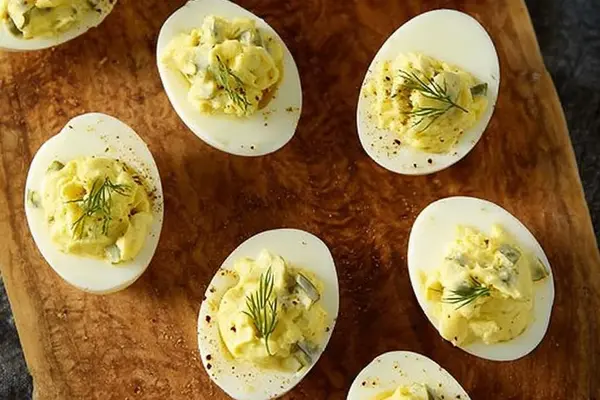
Dill Pickled Deviled Eggs Recipe
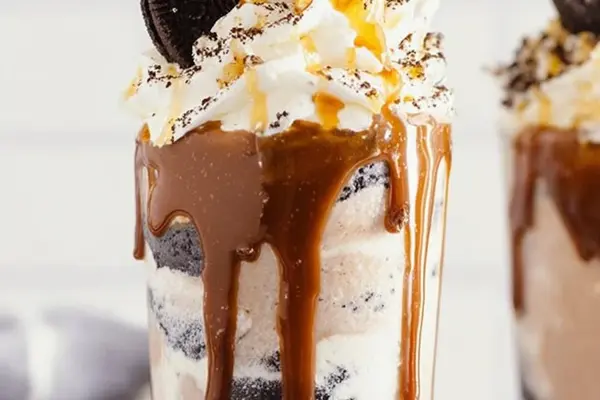
Oreo Chocolate Mint Shake with Vanilla Ice Cream
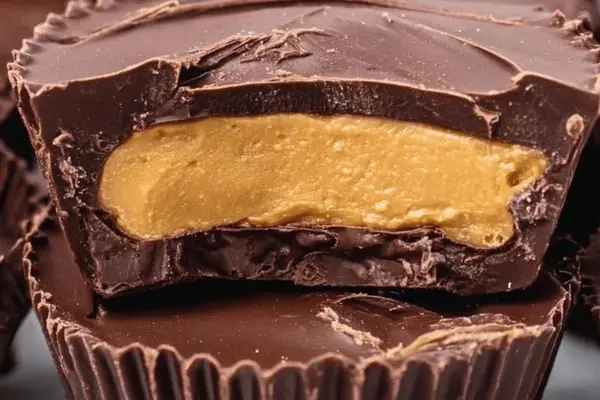
Homemade Peanut Butter Cups Recipe

Recipe For Chicken For Tacos
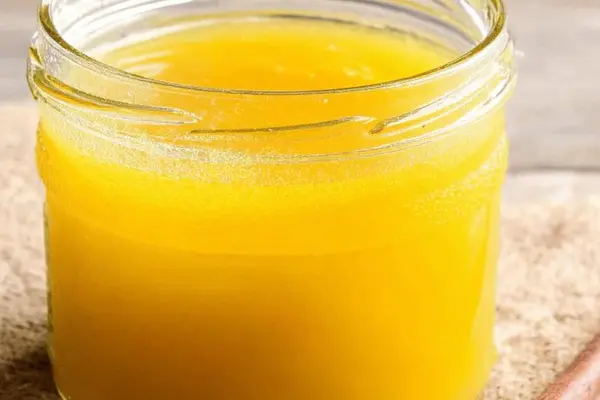
Clarified Butter: Make It at Home

Homemade Taquitos with Chicken and Cheese

Hot Lobster Rolls with Butter & Lemon Zest
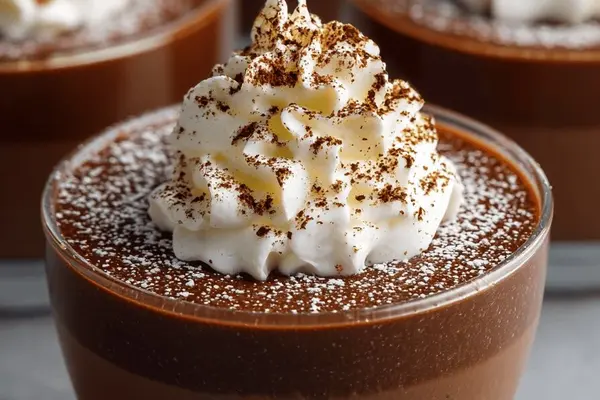
Coffee Cream Pudding with Cold Brew
Oatmeal Peanut Butter Balls

Loose Beef Sandwich with Chorizo & Chipotle
Baked Tuna Pasta with Spinach & Artichokes

Broccoli Bacon Quiche with Feta & Nutmeg

Crispy Baked Potato Skins with Bacon & Cheddar

Broccoli Carrot Puree with Ginger