Homemade Peanut Butter Cups Recipe
By Emma
Certified Culinary Professional
·
Recipe tested & approved
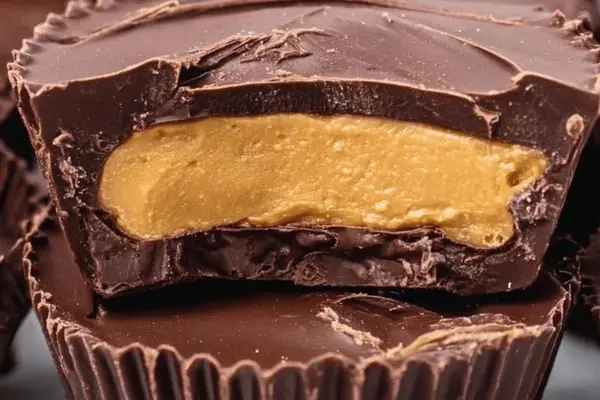
Make homemade peanut butter cups with dark chocolate, creamy peanut butter, and optional cream cheese. Learn the hand-spreading technique for crispy shells.
Prep:
20 min
Cook:
0 min
Total:
50 min
Servings:
12 servings
Melt half the chocolate, spread it thin, freeze. Whip the peanut butter filling while that sits. Then the second chocolate layer. Done in 50 minutes and tastes like you bought them at a store. Except better. And way cheaper.
Why You’ll Love These Homemade Peanut Butter Cups
No baking. Seriously. Just melting and stirring and freezing. Makes 12 cups for the price of maybe two from the candy aisle—and homemade peanut butter cups actually taste like chocolate and peanut butter instead of waxy coating. You control what goes in. Skip the weird stuff. Add cream cheese if you want tang. Or don’t. They stay soft inside, crispy shell outside. Not hard little rocks. The contrast is the whole thing. Homemade reese cup recipe sounds fancy. It’s not. Takes 20 minutes of actual work.
What You Need for Homemade Pb Cups
Twelve cupcake liners. Paper ones work. Silicone works too but chocolate sticks sometimes.
Dark chocolate—8 ounces, split in half for two layers. Not milk chocolate. The dark stuff keeps its snap when it’s cold.
Creamy peanut butter. A full cup. Smooth peanut butter, not the chunky kind. Chunky doesn’t whip right.
Powdered sugar. Three quarters cup. It dissolves into the filling, makes it thick enough to hold shape.
Unsalted butter. Two tablespoons, soft. Room temperature or it won’t mix smooth.
Cream cheese is optional. Two tablespoons. Sounds weird but it cuts through the sweetness. Makes the filling taste less one-note. Haven’t tried it? Maybe try it.
How to Make Homemade Peanut Butter Cups
Set up the liners first. Twelve of them in a muffin tin. Don’t skip this. They stop the chocolate from pooling everywhere while you work.
Melt half the chocolate—that’s 4 ounces—in the microwave. Twenty seconds at a time. Stir between blasts so it doesn’t burn and separate into gritty flakes. You want glossy. Thick but pourable. Not soup.
Drop about half a tablespoon into each liner. Use one spoon to drop, one spoon to scrape. Spread it by moving the spoon around or tilting the pan side to side. Coat the bottom thin. No holes. Be gentle on the liners or they rip.
Freeze for 12 to 18 minutes. Check the surface. Should feel hard to the touch but not cracked if you nudge it. Still soft? Give it another minute or two.
While the chocolate sets, whip the peanut butter with the powdered sugar and butter. Add the cream cheese if you’re using it. Beat it until it’s fluffy. Watch the texture—too much stirring and it gets dense and gluey instead of light.
Spoon one tablespoon of filling onto each chocolate base. Pinch the sides clean. Keep peanut butter off the liners. If it touches the sides, the chocolate won’t seal to the liner later and they fall apart when you try to peel them off.
Back in the freezer for 4 to 7 minutes. The filling needs to be firm enough to hold the next layer of chocolate but still soft inside. Too hard and the final chocolate layer won’t stick smooth to the filling.
How to Get the Perfect Chocolate Shell on Your Diy Reese’s Cups
Melt the remaining 4 ounces of chocolate the same way. Twenty seconds, stir, repeat. Don’t overheat it. Stir until it’s shiny and smooth.
Cover the peanut butter completely. No filling showing through anywhere. Tap the muffin tin gently on the counter to level the chocolate. It’ll smooth out and fill any gaps.
Chill for 10 to 15 minutes until the chocolate is completely hard. Refrigerator is fine. Avoid the freezer at this stage—if you freeze them solid, the chocolate gets dull and cracks when you bite.
Pop them out carefully. If a liner sticks, warm the edges slightly by holding your hands around them or pressing a hot towel against the tin for a second. Tricky but keeps the shape clean.
Serve them cool or at room temperature. The crumbly peanut filling versus the brittle chocolate shell—that contrast is what makes homemade reese’s peanut butter cups actually taste different from the store version. Too cold and the chocolate gets hard, too warm and the filling softens too much. Room temp is the sweet spot.
Homemade Peanut Butter Reese’s Cups Tips and Common Mistakes
Don’t skip the liners. Chocolate sticks to the tin and pulling it out breaks everything.
Chocolate temperature matters. Overheated chocolate separates and turns grainy. Low heat, constant stirring, patience.
The peanut butter filling needs to be whipped, not just mixed. That’s what makes it fluffy instead of dense. If it looks too dry while you’re beating, you whipped it too long. Add a tiny pinch of butter and keep going.
The freeze times aren’t suggestions. Too short and the layers don’t separate. Too long—especially in the freezer—and the chocolate gets bloom, that white cloudy stuff that tastes fine but looks dull.
Cream cheese is optional but honestly it’s not. Two tablespoons and the whole thing tastes less sweet, more complex. Most people don’t notice what’s different. They just know it’s better than store bought.
Don’t use oil to help with unmolding. It makes the chocolate slip around and breaks the whole thing. Warm hands. Or a towel. That’s it.
Make your own reese’s cup recipe scales weird if you double it. The freezing times don’t stay the same. Just make two batches instead. Easier.
Homemade Peanut Butter Cups Recipe
Prep:
20 min
Cook:
0 min
Total:
50 min
Servings:
12 servings
Ingredients
- 12 cupcake liners
- 8 ounces dark chocolate, divided
- 1 cup creamy peanut butter
- 3/4 cup powdered sugar
- 2 tablespoons unsalted butter, softened
- Optional: 2 tablespoons cream cheese for tang
Method
- 1 Prepare cupcake liners in muffin tin. No shortcuts here. Liners stop melty chocolate mess.
- 2 Melt half the chocolate in a microwave-safe bowl. Heat 20 seconds, stir to avoid burning. Chocolate grainy? Keep stirring, a little heat. You want glossy, thick but pourable.
- 3 Drop about ½ tablespoon chocolate into each liner. Spoon with one, scrape with the other. Spread by shaking pan side to side until chocolate covers each bottom thinly, no holes. Careful not to break liners.
- 4 Freeze 12–18 minutes; check surface. Chocolate should feel hard but not crack when nudged. Too soft? Add a minute or two.
- 5 While chocolate chills, whip peanut butter, powdered sugar, and butter (and cream cheese if using). Beat until fluffy, not gluey. Watch sugar absorption; too dry ruins filling.
- 6 Spoon 1 tablespoon filling on each cooled chocolate base. Pinch the sides clean—keep peanut butter off liners or chocolate won't seal well.
- 7 Pop back in freezer 4–7 minutes. Filling needs firm enough for layer 2 but still creamy. If too hard, final chocolate bonds won’t be smooth.
- 8 Melt remaining chocolate same way; no overheating. Stir till shiny and smooth.
- 9 Cover peanut butter with chocolate completely, no filling peeking out. Tap muffin tin lightly against counter to level chocolate evenly.
- 10 Chill 10–15 minutes till fully firm or refrigerate 15–20 minutes if in a hurry. Avoid freezer overexposure or chocolate dulls and cracks.
- 11 Pop out liners carefully. If stuck, warm edges of liners slightly with hands or hot towel brief touch—tricky but keeps shape intact.
- 12 Serve cool or at room temp. Crumbly filling texture versus brittle shell contrast is best appreciated if not too cold.
Nutritional information
Calories
369
Protein
7g
Carbs
26g
Fat
27g
Frequently Asked Questions About Homemade Peanut Butter Cups
Can I use milk chocolate instead of dark? Sure. Just know it’s softer and the shell won’t snap the same way. Dark chocolate stays crispy when cold. Milk chocolate gets mushy.
How long do these actually keep? Two weeks in the fridge. Maybe three if you’re lucky. They start absorbing moisture from the air after that and the chocolate gets soft. Freezer pushes it to a month but the texture changes—chocolate gets duller.
What if my peanut butter filling is too dry? You overworked it. A tiny bit of butter—like a teaspoon—mixed in smooths it back out. Or just accept it. It’s fine either way. Tastes the same.
Do I have to use a muffin tin? No. You could spoon the chocolate onto parchment paper and make flatter discs. Different texture though. The muffin tin shape keeps them thick and satisfying.
Can I add salt to the filling? Yes. A tiny pinch. A quarter teaspoon mixed into the peanut butter before whipping. Makes the chocolate taste richer somehow.
What’s the deal with the cream cheese? Cuts sweetness. Makes the filling taste tangy instead of one-dimensional. Not necessary. Honestly just try it once.
These are way better than store bought. Why? Fresh chocolate, fresh peanut butter, actual texture contrast. Store versions sit in boxes for months. These are still crispy the day you make them.
You’ll Love These Too
Explore all →
Slow Cooker Pulled Pork with Garlic & Thyme
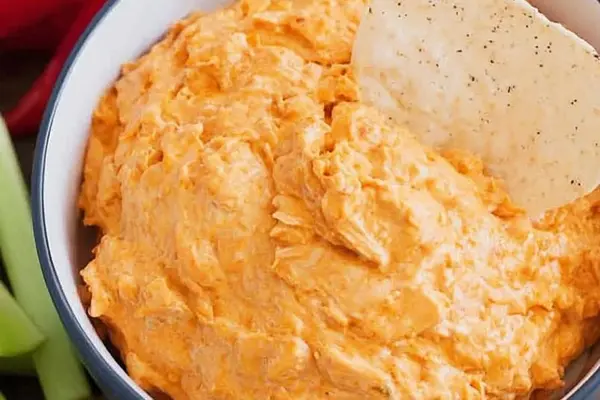
Buffalo Chicken Dip with Blue Cheese
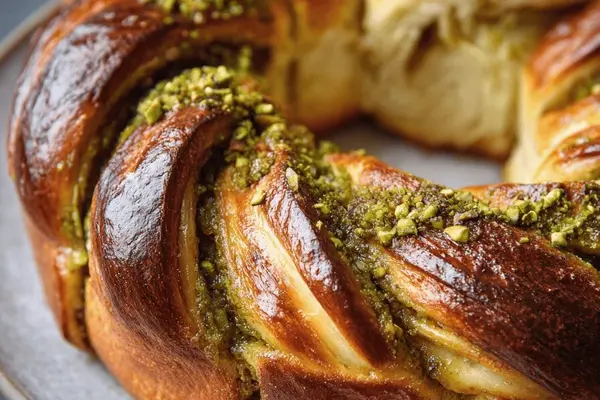
Pistachio Brioche Twist with Cardamom

Clams White Wine with Pancetta Bread Crumble

Salmon Mango Tartare with Curry Yogurt Sauce
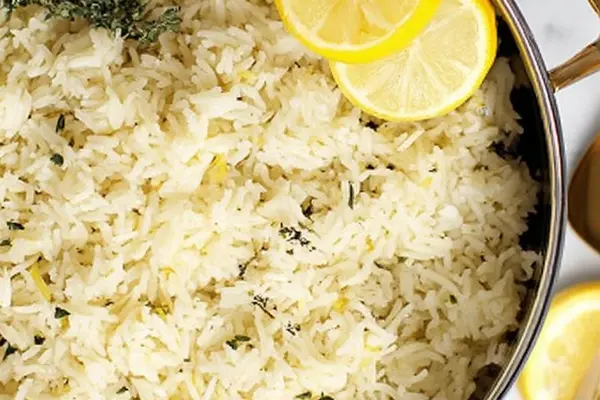
Lemon Rice with Fresh Thyme & Jasmine
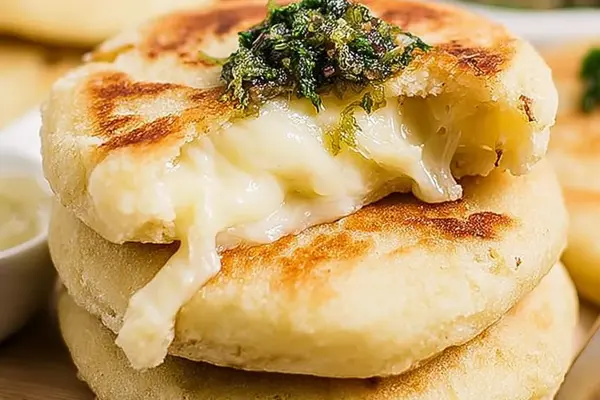
Cheesy Arepas with Cotija & White Cheddar
Chermoula Sauce with Parsley and Mint
Chai Tea Recipe with Coconut Milk
Saffron Rice with Shrimp and Smoked Sausage
Chocolate Chip Cookies with Almond Meal
Baked Pumpkin Donuts with Maple Glaze

Pineapple Fried Rice with Crispy Bacon
Crock Pot Chicken Spaghetti
Pineapple Cake with Pecans and Coconut

Grilled Pork Chops with Wild Rice & Sesame

Veggie Wraps with Grilled Tofu & Sesame Mayo
Raspberry Lemon Jam Tart with Coconut Cream
Baking Leeks with Roast Veal & Mustard