Graham Cracker Crust Recipe with Browned Butter
By Emma
Certified Culinary Professional
·
Recipe tested & approved
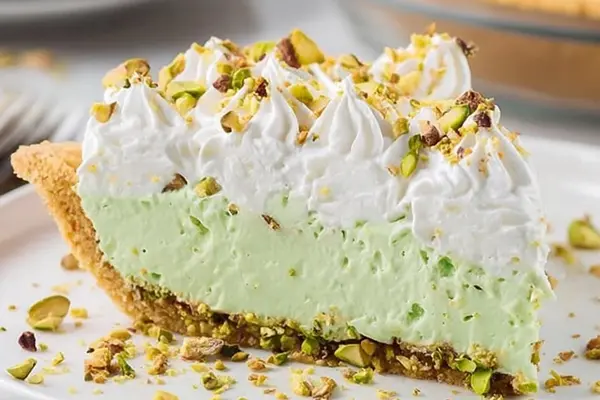
Browned butter hits different than regular. Three tablespoons—that’s the amount that matters. Graham cracker crumbs get soaked in it, and suddenly you’ve got a crust that actually holds together instead of falling apart when you slice through a cheesecake or cream pie. Takes 17 minutes to prep, 12 minutes in the oven. Done.
Why You’ll Love This Graham Cracker Pie Crust
Comes together in under 30 minutes total. No mixer. One bowl. Works for cheesecake, cream pies, chocolate—basically anything that needs a base that doesn’t crumble when you cut it. The vanilla wafers make it taste like more than just graham crackers. Richer. Kind of like a homemade crust should be, not a store-bought shortcut. Browned butter does the real work here. Regular melted butter is fine. This is better. Actually tastes good on its own. Some crusts are just there. This one has something going on.
What You Need for Graham Cracker Crust
Graham cracker crumbs. Use 1 1/2 cups. Store-bought or crushed yourself—either works, but crushing them gives you control over the size. Smaller pieces pack tighter.
Vanilla wafers. Three-quarters cup crushed. Sounds weird in a graham crust, but they add a vanilla note that graham crackers alone can’t hit. Changes the whole thing.
Brown sugar. Three tablespoons. Light brown. Adds moisture and that deeper caramel flavor—white sugar doesn’t do it the same way.
Salt. A quarter teaspoon. Seems small. Matters. Too much and everything tastes flat. Too little and the sweet gets cloying.
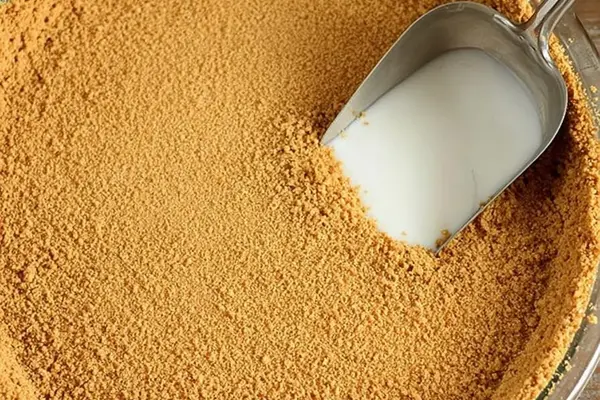
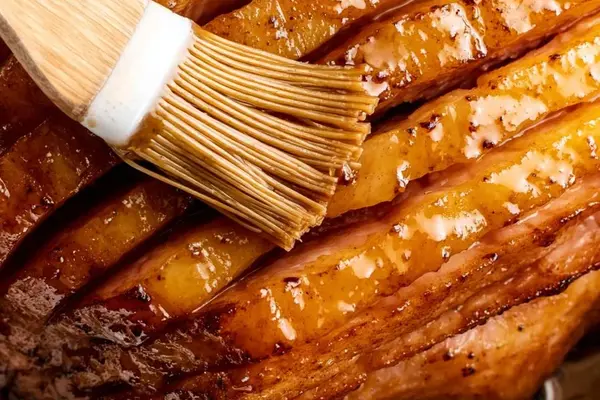
Browned butter. Six tablespoons. This is non-negotiable. Melt it in a skillet, let it sit there past golden, until it smells nutty and has those little brown bits floating around. That’s where the flavor lives.
How to Make Graham Cracker Pie Crust
Set your oven to 345°F. Not 350. The difference sounds small—it’s not. Too high and the edges burn before the center sets. Too low and you get a soggy crust that weeps into your filling later.
Toss the graham cracker crumbs and vanilla wafers together in a bowl. Stir them around, get them mixed. This takes like 30 seconds.
Add the brown sugar and salt. Mix again. The salt matters here—stir it in evenly or some bites will be way too salty. Test as you go if you’re nervous about it.
Brown your butter while the dry mix sits. Heat goes on medium, watch the pan. You’ll hear little crackles, smell something nutty curling up from the butter. Once you see those brown bits and it smells like toasted almonds—stop. Don’t keep going. That’s done.
Pour the hot butter straight into the crumbs. Not scalding, not lukewarm—just hot enough to be butter-colored and slightly steaming. Stir fast with a fork. You’re coating every crumb, breaking up clumps, making sure nothing stays dry. This takes maybe two minutes of actual stirring.
How to Get Graham Cracker Crust Crispy and Set
Grab a dry measuring cup—one-third cup works perfect. Press the mixture firmly into a 9-inch pie plate. No greasing. You’re pressing down, rotating as you go, getting an even layer across the bottom. Then use your fingers to push it up the sides. Dense enough that it holds its shape. Not rock hard, not crumbly.
Look it over. Cracks happen. Pinch loose crumbs into the gaps. Slight gaps mean your filling seeps through during baking and everything gets soggy.
Slide it into the oven. Bake for 10 to 12 minutes. The edges should turn golden-brown first—watch for those subtle browning spots creeping across the surface. The crust should feel dry and crackly to the touch when you pull it out, almost like it might crumble. That’s right. It’ll firm up as it cools.
Let it cool completely on a rack. A warm crust feels fragile and unstable. It stiffens as it cools because the butter sets back up. Don’t fill it warm or it’ll be a mess.
Graham Cracker Crust Tips and Common Mistakes
Browned butter is the difference between a crust that tastes like something and one that’s just there. Don’t skip it. Don’t use clarified butter instead. The brown bits—those are the point.
If you press it too thin, it’ll crumble when you slice. Too thick and you get these weird dense bites. Somewhere in the middle is right. You’ll feel it when you’re pressing.
If the crust comes out soggy after you’ve filled and baked the whole thing, you didn’t bake it long enough the first time. Next time go 13 minutes instead of 12. Or chill it hard before adding the filling—let the butter lock back up completely.
Vanilla wafers aren’t mandatory but they’re worth it. They add a vanilla flavor that makes the whole thing taste less like “graham cracker crust” and more like an actual crust someone made on purpose.
Graham cracker crumbs for cheesecake work the same way. Same amounts. Same process. Whether you’re making a traditional cheesecake crust or a pie crust, this ratio holds.
Salt goes in the dry mix, not on top. Mix it evenly or you’ll get pockets of over-salted flavor that taste wrong.
Graham Cracker Crust Recipe with Browned Butter
Prep:
17 min
Cook:
12 min
Total:
29 min
Servings:
1 pie crust
Ingredients
- 1 1/2 cups graham cracker crumbs
- 3/4 cup crushed vanilla wafers
- 3 tablespoons light brown sugar
- 1/4 teaspoon salt
- 6 tablespoons browned butter
Method
- 1 Start by preheating the oven to 345°F. Watch the oven’s heat—too hot and burnt edges sneak in, too low and soggy crust lurks.
- 2 In a bowl, toss together graham cracker crumbs and crushed vanilla wafers. Adds unexpected crunch and a slightly richer vanilla note I stumbled on years ago.
- 3 Mix in the brown sugar and salt; brown sugar gives moisture and deeper caramel flavors, salt tames the sweetness. Measure salt carefully—too much dulls everything.
- 4 Brown the butter in a skillet until nutty aroma curls out with soft crackles, just past melted but before burnt. Butter's heat softens the crumbs, carries oily richness that latches onto every crumb.
- 5 Pour butter hot but not scalding into the dry mix. Stir quickly with a fork, coat all crumbs evenly—no clumps, no dry pockets.
- 6 Grab a 1/3 cup dry measure to press the crumbs firmly into a 9-inch ungreased pie plate. Use fingers to press sides up, dense enough to hold after baking but not rock hard.
- 7 Look for cracks patch them with loose crumbs pinched together. Slight gaps spell disaster during filling set.
- 8 Slide into oven. Bake with patience. The edges turn golden—watch for subtle browning spots. You want crust dry, crackly to touch but not burnt. It usually takes 10 to 12 minutes here.
- 9 Let it cool fully on rack. Warm crust feels fragile but stiffens on cooling. A tip: if pressed too thin, expect sogginess later; too thick, crumbly bites.
- 10 If you mess up and crust is soggy after filling, next bake a bit longer, or toss in a quick chill before filling to solidify butter. Never skip cooling if you want clean slices and solid bottom.
Nutritional information
Calories
320
Protein
3g
Carbs
38g
Fat
18g
Frequently Asked Questions About Graham Cracker Pie Crust Recipe
Can I make this graham cracker crust no bake? Technically yes. Skip the oven, just let it chill in the fridge for a couple hours. The butter will set up enough to hold. Won’t be quite as crispy as baked, though. More like a solid granola bar texture. Works fine for no-bake cheesecake.
What if I don’t have vanilla wafers? Use all graham cracker crumbs instead. It’ll work. Won’t be quite as rich or interesting-tasting, but it holds together the same way. Some people prefer it that way. Not worth a trip to the store if you don’t have them.
How long does graham cracker crust keep? A couple days covered at room temperature. After that, moisture from the air starts making it softer. If you need it to last longer, wrap it tight and freeze it for like three weeks. Thaw at room temp before filling.
Can I crush my own graham crackers instead of buying the crumbs? Yeah. Put them in a food processor or a ziplock bag and smash them with a can. Takes longer but tastes the same. Sometimes the crumbs are bigger which is fine—just means slightly less uniform texture.
What’s the best pie to use with graham cracker pie crust? Cheesecake is obvious. But this crust works for chocolate cream pie, banana cream, key lime, lemon meringue. Anything with a filling that sets up firm. The crust holds better when the filling doesn’t stay wet.
Why brown the butter instead of just melting it? Browned butter has a deeper, nuttier flavor. Regular melted butter works technically. But browned butter is why this crust tastes like someone actually made it instead of just mixing store stuff together. Once you do it once you won’t go back.
You’ll Love These Too
Explore all →
Cheesy Arepas with Cotija & White Cheddar
Gluten-Free Chocolate Soufflés with Lime Zest
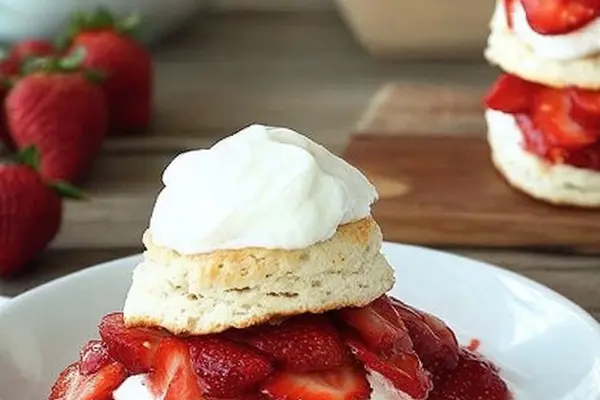
Cheese Biscuits Strawberry Shortcake Recipe
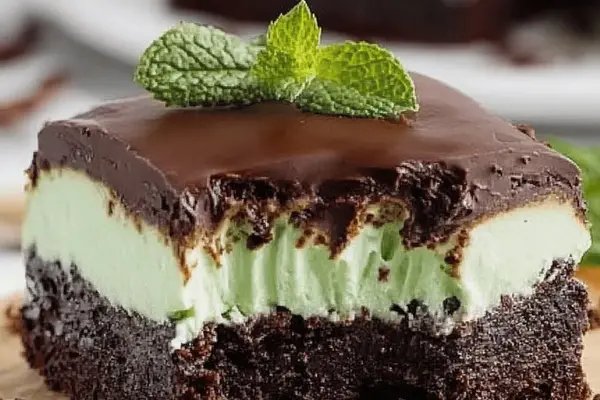
Mint Chocolate Brownies with Ganache
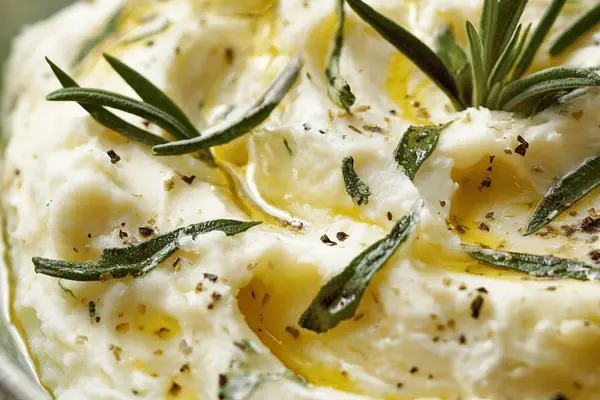
Creamy Mashed Potatoes with Kefir
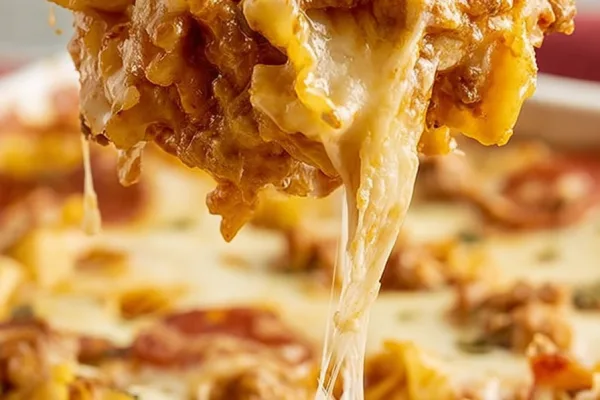
Easy Weeknight Pizza Casserole

Braised Pork Quesadillas with Poblano
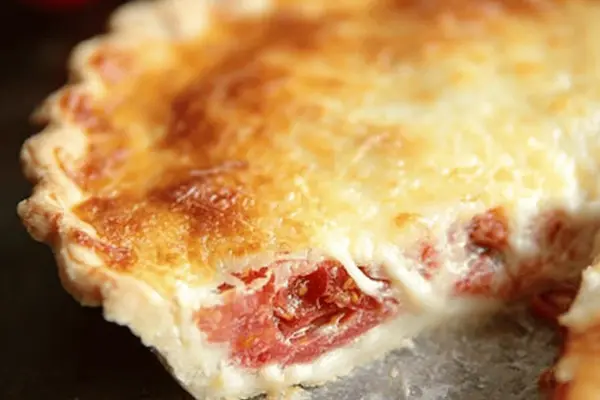
Tomato Pie with Mozzarella and Fresh Basil
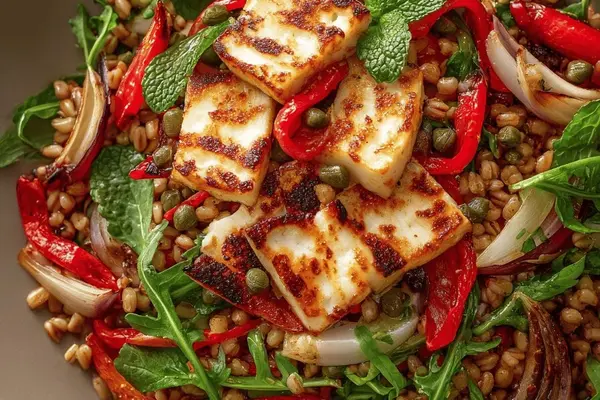
Barley Salad with Halloumi & Roasted Peppers
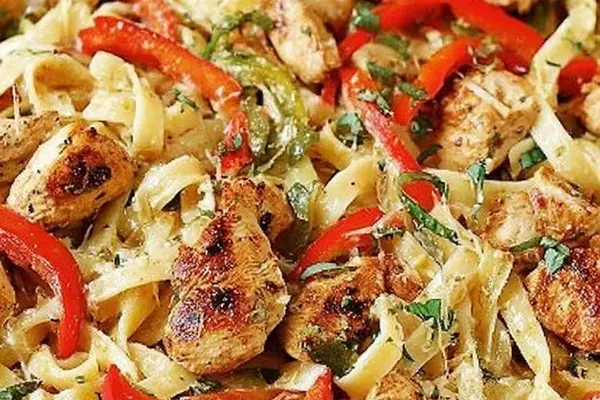
Cajun Chicken Alfredo with Fettuccine
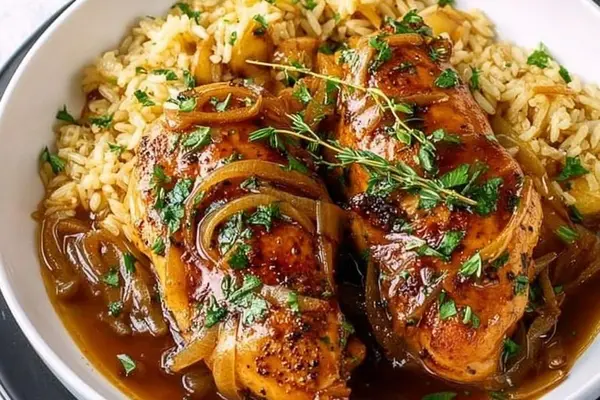
Slow Cooker Apple Balsamic Chicken
Pineapple Ham Glaze with Orange Juice
Avocado Chocolate Mousse with Tuna Tartare

Vanilla Cake Recipe with Sour Cream
Oatmeal Peanut Butter Balls Recipe
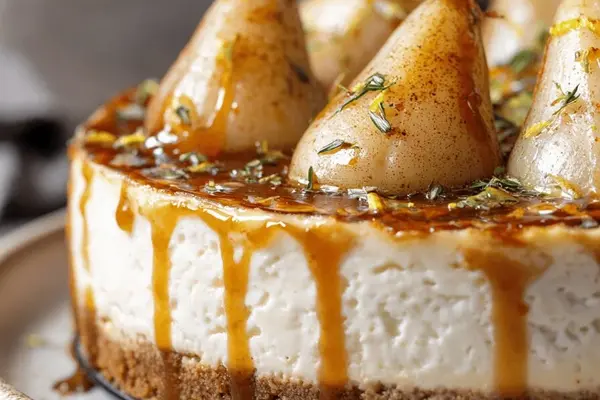
Maple Pear Cheesecake with Browned Butter

Asian Chicken Sandwich with Peanut Carrot Salad
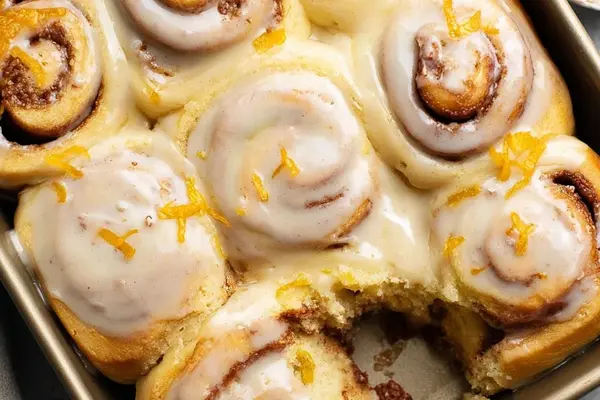
Orange Cinnamon Rolls with Heavy Cream
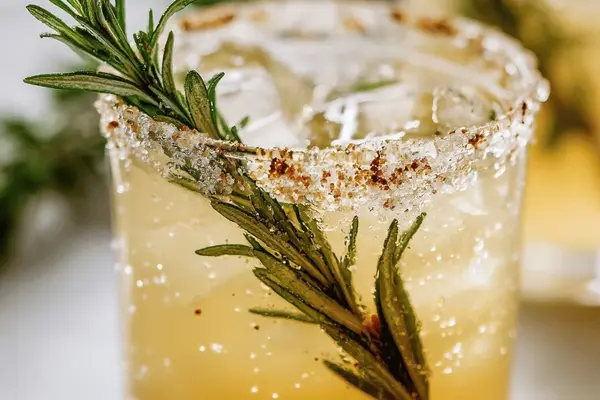
Maple Rosemary Twist Cocktail Recipe
