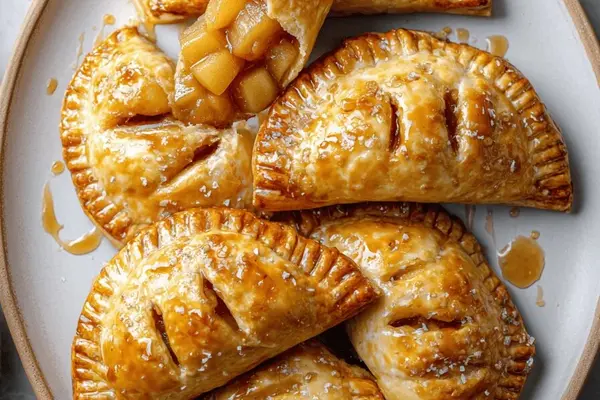
Caramelized Pear Hand Pies with Vanilla
By Emma
Certified Culinary Professional
·
Recipe tested & approved
Caramelized pear hand pies filled with chunky pear compote, lemon juice, and vanilla bean. Crispy gluten-free pastry circles baked golden and glazed with agave syrup for a tender, flaky dessert.
Prep:
60 min
Cook:
25 min
Total:
85 min
Servings:
6 servings
Caramel hits the pan first—sugar and water, no stirring, just watching it turn from pale gold to this deep bronze that smells like it knows what it’s doing. Pears go in next. They sizzle. Hard. The caramel seizes up like it’s panicking but it doesn’t—it melts back as the fruit softens, breaks down, gets chunky in a way that matters. Fold that into a crust, brush it with egg, score a leaf pattern on top, and 25 minutes later you’ve got something that’s crispy on the outside and soft where it counts.
Why You’ll Love These Caramelized Pear Hand Pies
Takes an hour if you move steady. Two of that are just waiting for things to chill or freeze. Vegetarian dessert that actually tastes like something happened to it. Not just fruit in pastry. The filling gets better after it sits overnight. Something about the flavors locking in. Works cold the next day. Hot. Room temperature. Doesn’t matter. One pie or six. Same method. No scaling confusion.
What You Need for Caramelized Pear Hand Pies
Sugar and water. That’s your caramel base. Nothing else goes in there yet.
Four Bosc pears. Ripe but still firm—if they’re mushy, they collapse into jam instead of staying chunky. Peel them. Core them. Dice them small.
Lemon juice keeps them from browning and cuts the caramel sweetness. Twenty milliliters.
Olive oil—just enough to keep the filling from sticking to itself. Fifteen milliliters. Not much.
Vanilla bean if you want it. The seeds go in with the pears. Optional but it adds something you can’t quite name.
Six pre-made gluten-free pie crust discs. Whatever brand you can find. They work.
One egg yolk beaten with a splash of water for the egg wash.
Agave syrup at the end. Brush it on while the pies are still warm so it sticks and adds shine.
How to Make the Caramelized Pear Filling
Heat sugar and water in a saucepan. Medium heat. Watch it. Don’t stir—seriously, just watch the color change. It goes from clear to pale gold to amber to this deep bronze that smells nutty and a little dangerous. That’s when you pull it off the heat.
Toss in the diced pears immediately. The caramel will seize and look like it’s ruined. It’s not. Toss in the lemon juice, olive oil, and vanilla seeds if you’re using them. It’ll sizzle sharp. Stir gently and the caramel will melt back into the fruit as the pears start to soften.
Simmer uncovered. No lid. About 12 minutes. Stir it every few minutes so it cooks even. The fruit should collapse but not disappear—you want chunks. When it looks right, remove the vanilla bean pod if there is one.
Rough-mash it with a potato masher. Don’t puree it. Leave texture in there. Transfer to a bowl and let it cool to lukewarm, then cover it and stick it in the fridge. Minimum 45 minutes. It’ll thicken slightly as it cools and the flavors will actually meld instead of just sitting next to each other.
How to Build Caramelized Pear Hand Pies
Line a baking tray with parchment. Flour your workspace barely—just enough so things don’t stick.
Take a pie crust disc and roll it thinner in the center but leave the edges thicker. That uneven thickness is what makes the edges crispy and the middle tender instead of all the same. Use a 10-centimeter cutter or a small bowl flipped upside down to cut circles. Keep them roughly even but don’t obsess over perfection.
Spoon about 40 milliliters of filling on the top half of each round. Wet your finger or use a pastry brush to moisten the edge of the dough opposite the filling. That moisture is what seals them.
Fold the dough over and press lightly with your fingers at the point where they meet first. Then use two fingers pushed together and drag the back of a knife between them around the edge to crimp and lock in the juice. It’ll look deliberate. That matters because it prevents leaking. On days you’re rushed, pinch it firmly and use a fork. It works.
Pop them in the freezer for 25 minutes. Flash freeze. This firms the edges and stops them from spreading all over the tray while they bake.
How to Get Caramelized Pear Hand Pies Crispy and Golden
Preheat the oven to 205 degrees Celsius with the rack centered. Turn the pies so their flat sides face up.
Brush the beaten egg yolk over the surface—not pooling around the edges because that makes them soggy. Score a small leaf pattern lightly on top without cutting through the dough. It won’t be perfect. That’s fine. Punch a small vent hole at the base so steam can escape and you don’t end up with a dough bubble in the middle.
Bake 23 to 28 minutes. Watch the color shift from pale yellow to golden brown and the edges turning almost mahogany. You’ll smell caramel and nutty notes deepening. Pull them out just before they look fully dark because they keep cooking as they cool and you want them to have some tender chew inside, not be crunchy all the way through.
Immediately brush the warm pies with agave syrup while they’re still hot so it sticks and adds shine and a subtle sweetness that tastes like caramel even though it’s different.
Let them cool on a rack until they’re warm but not hot. Serve them.
Caramelized Pear Hand Pies with Vanilla
Prep:
60 min
Cook:
25 min
Total:
85 min
Servings:
6 servings
Ingredients
- 50 g sugar
- 20 ml water
- 4 ripe but firm Bosc pears peeled cored diced
- 20 ml lemon juice
- 15 ml olive oil
- 1/2 vanilla bean split scraped (optional)
- 6 pre-made gluten-free pie crust discs
- 1 egg yolk beaten
- 30 ml agave syrup
Method
- Pear filling
- 1 Heat sugar and water in saucepan til amber caramel forms. Resist stirring, watch color shift from pale gold to deep bronze. Off heat, toss in diced pears, lemon juice, olive oil, vanilla seeds. Sizzle and bubble sharply. Stir gently, caramel will seize but will melt back as fruit softens.
- 2 Simmer gently uncovered, no rush, about 12 minutes, stir to break fruit down slightly. When pears collapse but still chunky, remove vanilla bean pod. Rough-mash with potato masher — chunky bits provide texture contrast.
- 3 Warm mixture thick but not dry. Transfer to bowl, let cool to lukewarm then cover. Chill minimum 45 minutes to firm flavor meld. Filling thickens slightly, important to prevent soggy dough.
- Assembly
- 4 Line baking tray with parchment or silicone mat.
- 5 Flour workspace sparingly. Roll discs thinner in center area to about half thickness, leaving edges thicker for good sturdy border. Use 10 cm diameter cutter or repurpose small bowl. You want uneven thickness for crispness and chew. Keep shapes even but don’t obsess.
- 6 Spoon ~40 ml pear filling on top half of each dough round. Use wet finger or pastry brush to moisten dough edge opposite filling to promote seal.
- 7 Fold dough over filling, press edges lightly with fingers to seal initial contact. Then reinforce seal pushing two fingers beside each other around edges, drag back of knife between fingers to crimp decoratively and lock in juice. On rushed days, pinch firmly and fork crimp works too.
- 8 Flash freeze pies 25 minutes to firm edges and stop spreading during baking.
- Baking
- 9 Preheat oven to 205 °C with rack centered. Turn pies so flat sides face up. Brush yolk over surface, avoid pooling around edges to prevent sogginess.
- 10 Using sharp knife, score small leaf pattern lightly on surface without cutting through dough. Punch small vent hole at base to let steam escape — avoid dough bubbles or soggy spots during bake.
- 11 Bake 23-28 minutes watching color shift from pale yellow to golden brown, spots turning almost mahogany. Smell nutty, caramel notes deepen, edges crisp fully. Pull out just before dark to retain tender chew inside.
- 12 Immediately brush warm pies with agave syrup to shine and add subtle caramelized sweetness. Cool on rack til warm before serving.
- Storage
- 13 Store in airtight container at room temp for up to 3 days. Re-crisp in toaster oven if needed. Freezer friendly — reheat covered to avoid sogginess.
Nutritional information
Calories
220
Protein
2g
Carbs
38g
Fat
6g
Frequently Asked Questions About Caramelized Pear Hand Pies
Can I use fresh puff pastry instead of gluten-free pie crust discs? Yeah. Works fine. Puff pastry will puff more so they’ll be airier and less dense. Not the same but not worse. Gluten-free puff pastry pear pies work the same way—just watch them in the oven because some brands brown faster.
What happens if my caramel turns dark brown instead of amber? It’ll taste bitter. Start over. You’re watching for deep bronze, not black. Takes practice. The smell helps—when it goes from sweet-smelling to acrid, you’ve gone too far.
Can I make the filling ahead? Do it. Make it the day before if you want. Actually tastes better. Cover it, chill it, fill the pies whenever.
Will these work if I don’t have a vanilla bean? Totally. The pears are already good. Vanilla just makes it taste like you thought about it longer than you did. Skip it.
How do I know when the caramel is done seizing and ready to simmer? When it stops looking like a seized mess and the pears start to break down. Maybe 30 seconds of stirring. You’ll see the texture change.
Can I freeze the unbaked pies and bake them later? Yes. Freeze them after the 25-minute chill, then bake straight from frozen. Add a few minutes to the bake time. Might take 30 minutes instead of 25.
What if the filling leaks during baking? Means you didn’t seal the edges tight enough or filled too generously. Use less filling next time and really crimp those edges. Also makes sure the vent hole is actually open.
Do these need to be served warm? No. They’re good warm, room temperature, cold the next day. That’s what makes them perfect for hand pies—eat them whenever.
You’ll Love These Too
Explore all →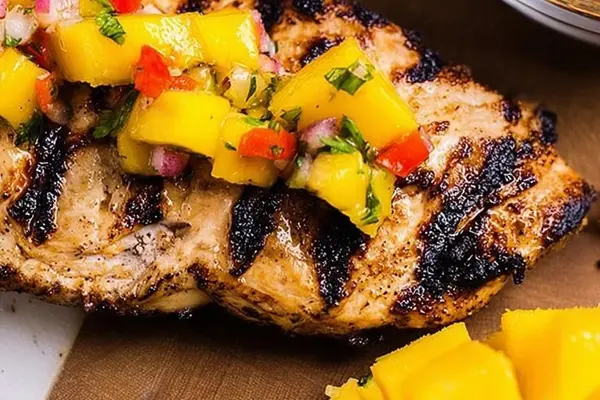
Grilled Chicken with Pineapple Salsa
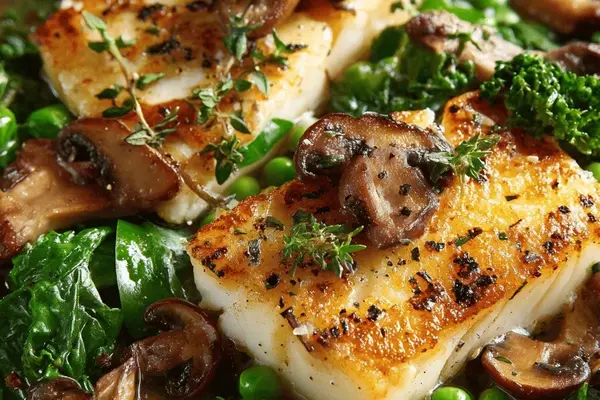
Seared Halibut with Mushrooms and Greens
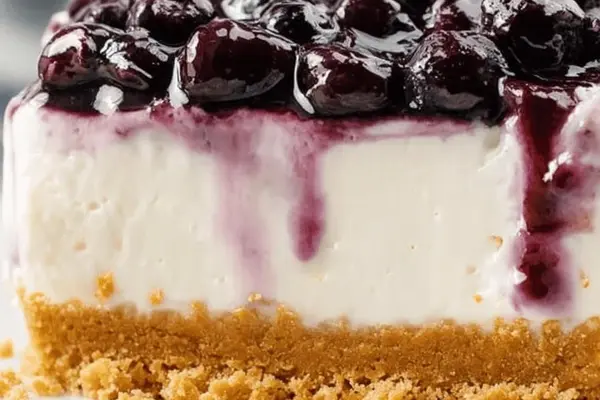
No Bake Blueberry Cheesecake with Lime
Pork Pasta Salad with Yogurt & Green Beans
Cream Cheese Frosting with Lemon

Crunchy Sesame Chicken with Honey Sriracha
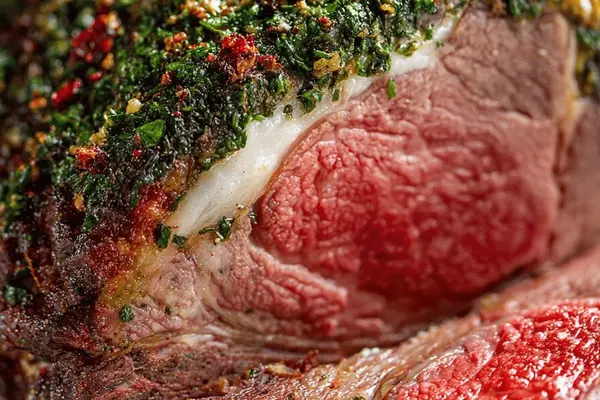
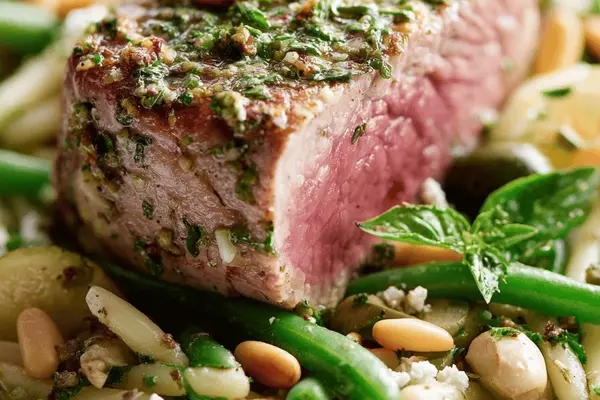
Herb Crusted Beef Roast with Smoked Maldon
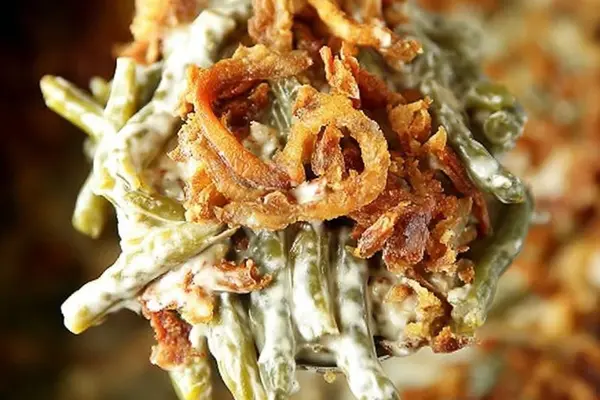
Green Bean Casserole with Bacon & Monterey Jack
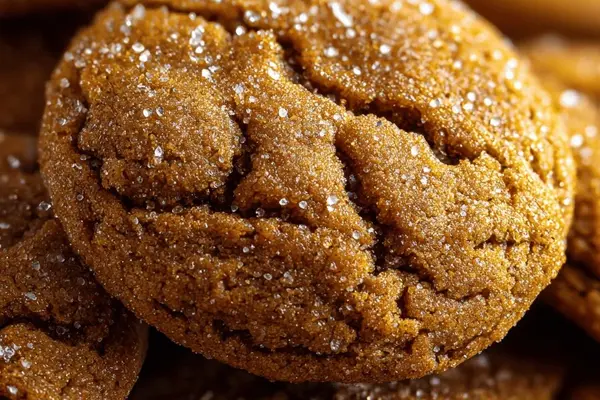
Molasses Banana Cookies with Cinnamon
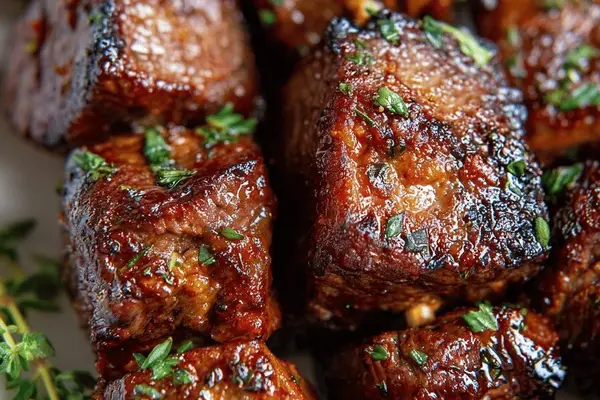
Steak Marinade with Garlic & Apple Cider
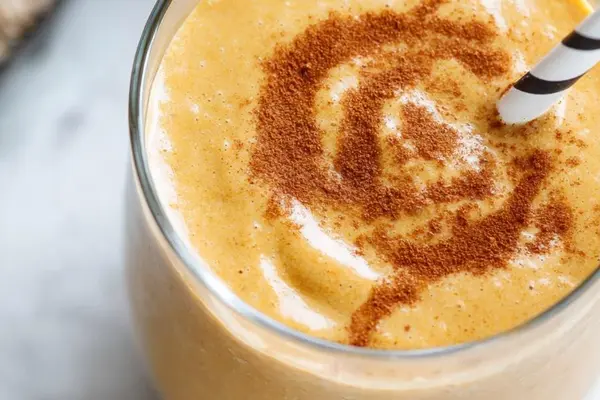
Creamy Pumpkin Pie Shake with Avocado
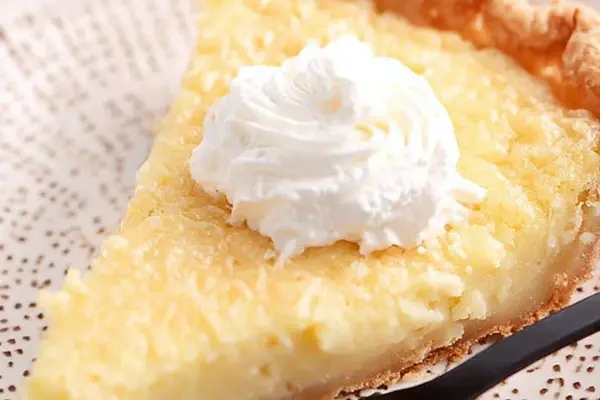
Buttermilk Pie Recipe with Eggs & Vanilla
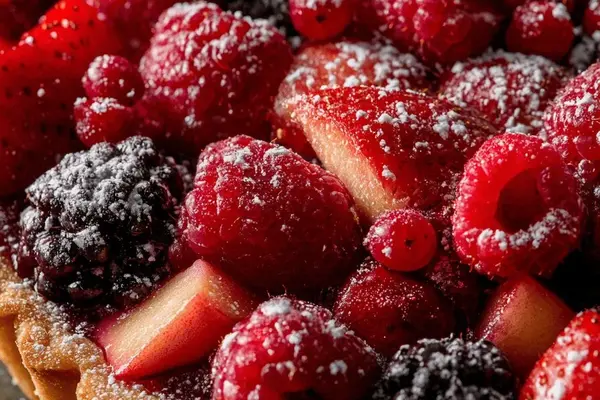
Wild Berry Pop Tarts with Ginger Crust

Carrot Ginger Rum Cocktail with Elderflower

Peach Gelatin Whip Pie No-Bake Recipe
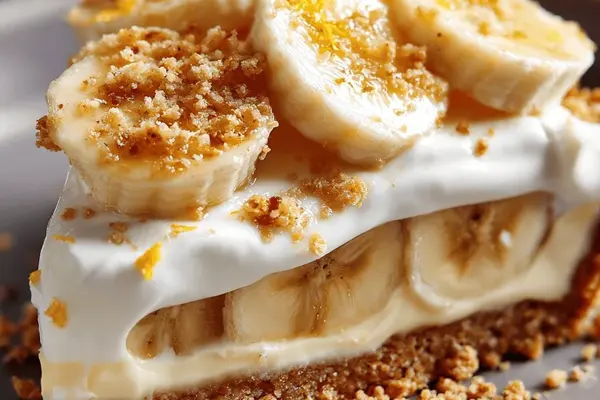
Banana Cream Tart with Oat Crust

Pimento Cheese Appetizers with Bacon
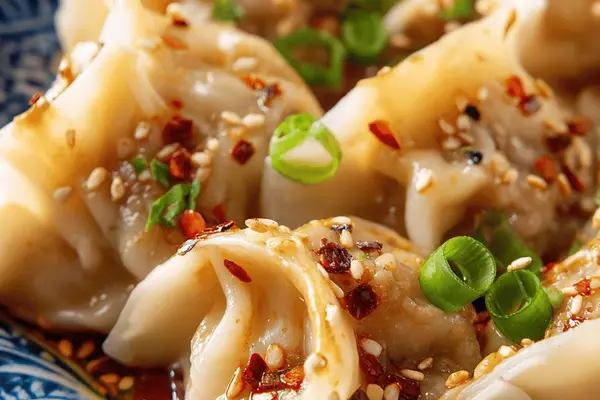
Pork Dumplings with Spicy Peanut Sauce
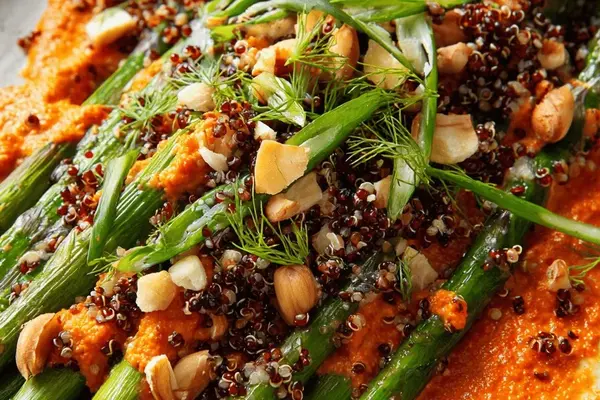
Roasted Asparagus with Hazelnut Romesco